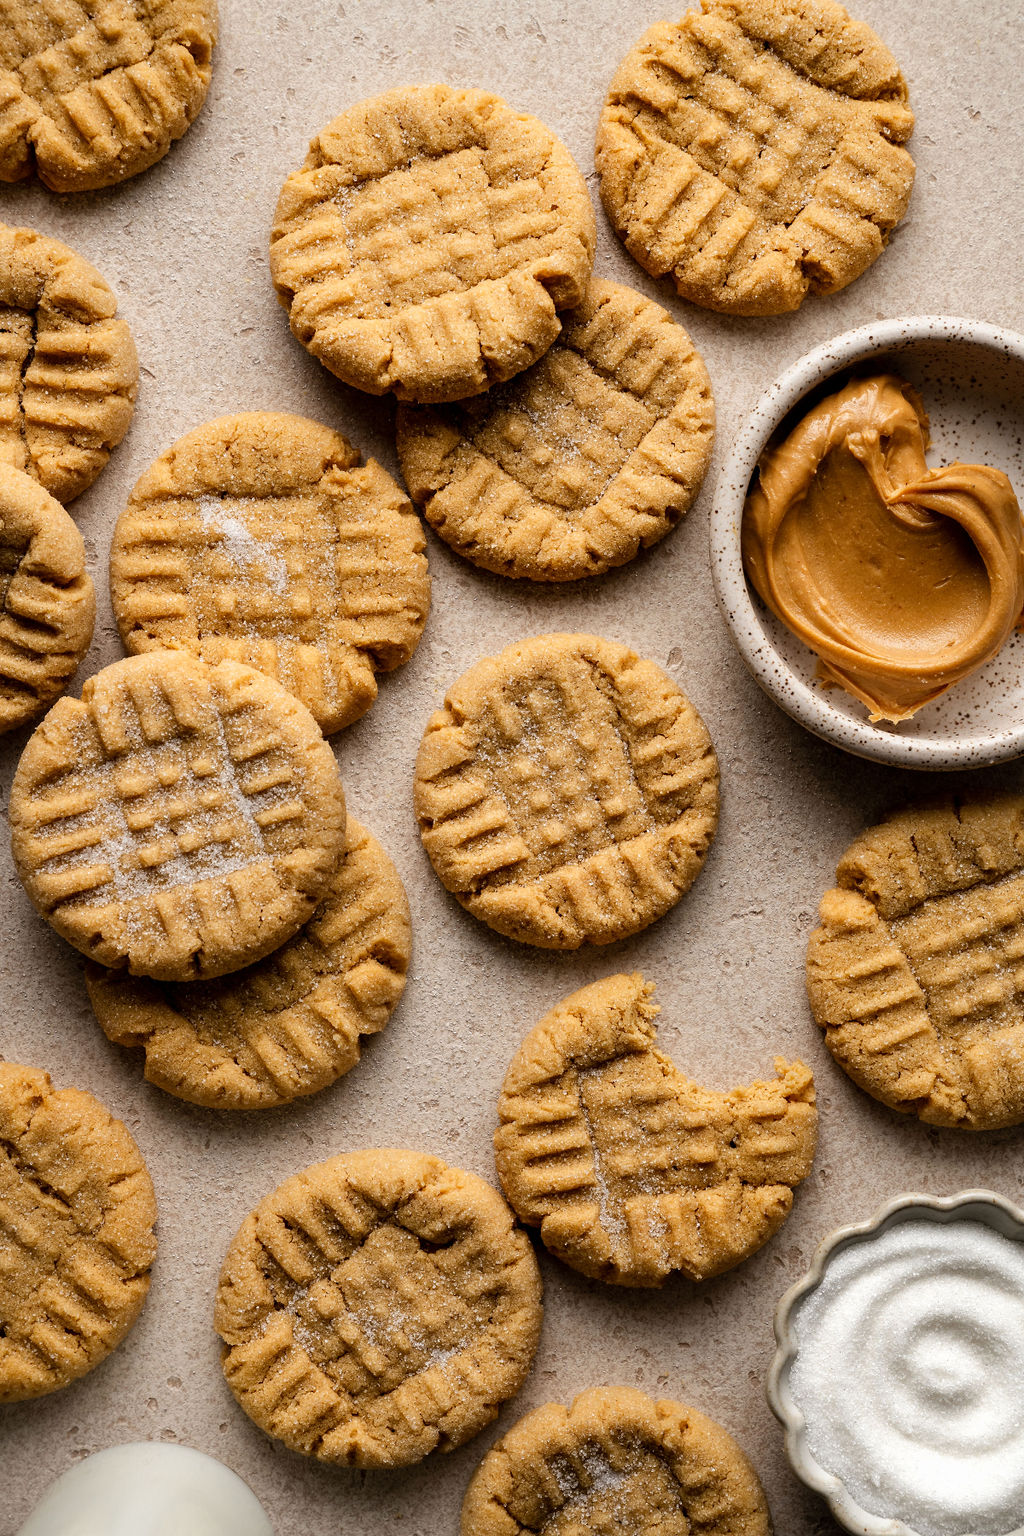


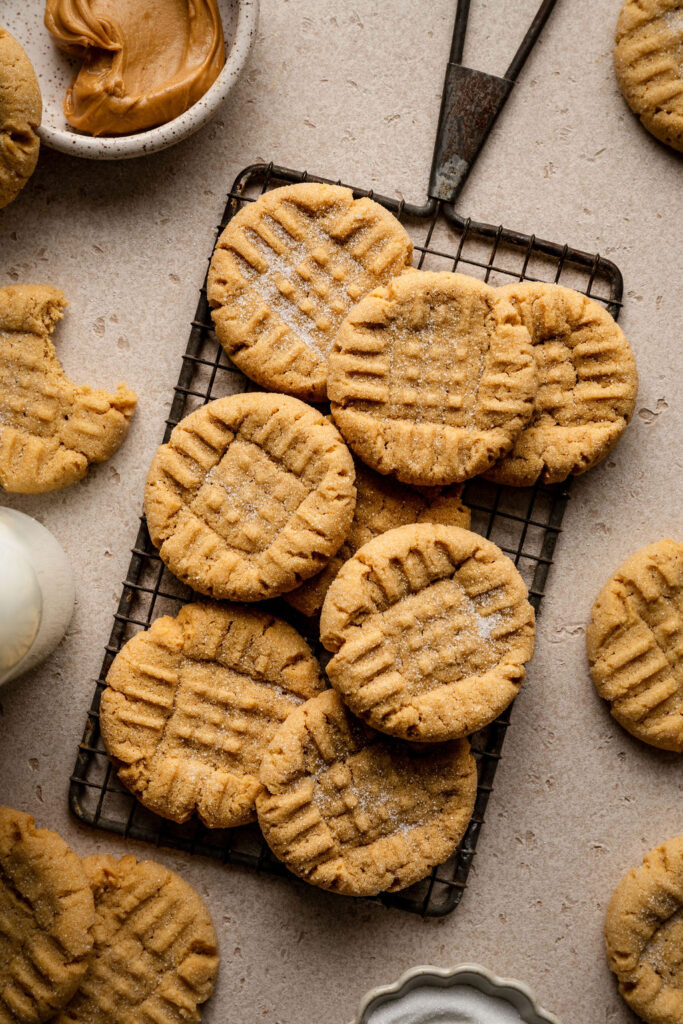
There’s something so nostalgic about a classic peanut butter cookie, and these gluten-free old-fashioned peanut butter cookies have everything I love about the original. They’re soft and chewy in the center with lightly crisp edges, plenty of rich peanut butter flavor, and that signature fork-pressed crosshatch top.
Before baking, each cookie is rolled in granulated sugar for a lightly crisp, sparkly finish that pairs perfectly with the soft, chewy center. They’re simple, classic, and perfect with a cold glass of milk or tucked into a holiday cookie box.
Why You’ll Love This Recipe
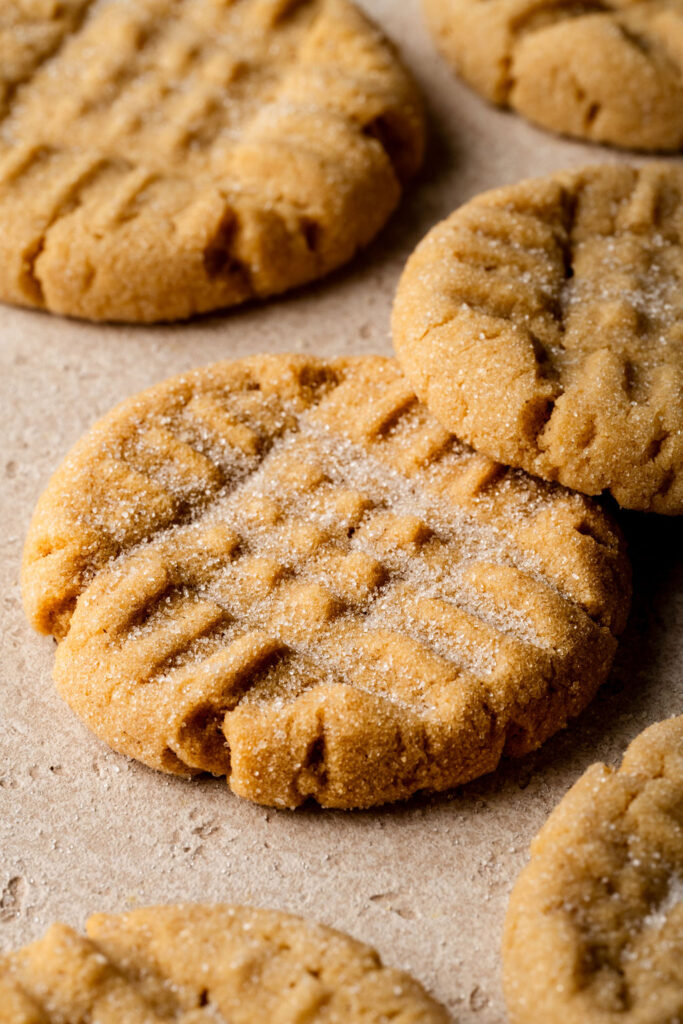
Soft and chewy texture
These cookies have soft, chewy centers with lightly crisp edges for the perfect balance of textures.
Rich peanut butter flavor
Creamy peanut butter gives these cookies plenty of classic peanut butter flavor in every bite.
A nostalgic classic
Rolled in granulated sugar and finished with the signature fork-pressed crosshatch pattern, these cookies have that classic old-fashioned look and flavor.
Simple to make
The cookie dough comes together with simple ingredients and an easy mixing method, making these classic cookies surprisingly easy to prepare.
Perfect for sharing
These gluten-free peanut butter cookies are perfect for holiday cookie boxes, parties, or enjoying with a cold glass of milk.
Ingredient Notes
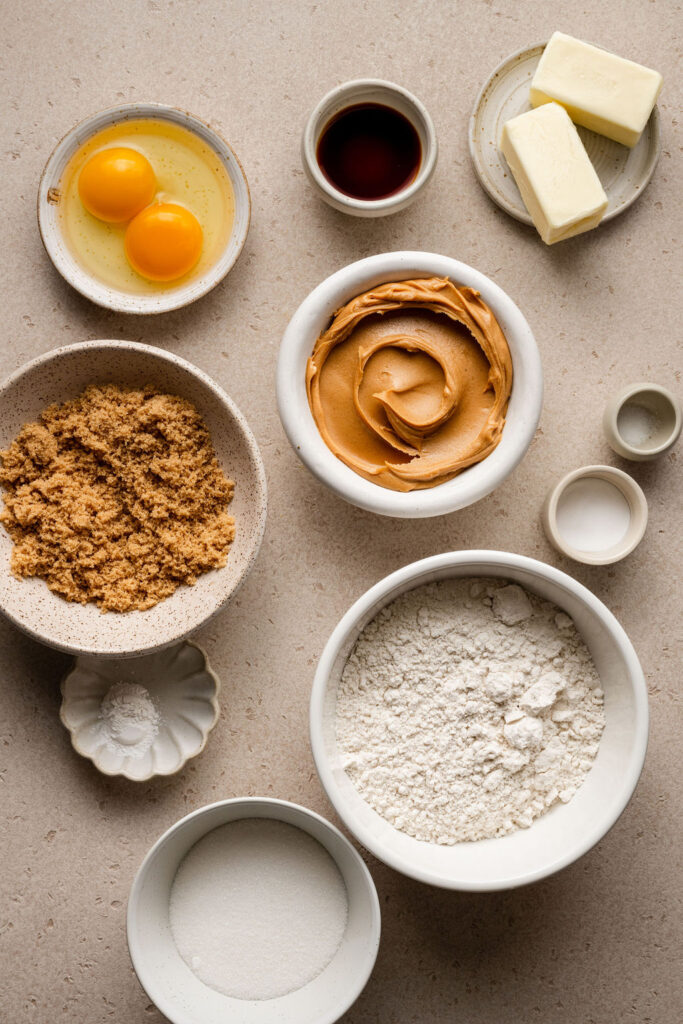
Gluten-free 1:1 flour
Use a gluten-free 1:1 baking flour that contains xanthan gum. I recommend Bob’s Red Mill Gluten Free 1-to-1 Baking Flour for this recipe.
Unsalted butter
Allow the butter to soften to room temperature before mixing so it creams smoothly with the sugars. Avoid using butter that is overly soft or partially melted.
Granulated + light brown sugar
A combination of granulated and light brown sugar gives the cookies lightly crisp edges and soft, chewy centers. Additional granulated sugar is used to coat the cookie dough before baking.
Creamy peanut butter
For the best texture and consistent results, use a conventional creamy peanut butter such as Jif or Skippy. Avoid natural peanut butter that requires stirring, as the separated oils can affect the texture and spread of the cookies.
Egg + egg yolk
One whole egg provides moisture and structure, while an additional egg yolk helps create a rich, soft, and chewy texture.
How to Make Gluten-Free Peanut Butter Cookies
See the recipe card below for the full ingredient list, measurements, and instructions.
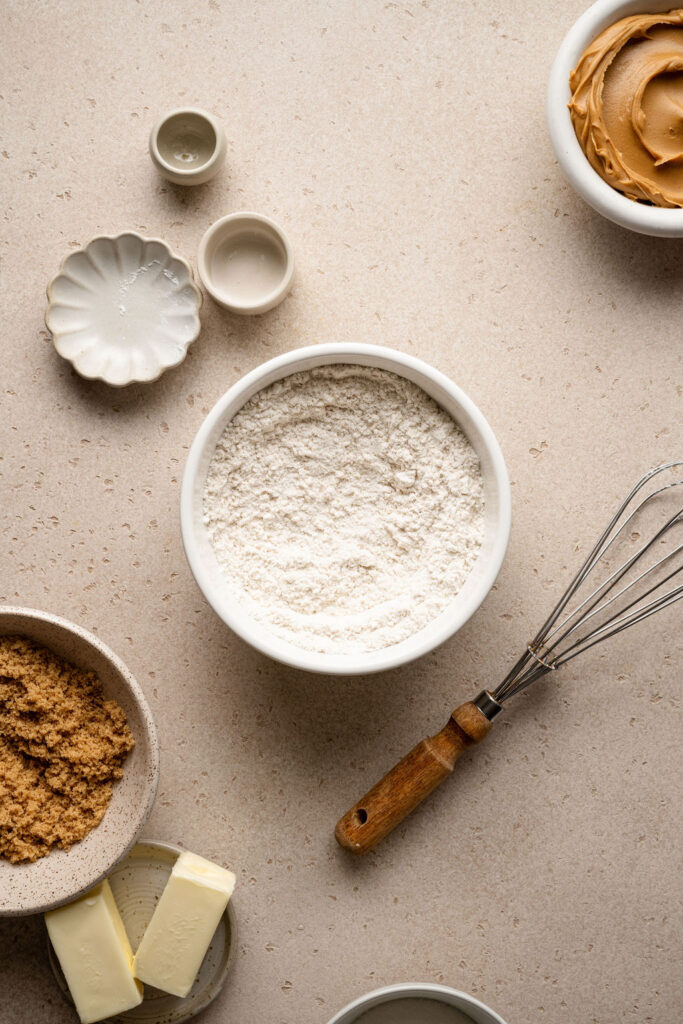
Step 1: Combine the dry ingredients
Whisk together the gluten-free 1:1 flour, baking powder, baking soda, and salt. Set aside.
Step 2: Cream the butter and sugars
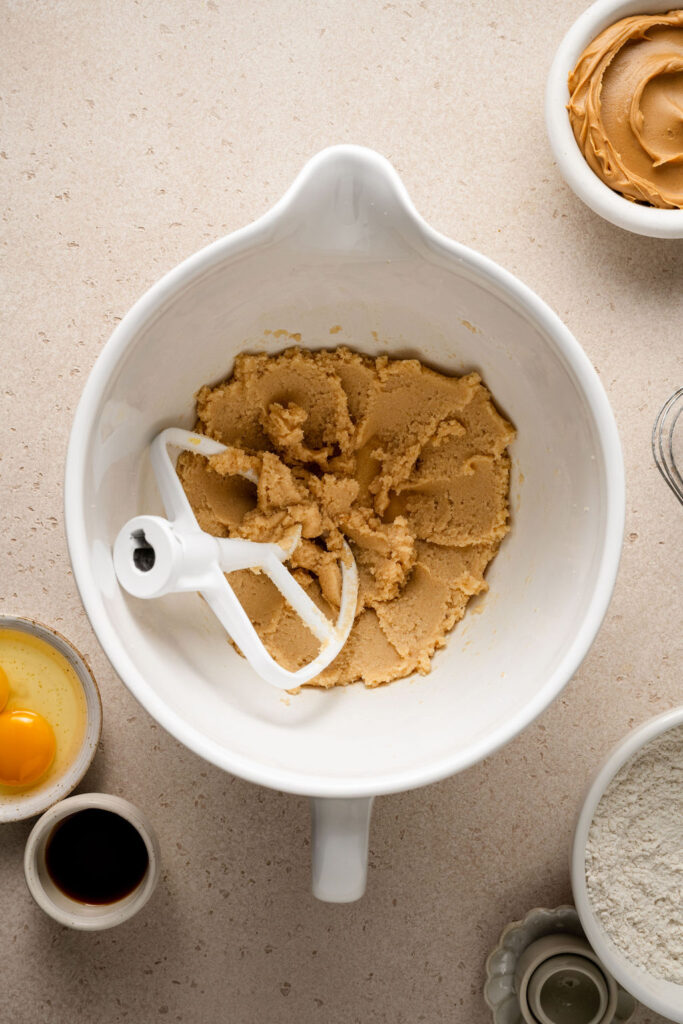
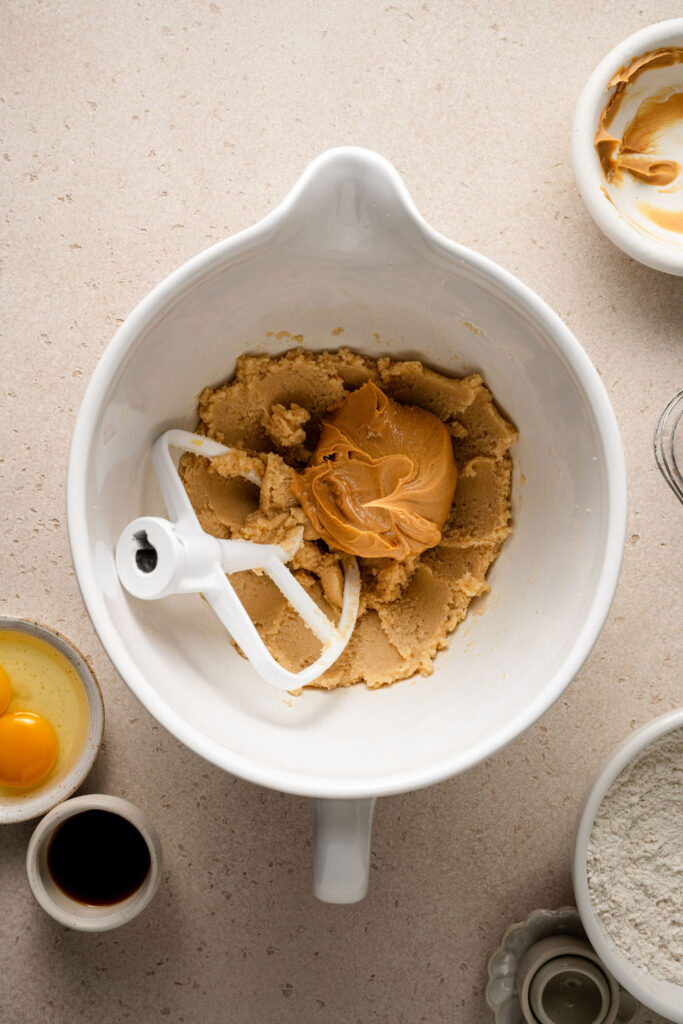
Using an electric mixer, cream the softened butter, granulated sugar, and light brown sugar together until light and fluffy. Add the peanut butter and mix until well combined.
Step 3: Add the eggs and vanilla
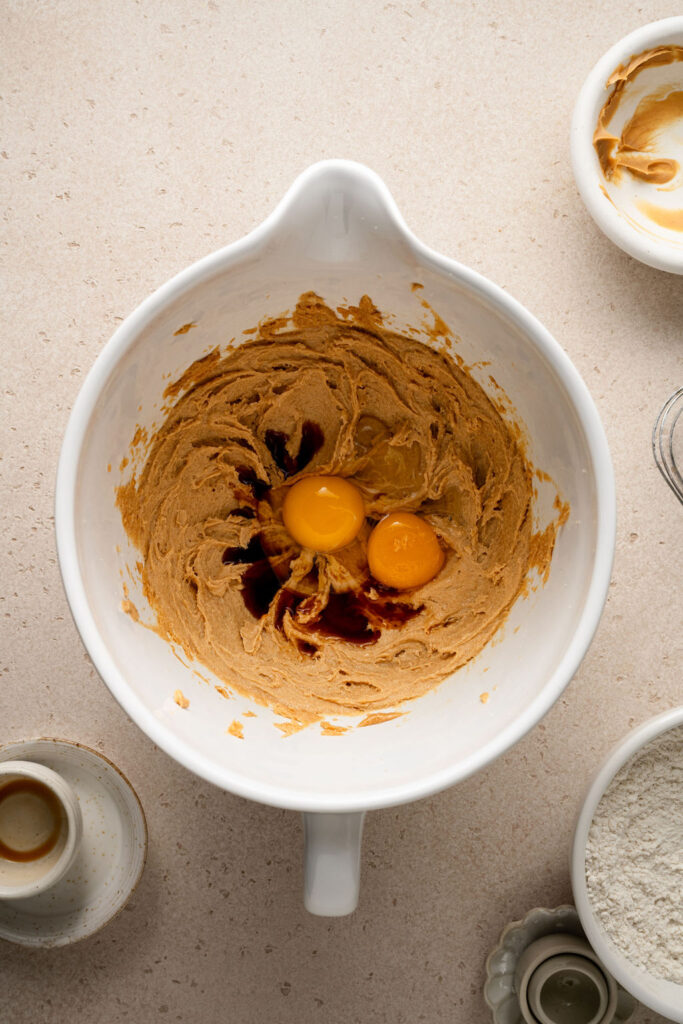
Mix in the egg, egg yolk, and vanilla until smooth and combined.
Step 4: Mix in the dry ingredients
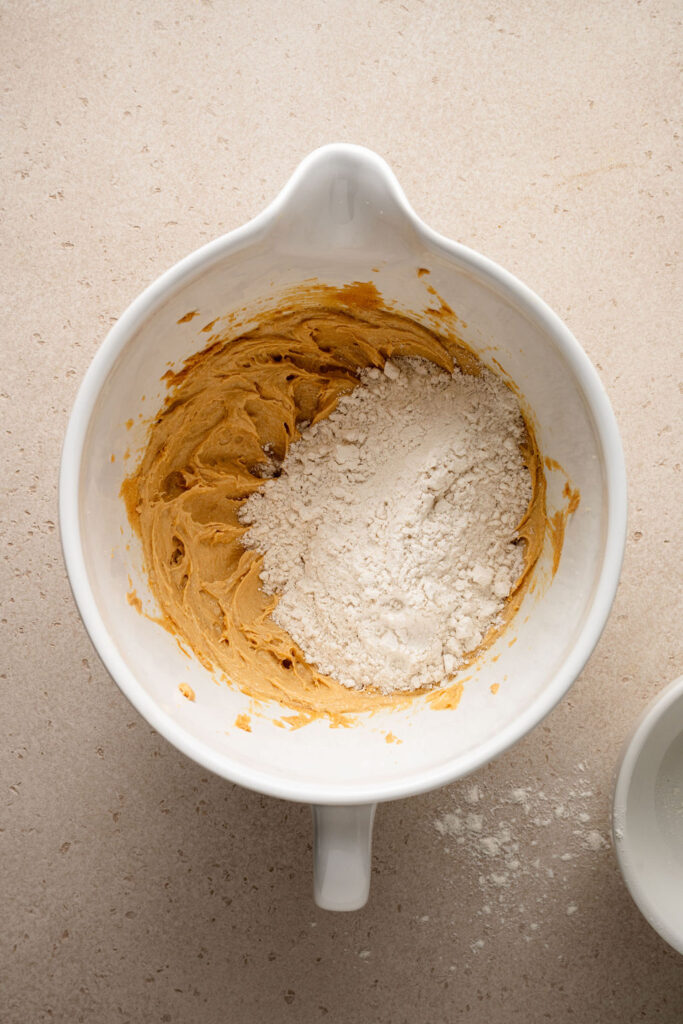
Add the dry ingredients and mix on low just until no flour streaks remain.
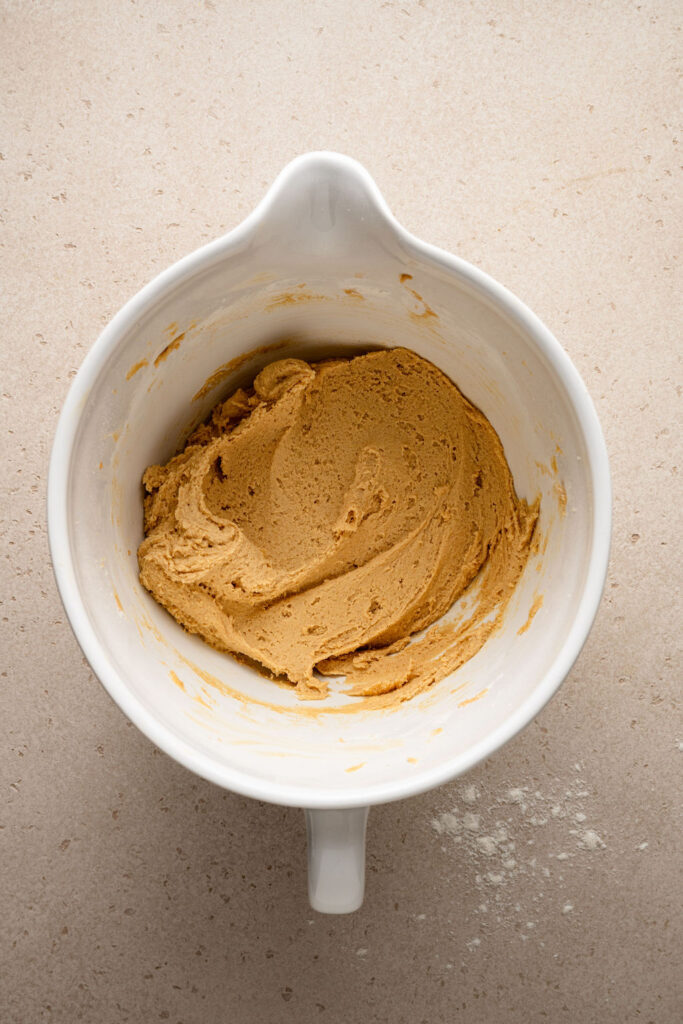
Step 5: Scoop and coat the dough
Chill the cookie dough for 1–2 hours. Scoop the chilled dough into 2-tablespoon (40 g) portions and roll into smooth balls. Roll each ball in granulated sugar until evenly coated.
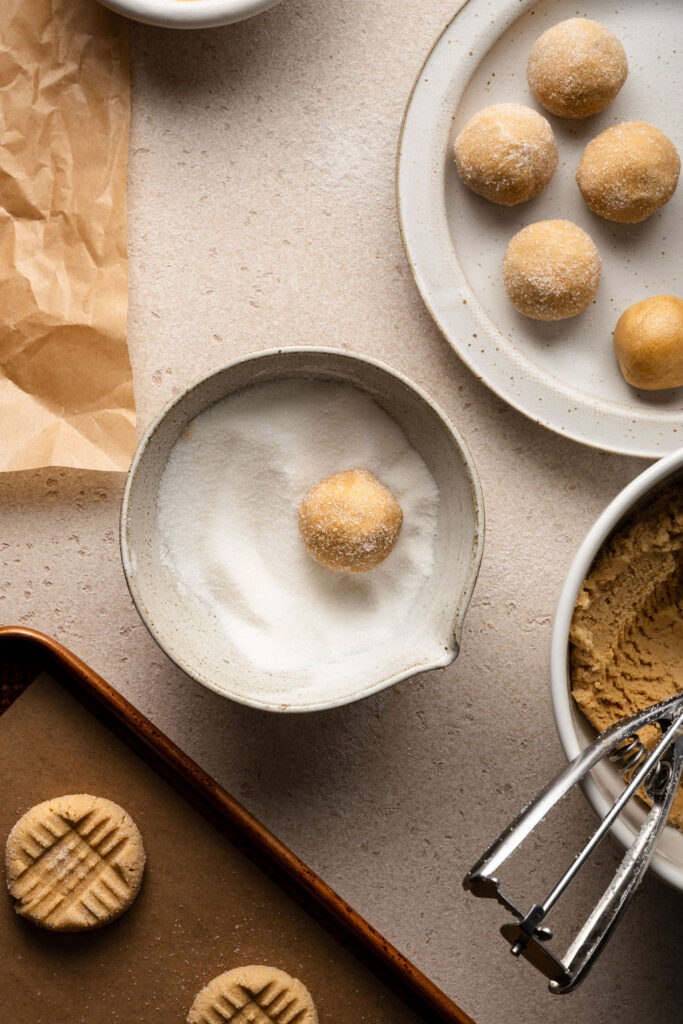
Step 6: Shape the cookies
Arrange the dough balls on a parchment-lined baking sheet. Use a fork to gently press each cookie in one direction, then again in the opposite direction to create the classic crosshatch pattern.
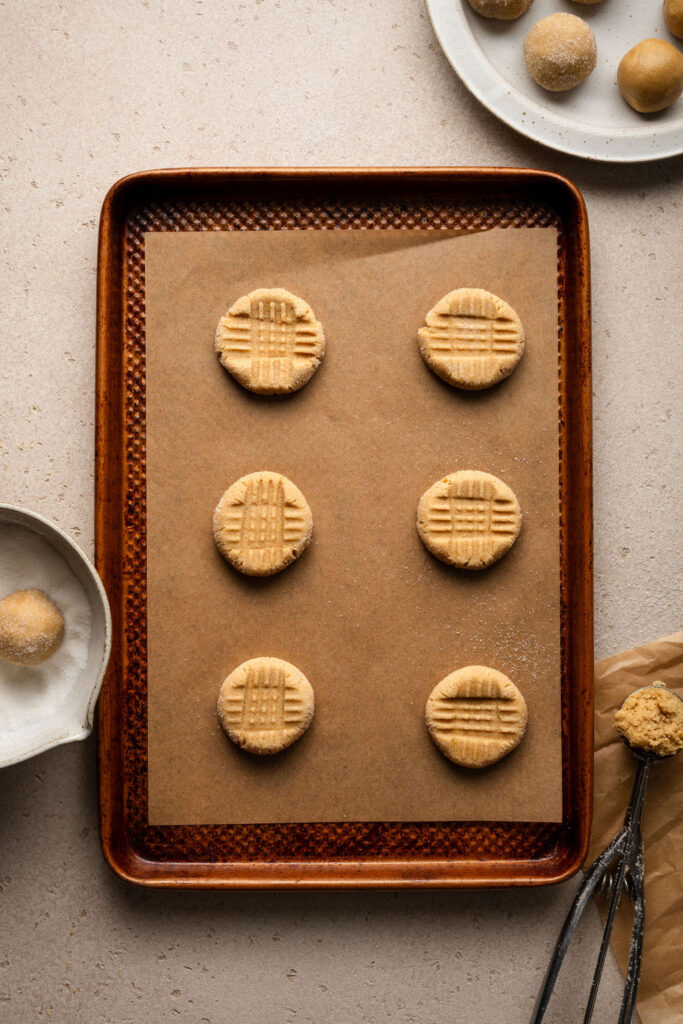
Step 7: Bake the cookies
Arrange the dough balls on a parchment-lined baking sheet. Use a fork to gently flatten each cookie in one direction, then again in the opposite direction to create the classic crosshatch pattern. Bake at 350°F (177°C) for 9–11 minutes, until the edges are set and lightly golden.
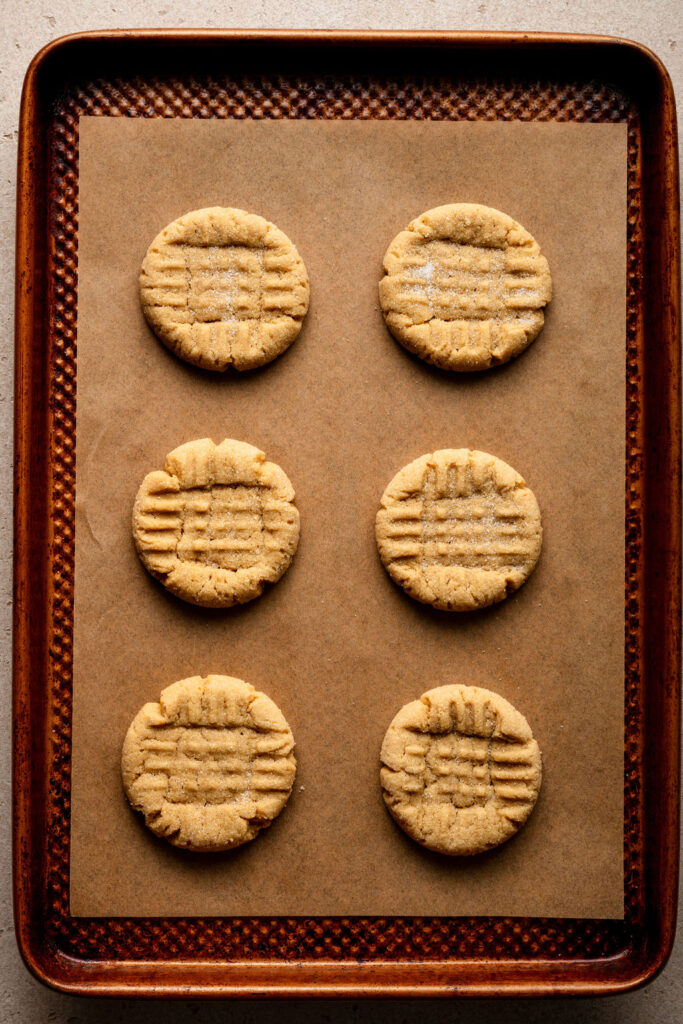
Recipe Tips
Use conventional creamy peanut butter
For the best texture and spread, use a creamy peanut butter such as Jif or Skippy. Avoid natural peanut butter that requires stirring, as the separated oils can change the consistency of the dough and cookies.
Start with properly softened butter
The butter should be soft enough to cream easily with the sugars but not overly warm or partially melted. Butter that is too soft can cause the cookies to spread more during baking.
Don’t skip the chill time
Chilling the dough helps control the spread of the cookies and gives the gluten-free flour time to hydrate. The dough may still feel slightly soft after chilling, but it should be easy to scoop and roll.
Weigh the cookie dough for even baking
For evenly sized cookies, portion the dough into approximately 40-gram balls. Keeping the cookies the same size helps them bake evenly and gives you consistently sized finished cookies.
Gently flatten the cookies before baking
Peanut butter cookie dough doesn’t spread as freely as some other cookie doughs, so use a fork to gently flatten each ball while creating the classic crosshatch pattern.
Don’t overbake
Remove the cookies from the oven when the edges are set and lightly golden but the centers still look slightly underdone. They will continue to set as they cool on the baking sheet, which helps keep the centers soft and chewy.
Storage & Freezing
Storage
Store the cooled cookies in an airtight container at room temperature for up to 4–5 days. For the best soft and chewy texture, make sure the cookies are completely cool before storing.
Freezing baked cookies
Once completely cooled, place the cookies in an airtight freezer-safe container or bag and freeze for up to 2–3 months. Thaw at room temperature before serving.
Freezing cookie dough
Scoop the dough into 40-gram portions and roll into balls, but wait to coat them in granulated sugar and create the crosshatch pattern. Freeze the dough balls on a parchment-lined baking sheet until firm, then transfer to a freezer-safe container or bag for up to 2–3 months.
Frequently Asked Questions
Can I use natural peanut butter in these cookies?
I recommend using a conventional creamy peanut butter, such as Jif or Skippy, for the best results. Natural peanut butter can have a different oil content and consistency, which may affect the texture and spread of the cookies.
Why do you put fork marks on peanut butter cookies?
Peanut butter cookie dough is relatively dense and doesn’t spread as much on its own. Pressing the dough with a fork helps flatten the cookies so they bake more evenly while also creating the classic crosshatch pattern.
Why do I need to chill the cookie dough?
Chilling helps prevent the cookies from spreading too much and gives the gluten-free flour time to hydrate. It also makes the soft dough easier to scoop, roll, and press with a fork.
How do I know when peanut butter cookies are done?
The cookies are ready when the edges are set and lightly golden but the centers still look slightly soft and underdone. They will continue to set as they cool on the baking sheet, so avoid baking until the centers look completely done.
Can I make the cookie dough ahead of time?
Yes. You can prepare the dough ahead of time and keep it covered in the refrigerator until you’re ready to bake. If the dough becomes very firm after an extended chill, allow it to sit at room temperature briefly until it’s soft enough to scoop and roll.
Gluten-Free Old-Fashioned Peanut Butter Cookies
- Total Time: 1 hour 35 minutes
- Yield: 18 cookies
- Diet: Gluten-Free
Description
These gluten-free old-fashioned peanut butter cookies are soft and chewy with lightly crisp edges and plenty of rich peanut butter flavor. Rolled in granulated sugar and finished with a classic fork-pressed crosshatch top, they’re a simple and nostalgic cookie that never goes out of style.
Ingredients
1 1/3 cups (200g) gluten-free 1:1 baking flour
1/2 teaspoon baking powder
1/2 teaspoon baking soda
1/4 teaspoon fine sea salt
1/2 cup (113g) unsalted butter, softened
1/2 cup (100g) granulated sugar
1/2 cup (100g) light brown sugar
3/4 cup (195g) creamy peanut butter (such as Jif or Skippy)
1 large egg + 1 large egg yolk, room temperature
2 teaspoons vanilla extract
1/3 cup granulated sugar, for rolling
Instructions
PREPARE THE COOKIE DOUGH
- Whisk together the gluten-free 1:1 flour, baking powder, baking soda, and salt. Set aside.
- Using an electric hand mixer or a stand mixer with the paddle attachment, cream together the butter, granulated sugar, and light brown sugar for ~2 minutes, until light and fluffy, scraping down the sides and bottom of the bowl as needed.
- Add the peanut butter and mix until well combined.
- Add the egg, egg yolk, and vanilla extract and mix until smooth and combined.
- Add the dry ingredients and mix on low speed just until combined and no flour streaks remain, scraping down the sides and bottom of the bowl as needed.
- Cover the bowl and chill the dough in the refrigerator for at least 1–2 hours. The dough may still feel slightly soft after chilling.
BAKE THE COOKIES
- When ready to bake, preheat the oven to 350°F (177°C) and line a large baking sheet with parchment paper. For best results, bake one tray at a time with 6 cookies per tray.
- Place the 1/3 cup granulated sugar in a small bowl. Using a medium cookie scoop, portion the dough into balls, about 2 tablespoons (40 g) each. Roll each portion between your palms until smooth, then roll in the granulated sugar to evenly coat.
- Arrange 6 dough balls on the prepared baking sheet, leaving space between each cookie. Using a fork, gently press down on each ball in one direction, then again in the opposite direction to slightly flatten the dough and create a crosshatch pattern.
- Bake on the center rack for 9–11 minutes, or until the edges are set and lightly golden. The centers should still look slightly underdone and will continue to set as the cookies cool.
- Immediately after removing the cookies from the oven, place a large round cookie cutter or bowl slightly larger than a cookie around each one and gently swirl it in a circular motion to smooth the edges and create a round shape.
- Allow the cookies to cool on the baking sheet for 5 minutes before transferring them to a wire rack to cool completely.
Store the cookies in an airtight container for 4-5 days.
- Prep Time: 25 minutes
- Chill: 1 hour
- Cook Time: 10 minutes
- Category: Cookies, Dessert
- Method: Baking
Photography by Creating Kaitlin


Leave a Reply