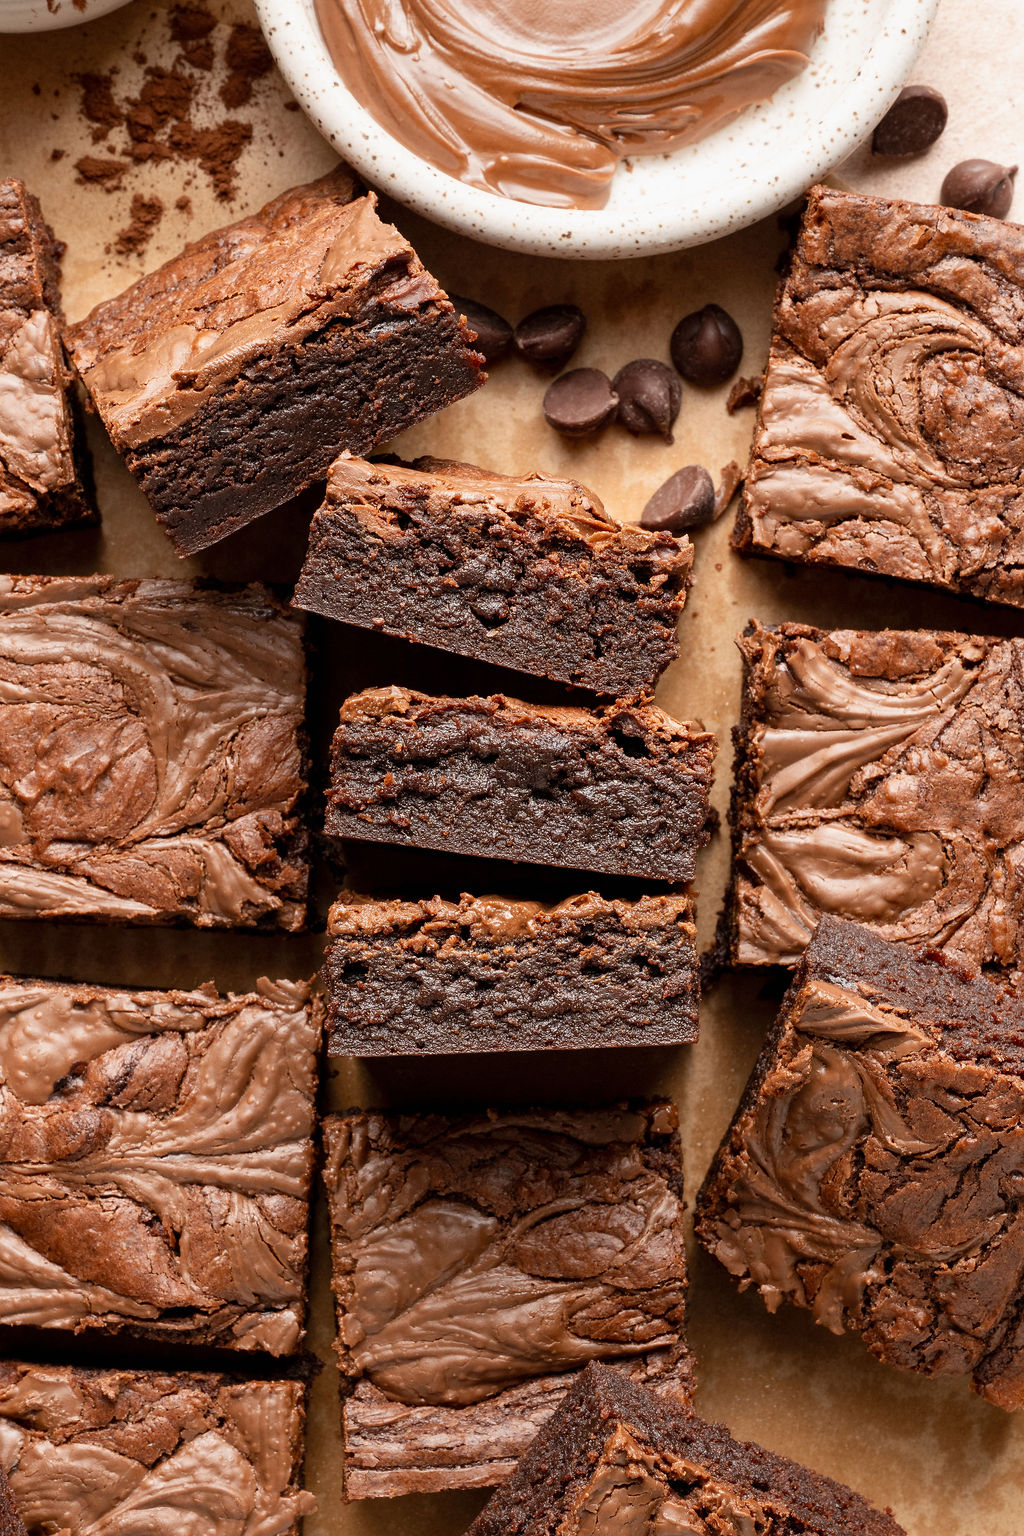


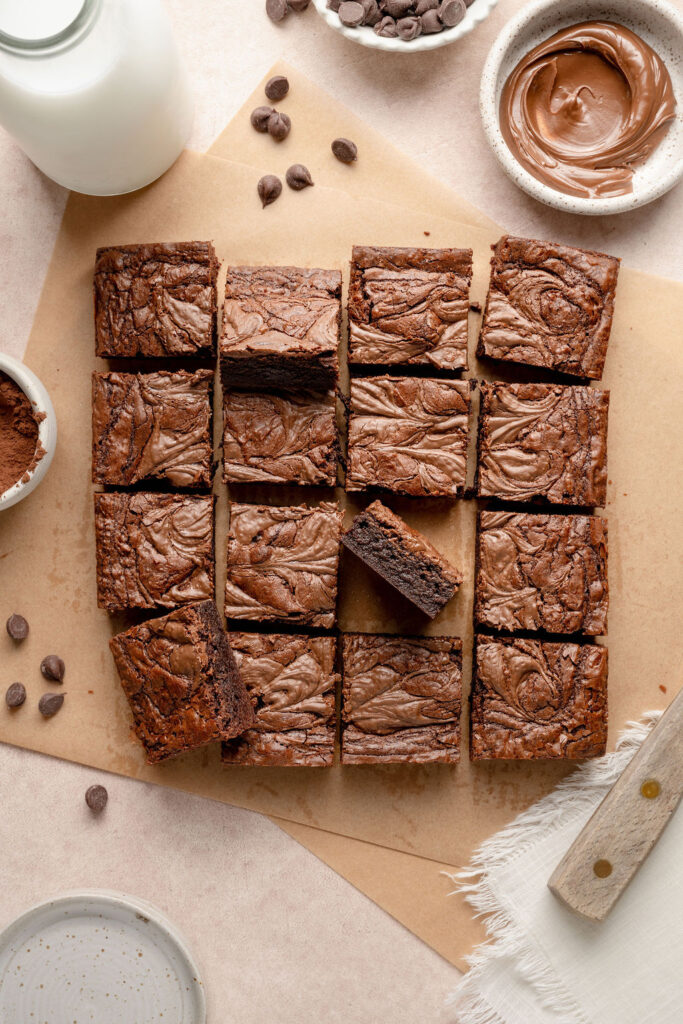
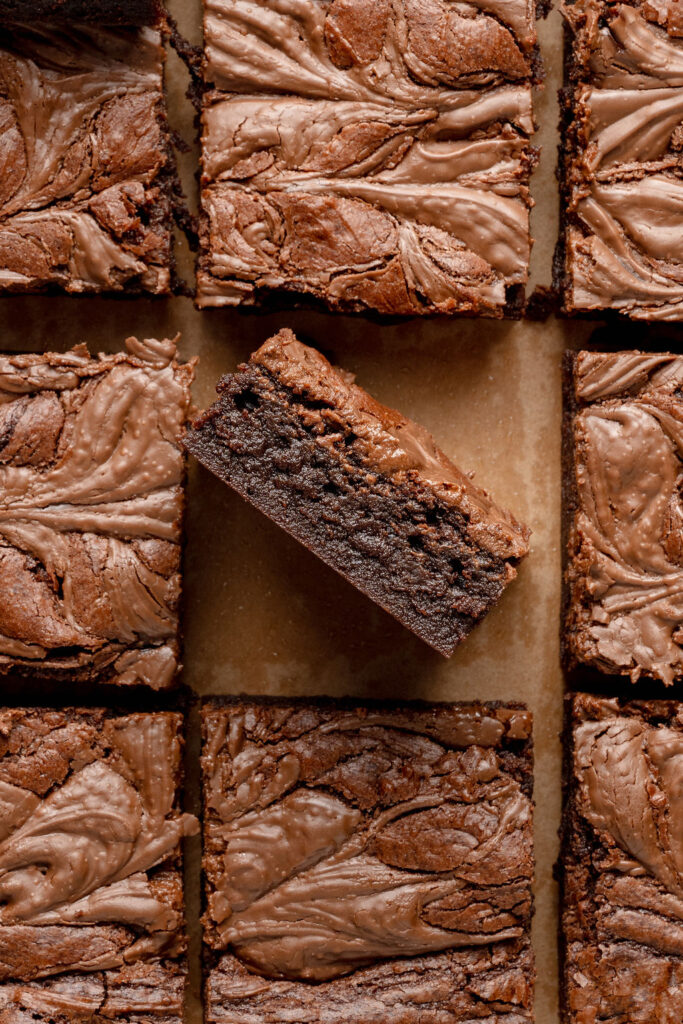
Rich, fudgy, and swirled with creamy Nutella, these gluten-free Nutella brownies are the ultimate treat for chocolate lovers. Made with simple pantry ingredients, they have a perfectly crackly top, an irresistibly gooey center, and ribbons of Nutella baked into every bite. Best of all, no one will ever guess they’re gluten-free.
Whether you’re baking for a special occasion, bringing dessert to a party, or simply craving something deeply chocolatey, this recipe delivers bakery-quality brownies with very little effort. The combination of melted chocolate, Dutch-process cocoa, and Nutella creates an intensely rich flavor while keeping the brownies incredibly moist and fudgy.
If you’re a Nutella fan, this is one recipe you’ll find yourself making again and again.
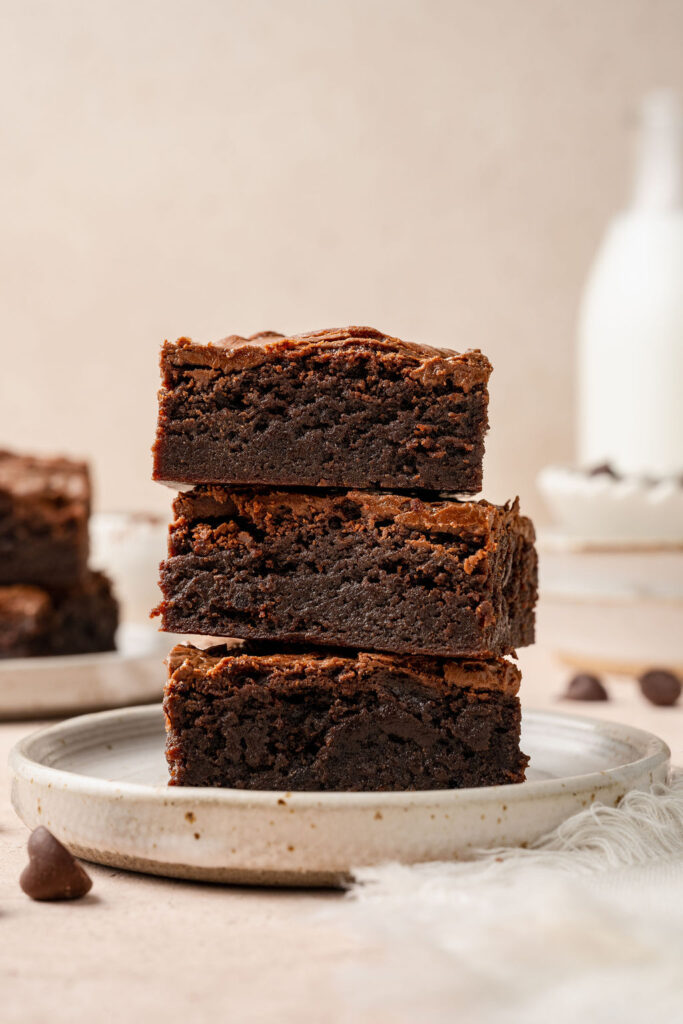
Why You’ll Love This Recipe
Perfectly fudgy texture
These brownies have crisp, crackly tops with rich, gooey centers that stay soft for days.
Swirls of creamy Nutella in every bite
A generous layer of Nutella is swirled into the batter before baking for beautiful marbled brownies and an extra boost of hazelnut-chocolate flavor.
Deep, rich chocolate flavor
Melted chocolate, Dutch-process cocoa powder, and Nutella work together to create an intensely chocolatey brownie that’s balanced without being overly sweet.
Simple to make
This recipe comes together with simple pantry ingredients and just a few easy steps, making it perfect for beginner and experienced bakers alike.
No one will know they’re gluten-free
Thanks to a carefully balanced ratio of gluten-free flour, butter, chocolate, and eggs, these brownies have the same rich texture as a classic brownie recipe.
Perfect for every occasion
Whether you’re making them for birthdays, holidays, bake sales, or a cozy night at home, these brownies are always a crowd-pleaser.
Ingredient Notes
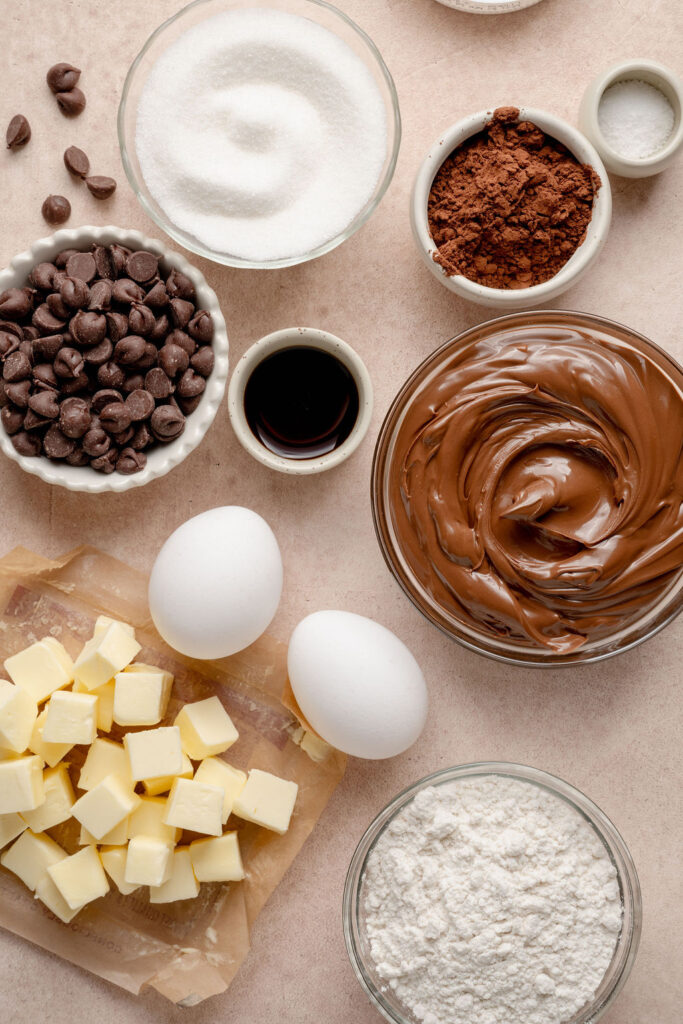
Nutella
The star of the recipe! Nutella is mixed into the brownie batter and swirled over the top before baking for ribbons of creamy hazelnut-chocolate flavor throughout the brownies. –
Semisweet chocolate chips
Melted with the butter to create a rich chocolate base. Use a good-quality chocolate for the best flavor.
Dutch-process cocoa powder
Adds an extra layer of deep chocolate flavor while contributing to the brownies’ dark color and fudgy texture.
Unsalted butter
Provides richness and helps create the brownies’ tender, melt-in-your-mouth crumb.
Granulated sugar
Sweetens the brownies while helping create that classic shiny, crackly top.
Eggs
Room temperature eggs whisked with the sugar help give the brownies structure and contribute to their glossy top.
Gluten-free 1:1 flour
A quality gluten-free all-purpose flour blend keeps these brownies tender while making them completely gluten-free. I recommend using Bob’s Red Mill Gluten Free 1:1 Baking Flour or King Arthur Gluten-Free Measure for Measure Flour for the most consistent results.
Vanilla extract
Enhances both the chocolate and hazelnut flavors.
Salt
Balances the sweetness and intensifies the chocolate flavor.
How to Make Gluten-Free Nutella Brownies
See the recipe card below for the full ingredient list, measurements, and instructions.
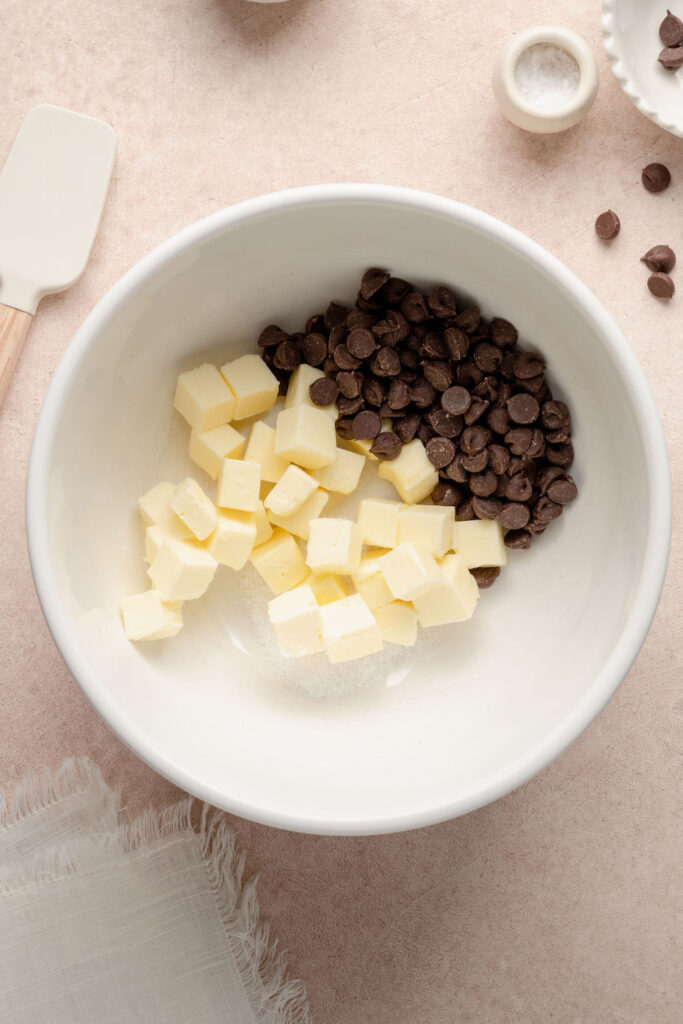
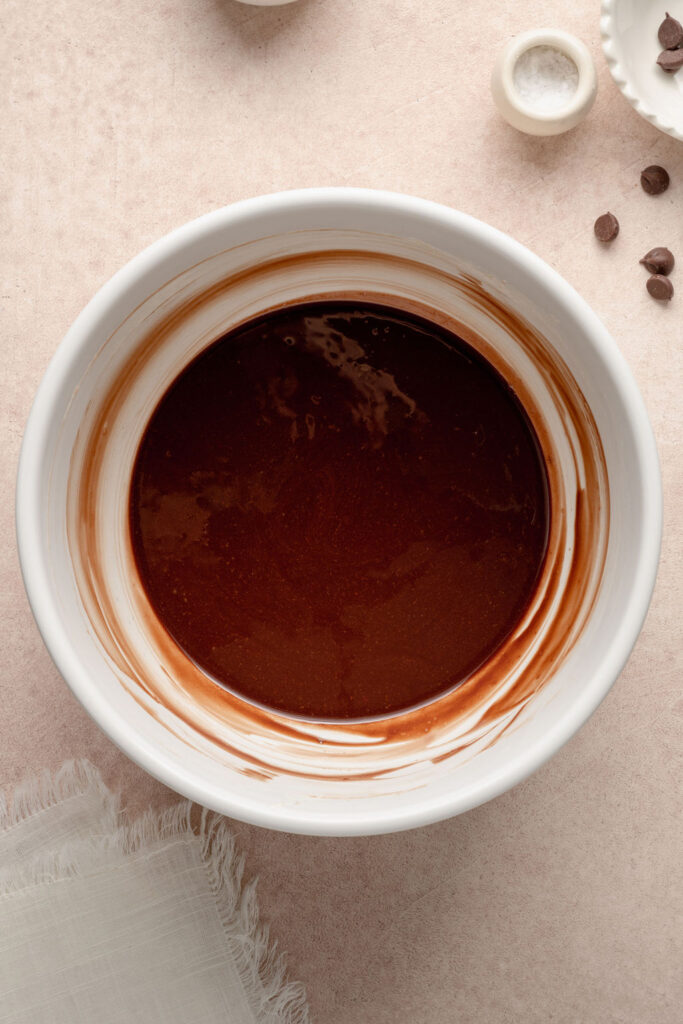
Step 1: Melt the butter and chocolate
Place the butter, chocolate chips, and salt in a heatproof bowl set over a saucepan of gently simmering water. Stir until melted, then remove from the heat.
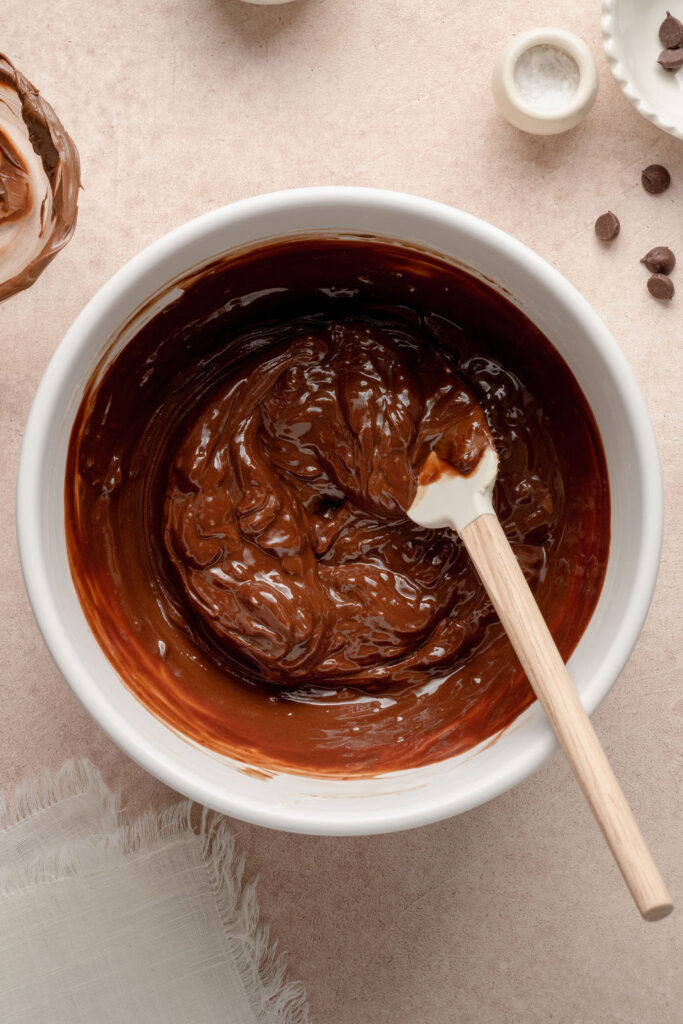
Step 2: Stir in Nutella
Stir 3/4 cup Nutella into the butter and chocolate mixture.
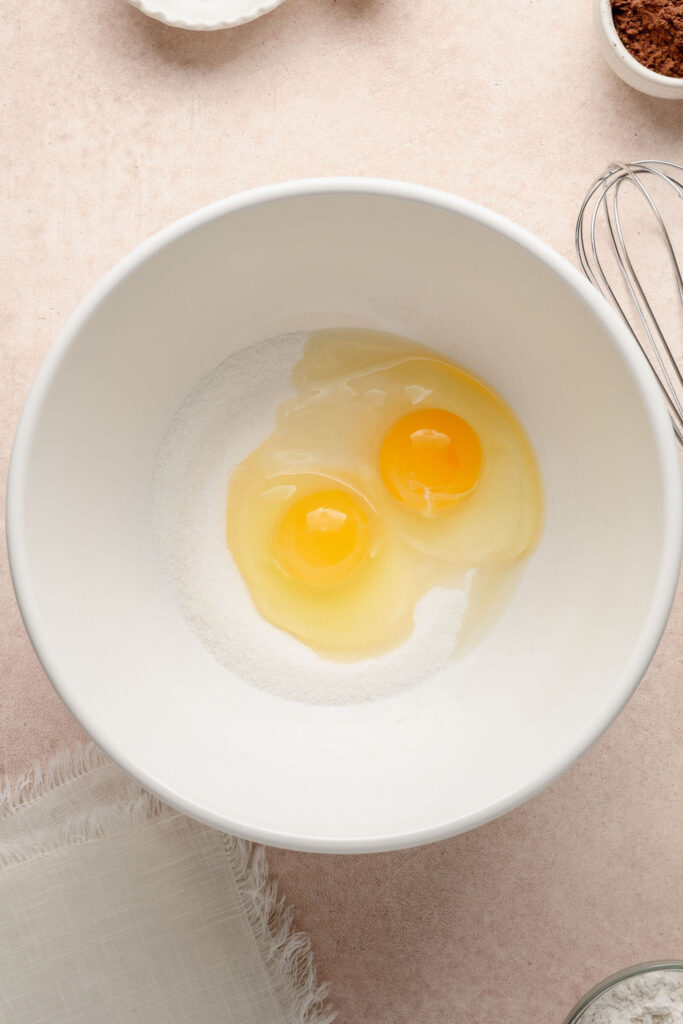
Step 3: Whisk the eggs and sugar
In a large mixing bowl, whisk the eggs and sugar until the mixture becomes lighter in color and slightly thickened.
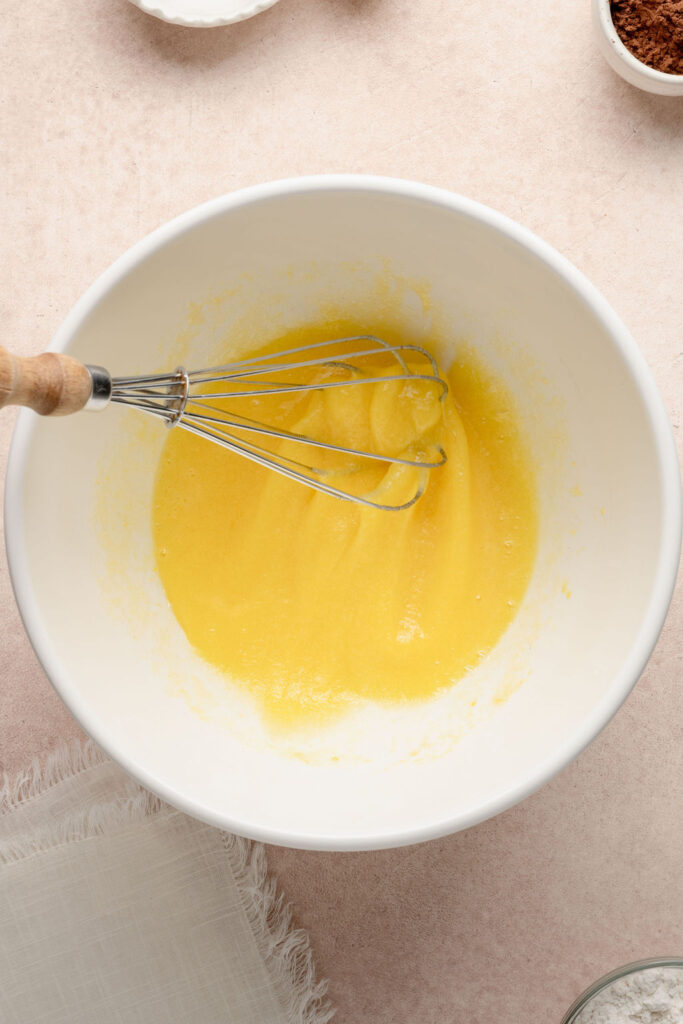
Step 4: Add the chocolate mixture
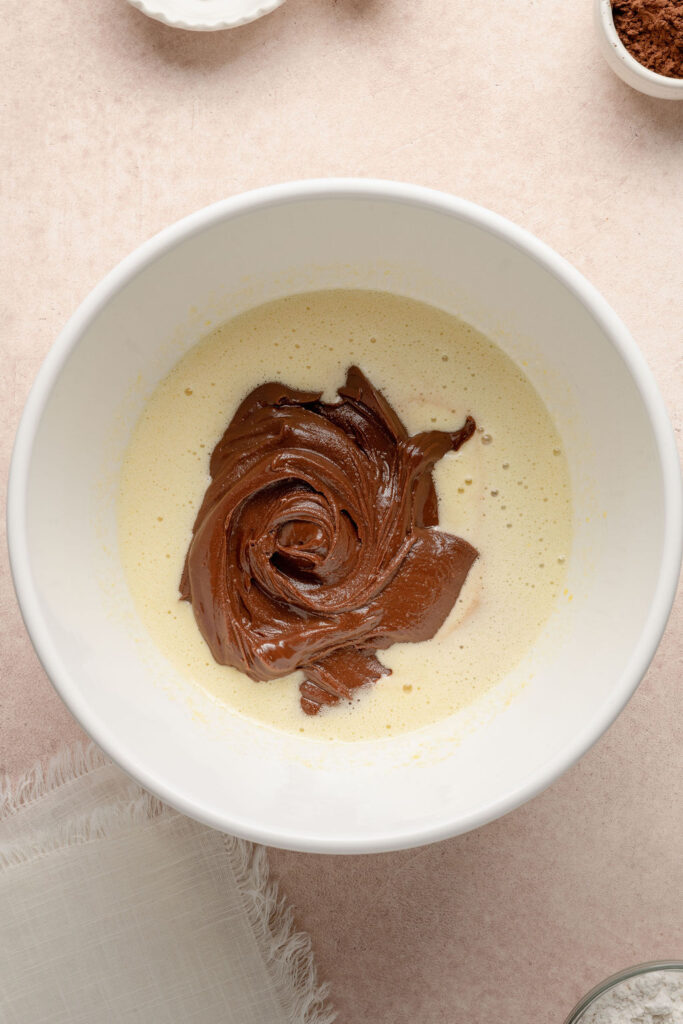
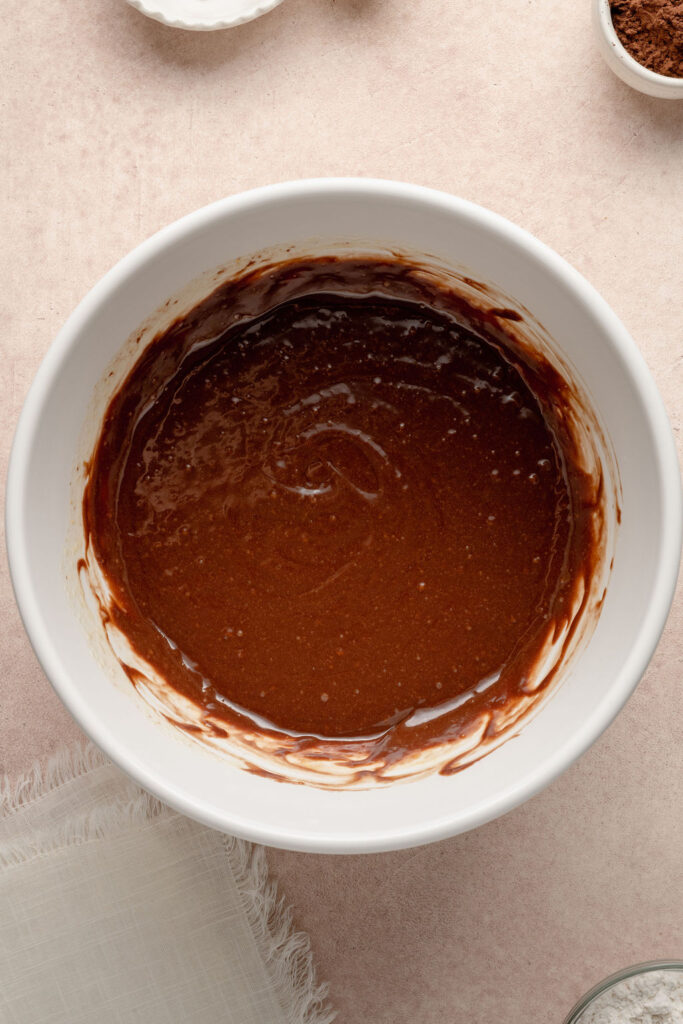
Whisk in the vanilla extract, then add the melted chocolate-Nutella mixture and whisk until smooth and fully combined.
Step 5: Fold in the dry ingredients
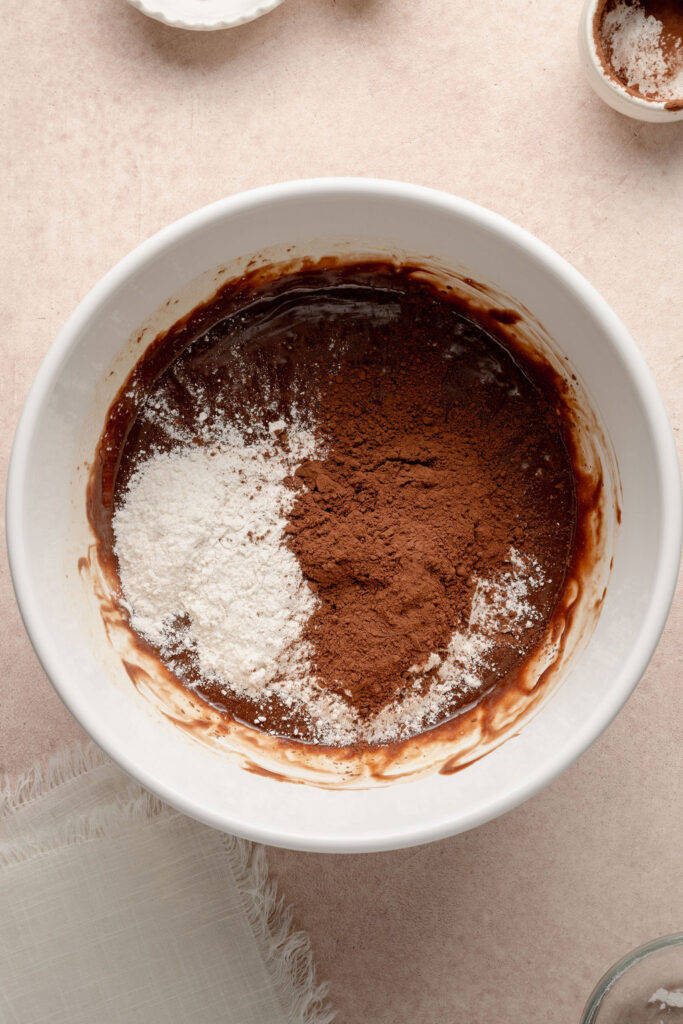
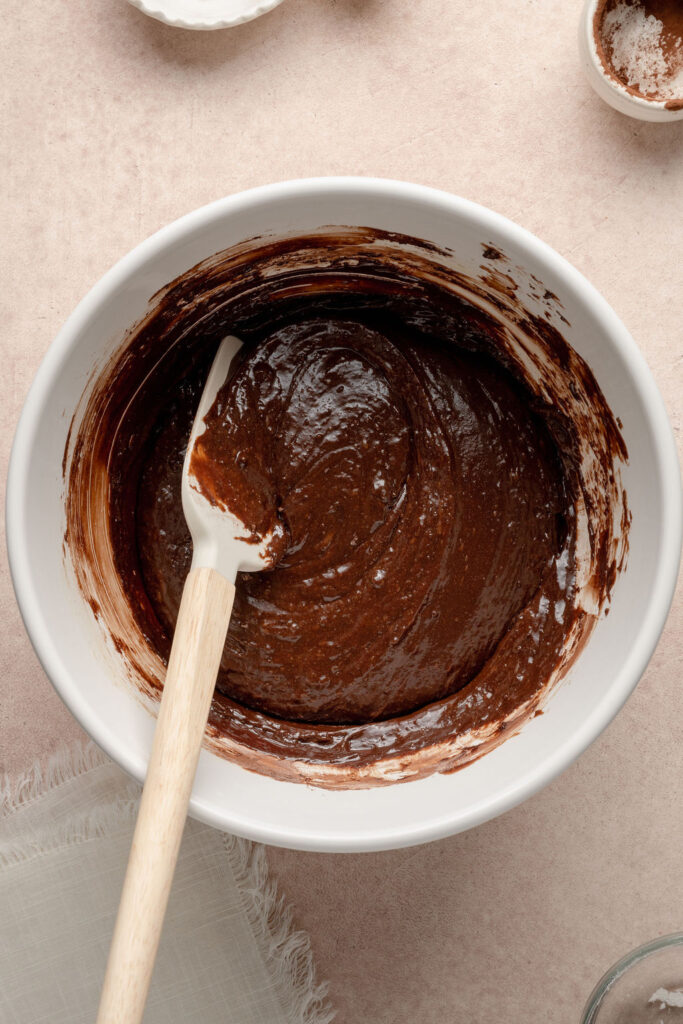
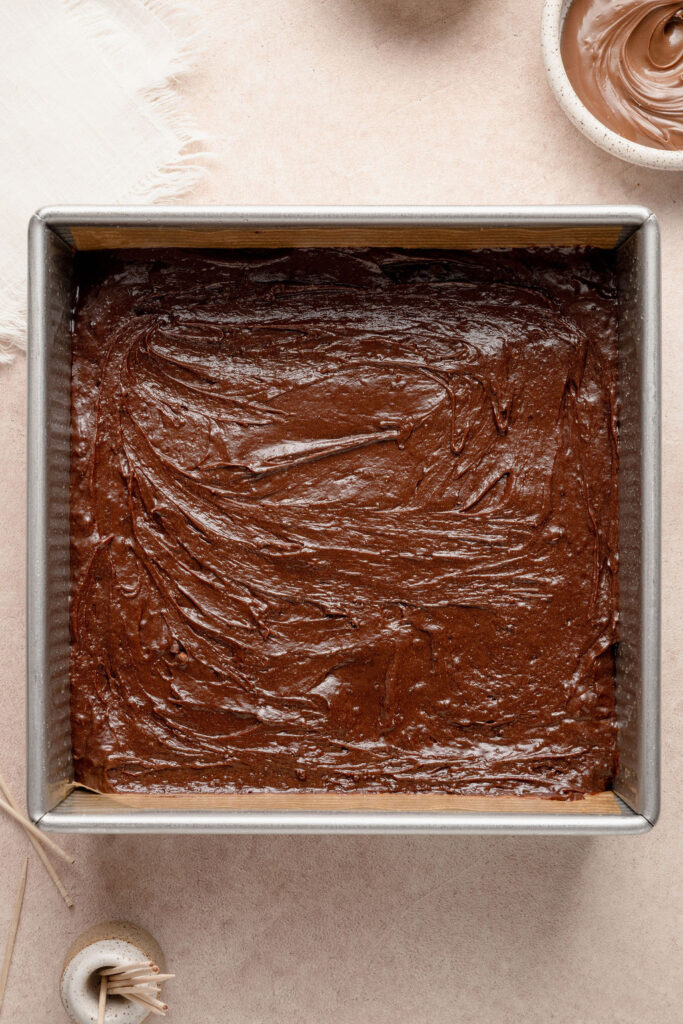
Add the gluten-free flour and cocoa powder, then gently fold with a rubber spatula until no dry streaks remain. The batter will be thick.
Step 6: Smooth the batter into the baking pan
Transfer the batter to an 8×8-inch square metal baking pan lined with parchment paper. Smooth the top to create an even layer.
Step 7: Swirl the Nutella
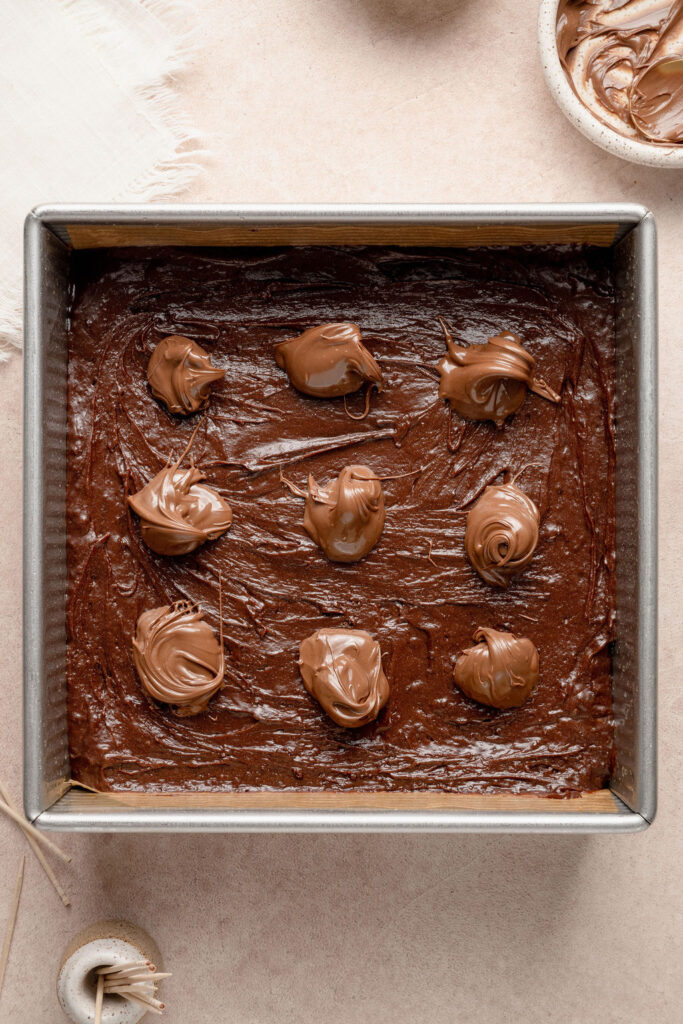
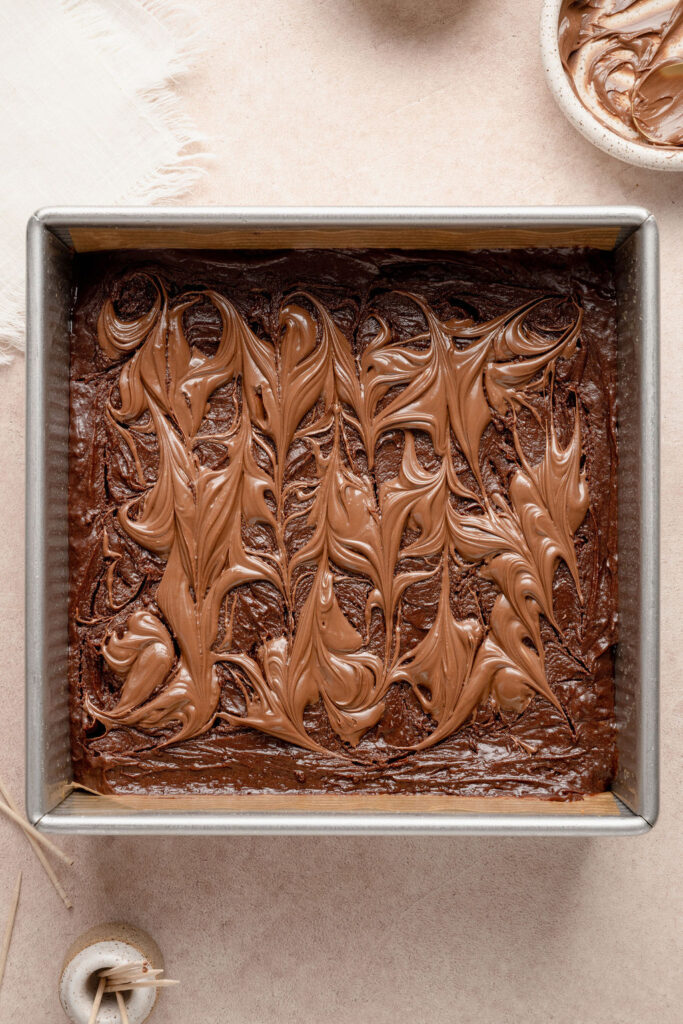
Dollop the remaining 1/4 cup of Nutella on top, then use a toothpick to gently swirl the nutella into the batter.
Step 8: Bake the brownies
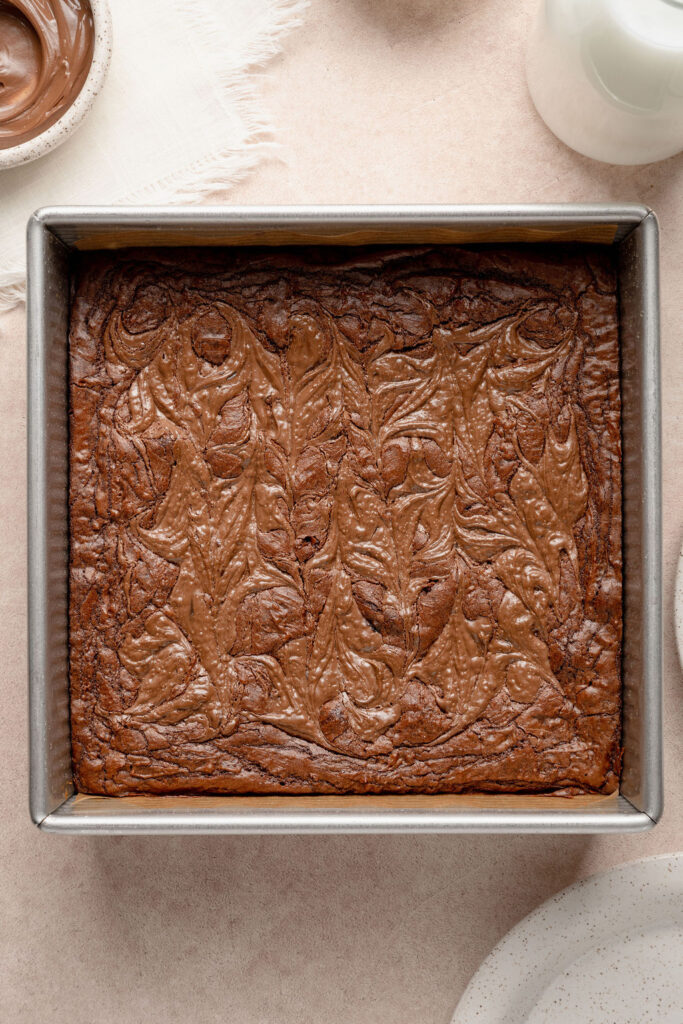
Bake at 325°F for 35-45 minutes or until the edges are set and a toothpick inserted comes out with moist crumbs or a small amount of batter attached. Place the pan on a wire rack to cool completely.
Step 9: Slice and serve
Use the parchment paper to lift the brownies out of the pan. Slice and enjoy!
Recipe Tips
Use room temperature eggs
They whisk more easily with the sugar, creating a smoother batter and helping develop that signature shiny, crackly top.
Whisk the eggs and sugar for 2–3 minutes
Don’t rush this step! Whisking until the mixture becomes lighter in color and slightly thickened helps create the brownies’ glossy top and fudgy texture.
Don’t overmix the batter
Once you add the flour and cocoa powder, gently fold the batter together just until no dry streaks remain. Overmixing can lead to denser brownies.
Warm the Nutella if needed
If your Nutella is thick or has been stored in a cool pantry, microwave it for 10–15 seconds so it’s easier to dollop and swirl across the batter.
Don’t over-swirl the Nutella
Drag a toothpick or skewer through each dollop just a few times to create defined ribbons of Nutella throughout the brownies. Too much swirling will blend the Nutella into the batter instead of creating beautiful marbled swirls.
Don’t overbake
For the fudgiest brownies, remove them from the oven when the edges are set and a toothpick inserted in the center comes out with moist crumbs or a small amount of batter attached. The brownies will continue to set as they cool.
Let the brownies cool completely before slicing
It can be tempting to dig in right away, but cooling allows the brownies to finish setting, making them much easier to cut into clean squares.
For bakery-style slices, use a warm knife
Run a sharp knife under hot water, wipe it dry, and clean it between cuts for neat, professional-looking brownies.
Storage
Store the brownies in an airtight container at room temperature for up to 4 days. They’ll stay soft, fudgy, and moist, making them just as delicious the next day.
If your kitchen is especially warm, you can refrigerate the brownies in an airtight container for up to 1 week. Before serving, let them come to room temperature for 20–30 minutes for the best texture and flavor.
Freezing
To freeze
Once the brownies have cooled completely, wrap individual brownies (or the entire pan) tightly in plastic wrap, then place them in a freezer-safe container or zip-top freezer bag. Freeze for up to 3 months.
To thaw
Transfer the brownies to the refrigerator overnight or let them sit at room temperature for 1–2 hours before serving.
For the best texture
If you enjoy warm brownies, microwave an individual brownie for 10–15 seconds after thawing to make the Nutella soft and gooey again.
Frequently Asked Questions
Can I use a different gluten-free flour?
I recommend using Bob’s Red Mill Gluten Free 1:1 Baking Flour or King Arthur Gluten-Free Measure for Measure Flour for the most consistent results. If you use a different gluten-free flour blend, make sure it contains xanthan gum, as it helps provide the structure and chewy texture these brownies need. Since gluten-free flour blends vary from brand to brand, using a different blend may slightly change the texture of the brownies.
Can I use natural cocoa powder instead of Dutch-process cocoa?
Dutch-process cocoa gives these brownies their rich chocolate flavor and dark color. Natural cocoa powder will work in a pinch, but the brownies will have a lighter color and a slightly different flavor.
How do I know when the brownies are done baking?
The edges should look set while the center is still slightly soft. A toothpick inserted into the middle should come out with moist crumbs or a small amount of fudgy batter—not completely clean. This ensures the brownies stay rich and fudgy instead of becoming dry.
Why didn’t my brownies have a shiny, crackly top?
For the best crackly top, whisk the eggs and sugar vigorously for 2–3 minutes until the mixture becomes lighter in color and slightly thickened. Also be careful not to overmix the batter after adding the dry ingredients.
Can I make these brownies ahead of time?
Yes! These brownies actually taste even better the next day after the flavors have had time to develop. Store them in an airtight container at room temperature until you’re ready to serve.
Gluten-Free Nutella Brownies
- Total Time: 1 hour
- Yield: 16 Brownies
- Diet: Gluten-Free
Description
These gluten-free Nutella brownies are rich, fudgy, and loaded with Nutella both in the brownie batter and swirled on top. They’re easy to make, packed with deep chocolate flavor, and bake up with perfectly crackly tops and irresistibly gooey centers.
Ingredients
1/2 cup (113g) unsalted butter, cubed
1/2 cup (85g) semisweet chocolate chips
1/2 teaspoon fine kosher salt
1 cup (296g) Nutella, divided
2/3 cup (135g) granulated sugar
2 large eggs, room temperature
1 teaspoon vanilla extract
1/2 cup (75g) gluten free 1-to-1 baking flour (with xanthan gum)
1/4 cup (25g) dutch process cocoa powder
Instructions
PREHEAT THE OVEN AND PREPARE THE PAN
- Preheat the oven to 325°F (165°C).
- Lightly grease an 8 × 8-inch square metal baking pan, then line it with parchment paper, leaving a slight overhang on each side for easy removal. Set aside.
MAKE THE BROWNIE BATTER
- Place the cubed butter, chocolate chips, and salt in a heatproof bowl set over a saucepan with 1–2 inches of gently simmering water. Stir frequently until the butter and chocolate are completely melted. Alternatively, you can microwave in 20- second intervals, stirring well after each, until smooth and melted.
- Remove from the heat and stir in 3/4 cup (222 g) of the Nutella. The mixture does not need to be completely smooth at this stage; set aside.
- In a separate mixing bowl, add the granulated sugar and eggs. Whisk vigorously for 2–3 minutes, until the mixture lightens in color, thickens slightly, and takes on a creamy texture.
- Add the vanilla extract along with the melted chocolate mixture and whisk gently until fully combined.
- Add the gluten-free 1:1 flour and cocoa powder, then fold the batter together using a rubber spatula until no dry streaks remain. The batter will be thick.
- Transfer the batter to the prepared pan and smooth the top into an even layer. Dollop the remaining 1/4 cup (74 g) of Nutella over the surface, then use a toothpick or skewer to gently swirl it into the batter.
BAKE THE BROWNIES
- Bake on the center rack for 35–45 minutes, or until the edges are set and a toothpick inserted into the center comes out with moist crumbs or a small amount of batter attached.
- Place the pan on a wire rack and allow the brownies to cool completely before removing from the pan.
SLICE AND SERVE
- Use the parchment overhang to lift the brownies from the pan.
- Slice into squares and serve.
- Prep Time: 20 minutes
- Cook Time: 40 minutes
- Category: Brownies & Bars, Dessert
- Method: Baking
Photography by Creating Kaitlin


Leave a Reply