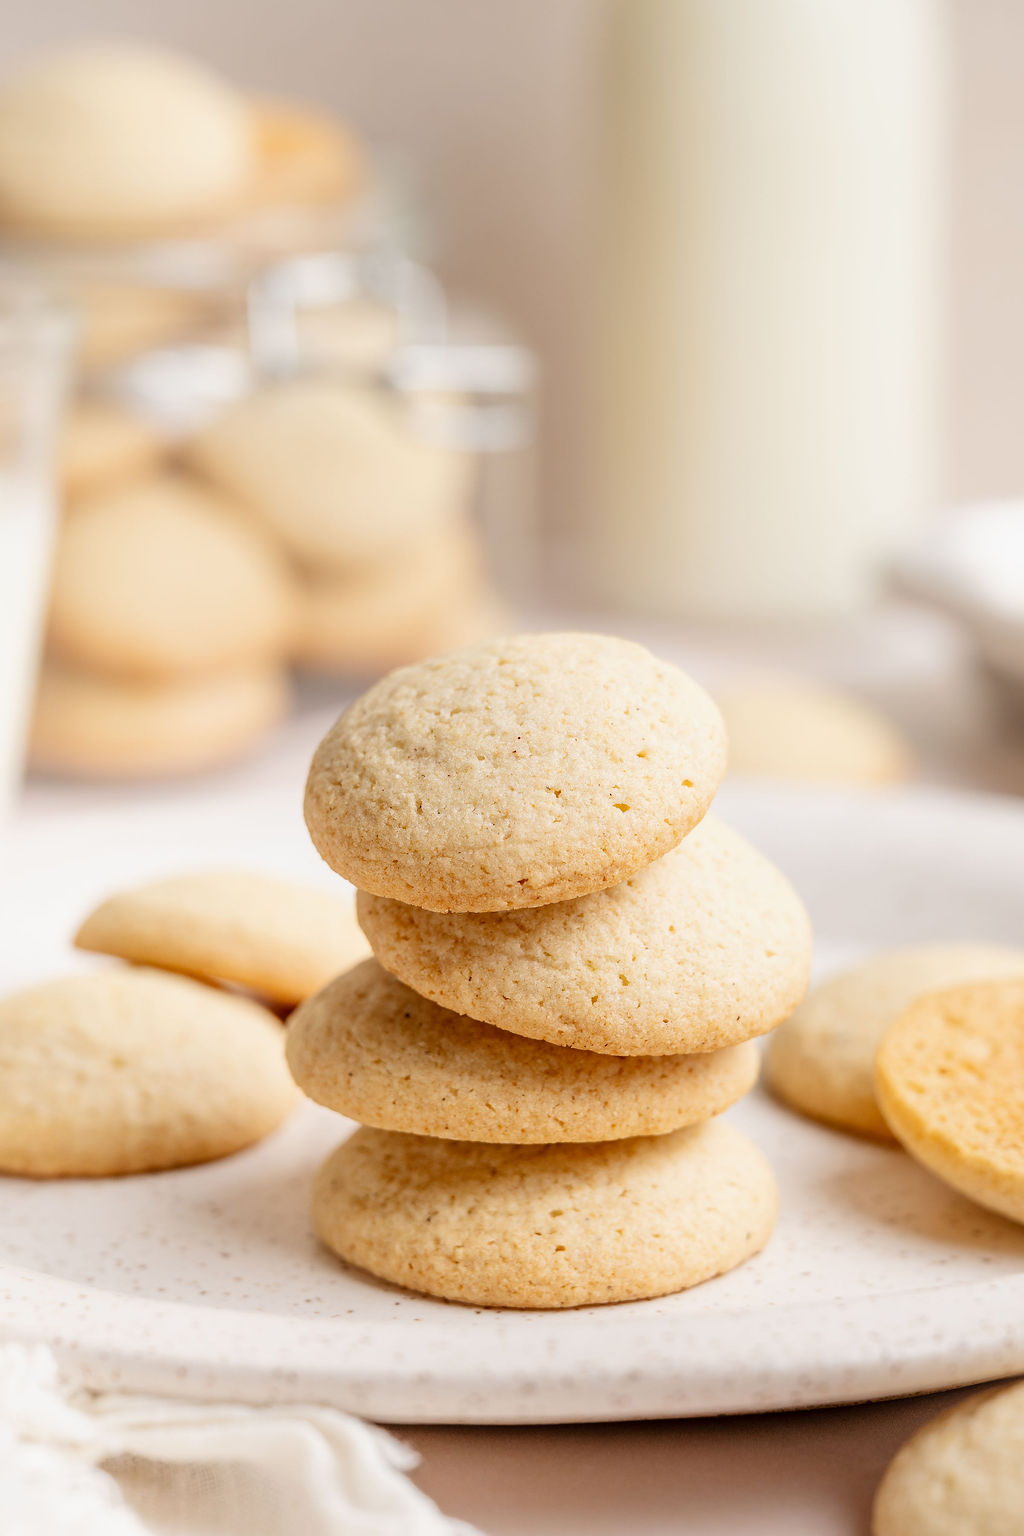


If you’ve been searching for a homemade gluten-free version of classic vanilla wafers, you’re in the right place. These crisp, buttery cookies are packed with rich vanilla flavor and bake up beautifully golden around the edges. They’re simple to make with pantry staples and have the perfect delicate crunch that makes vanilla wafers so irresistible.
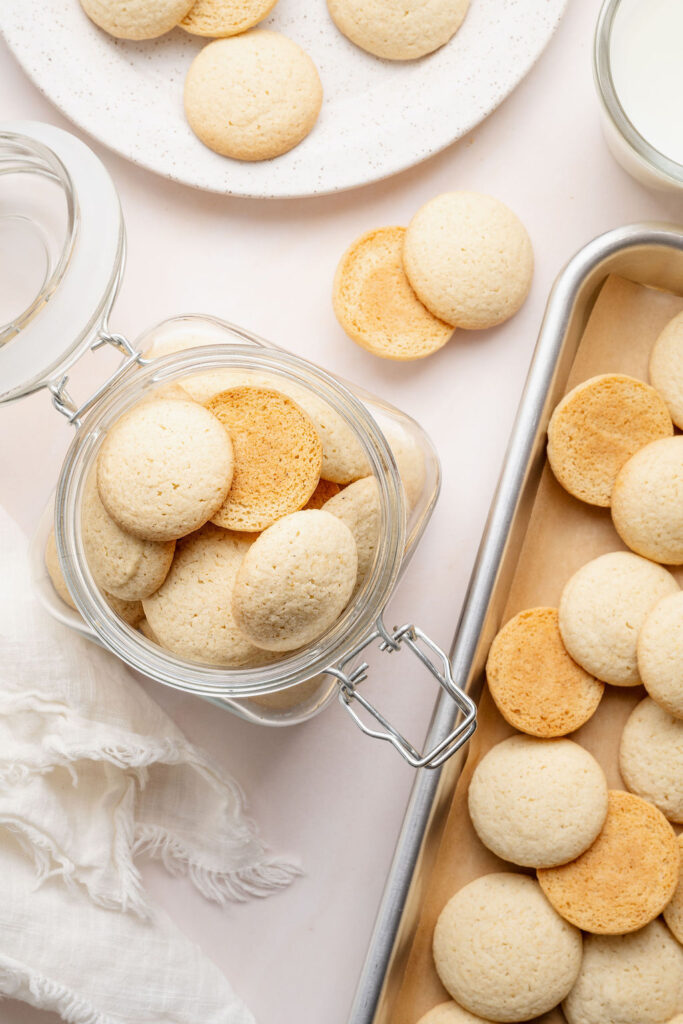
While they’re delicious straight from the cookie jar, these gluten-free vanilla wafers are also incredibly versatile. Use them to make banana pudding, layer them into icebox cakes, crush them into cookie crusts, or enjoy them alongside a cup of coffee or tea. Best of all, they stay crisp for days, making them a great make-ahead recipe to keep on hand whenever a dessert craving strikes.
Why You’ll Love This Recipe
Delicate crispy texture
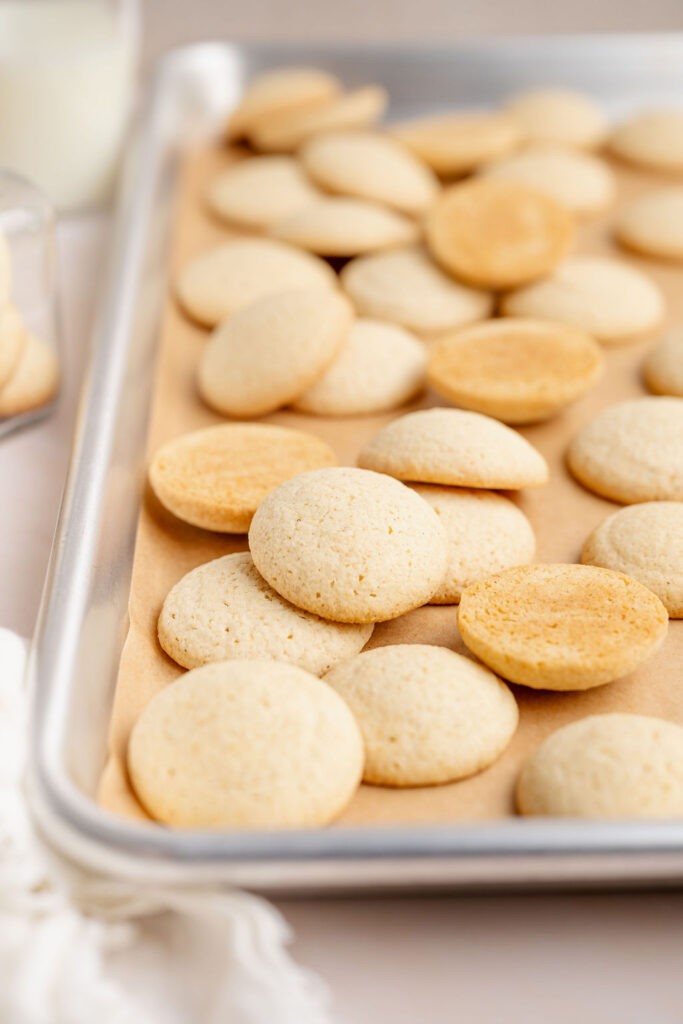
These gluten-free vanilla wafers bake up perfectly crisp with lightly golden edges and a delicate buttery crunch.
Rich vanilla flavor
A generous amount of vanilla bean paste gives these cookies an authentic vanilla flavor and beautiful flecks of vanilla throughout.
Made with simple ingredients
This recipe comes together with a handful of pantry staples and simple baking tools you likely already have on hand.
Perfect for snacking and desserts
Enjoy them straight from the cookie jar, use them in banana pudding, layer them into icebox cakes, or crush them into cookie crumbs for pie crusts and dessert toppings.
Ingredient Notes
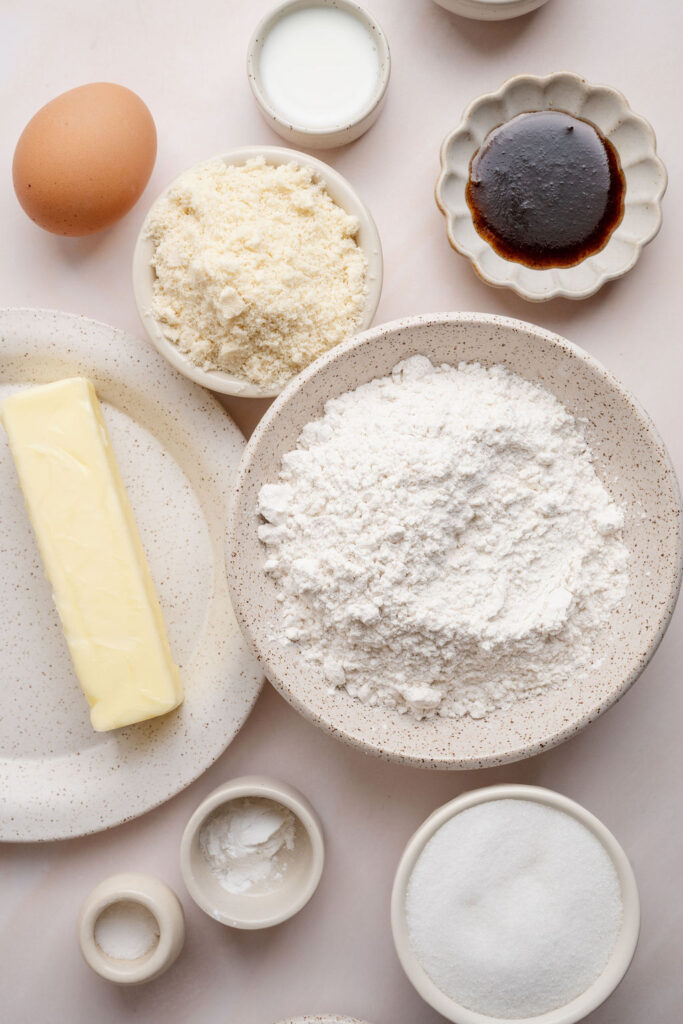
Gluten-free 1:1 flour
Use a gluten-free 1:1 baking flour blend that contains xanthan gum for the best texture and structure. I love Bob’s Red Mill 1:1 Baking Flour for this recipe.
Blanched almond flour
Almond flour adds richness and helps create the crisp, delicate texture that makes these cookies so irresistible. Be sure to use finely ground blanched almond flour, not almond meal.
Vanilla bean paste
Vanilla bean paste gives these cookies their signature flavor and beautiful vanilla bean specks. Pure vanilla extract can be substituted if needed, though the flavor will be slightly less pronounced.
Whole milk
A small amount of milk helps bring the dough together and creates a smooth, pipeable consistency. Any milk with a similar fat content will work, though whole milk produces the best texture.
How to Make Vanilla Wafers
See the recipe card below for the full ingredient list, measurements, and instructions.
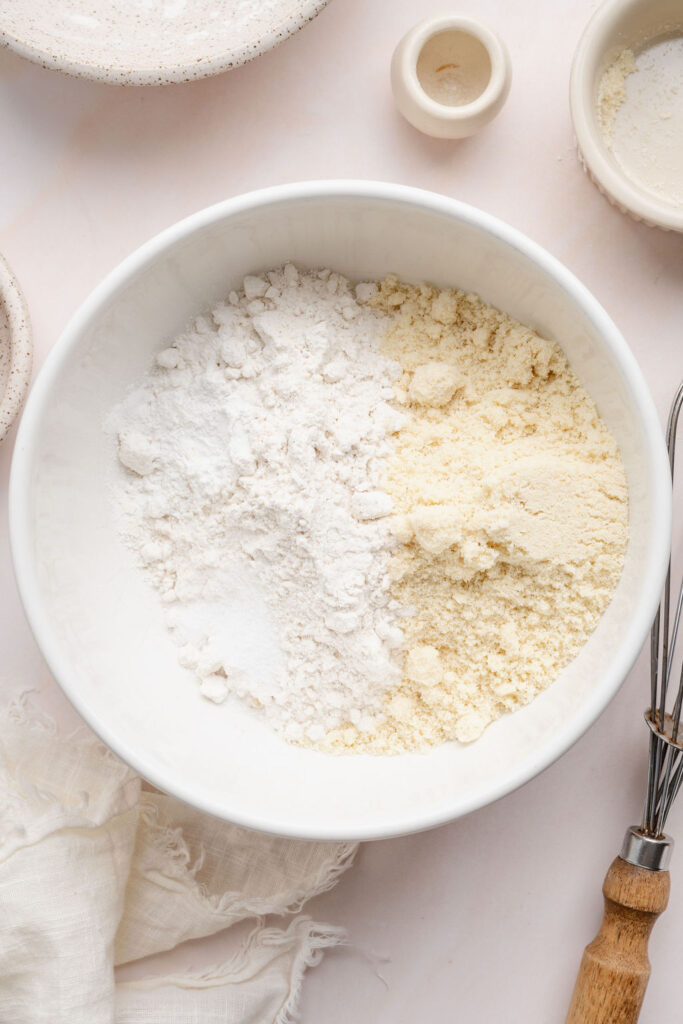
Step 1: Whisk the dry ingredients
In a medium mixing bowl, whisk together the gluten-free flour, almond flour, baking powder, and salt until evenly combined.
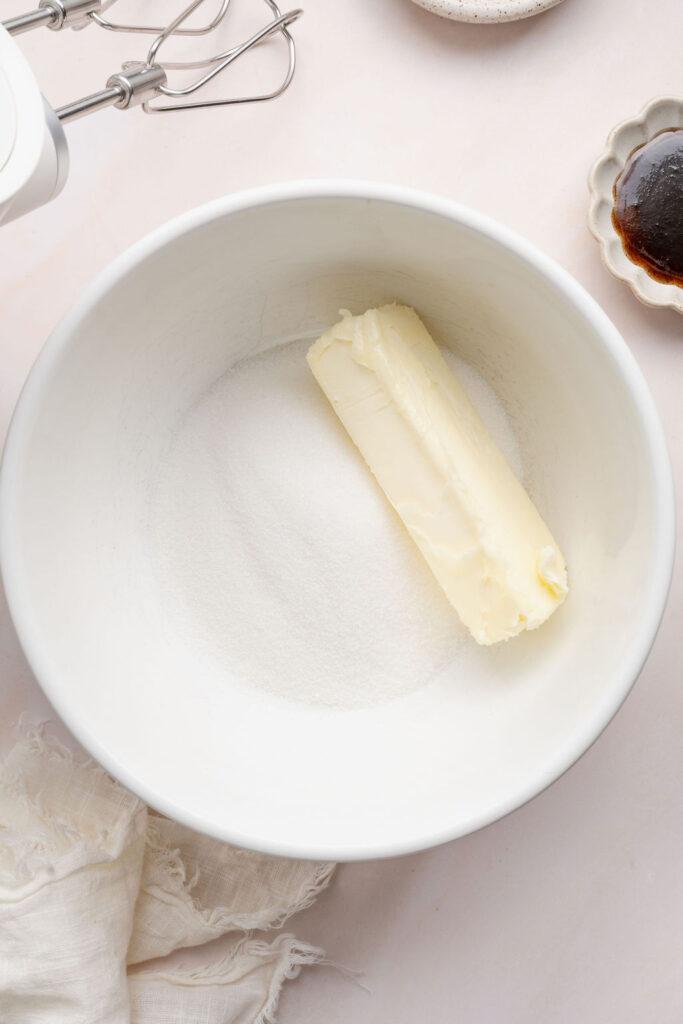
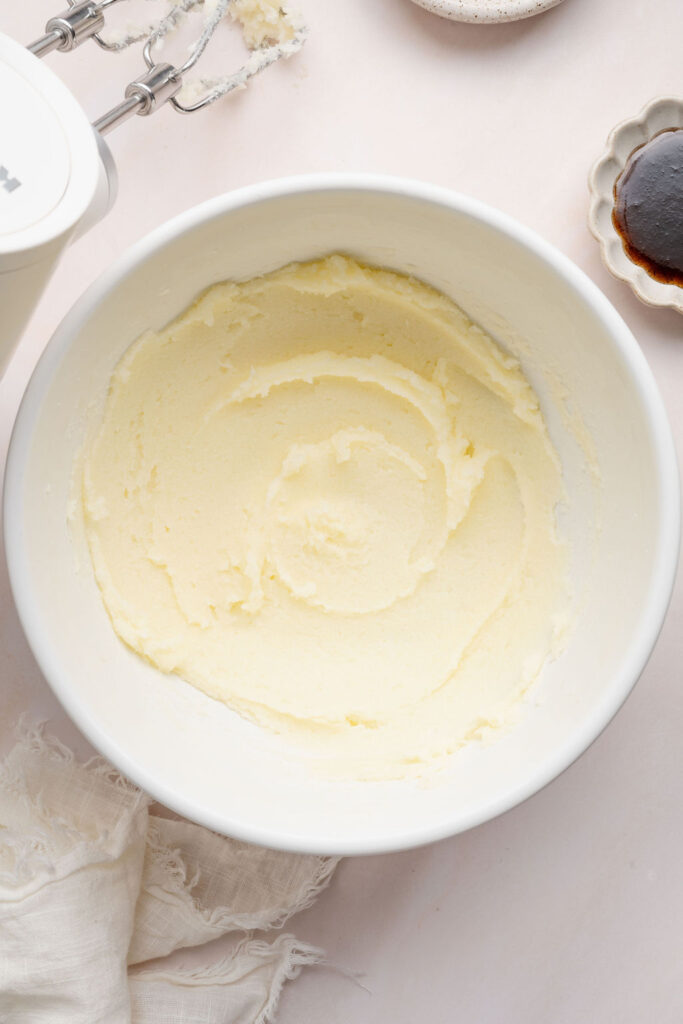
Step 2: Cream the butter and sugar
In a large mixing bowl, use an electric hand mixer to beat the butter and granulated sugar until light and creamy, about 2 minutes.
Step 3: Add the eggs and vanilla
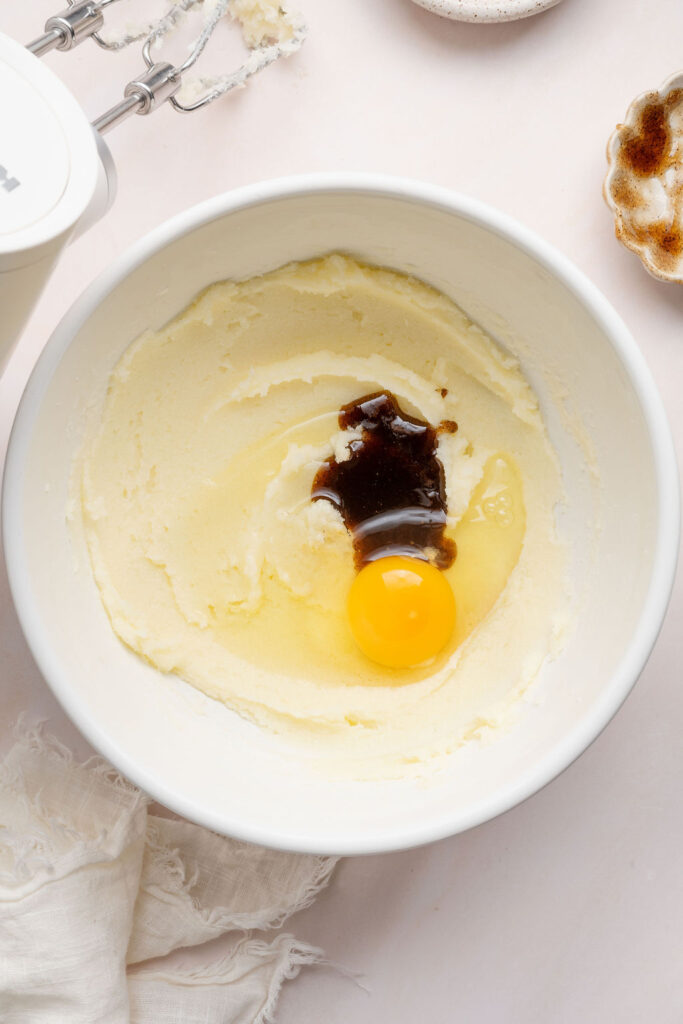
Add the egg and vanilla bean paste to the butter mixture and mix until fully combined, scraping down the sides of the bowl as needed.
Step 4: Mix in the milk
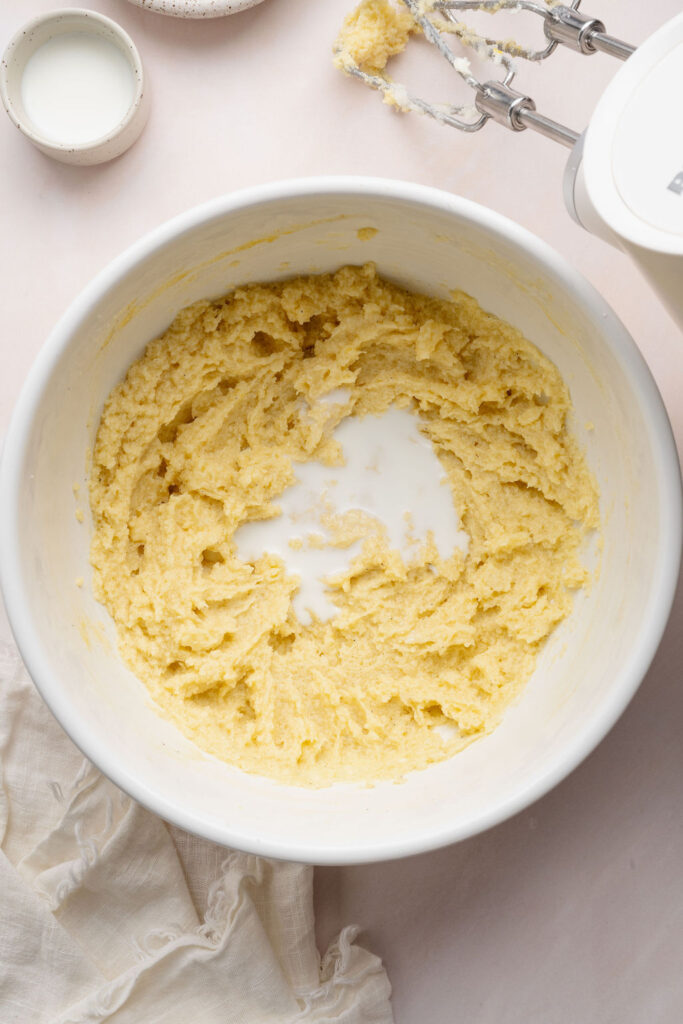
Add the milk and mix until incorporated.
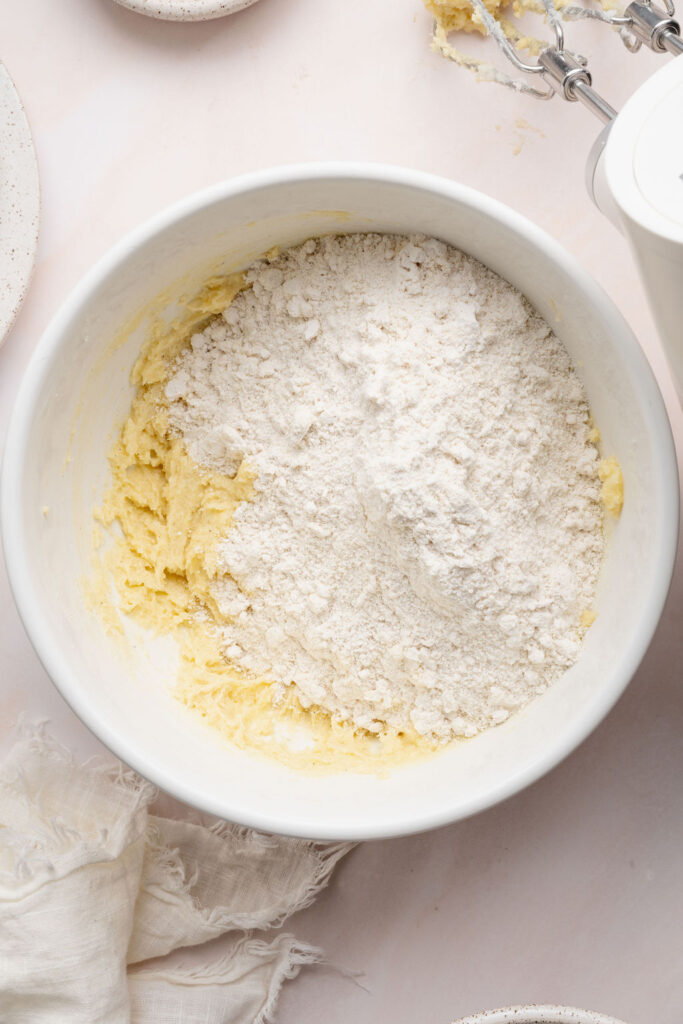
Step 5: Add the dry ingredients and mix
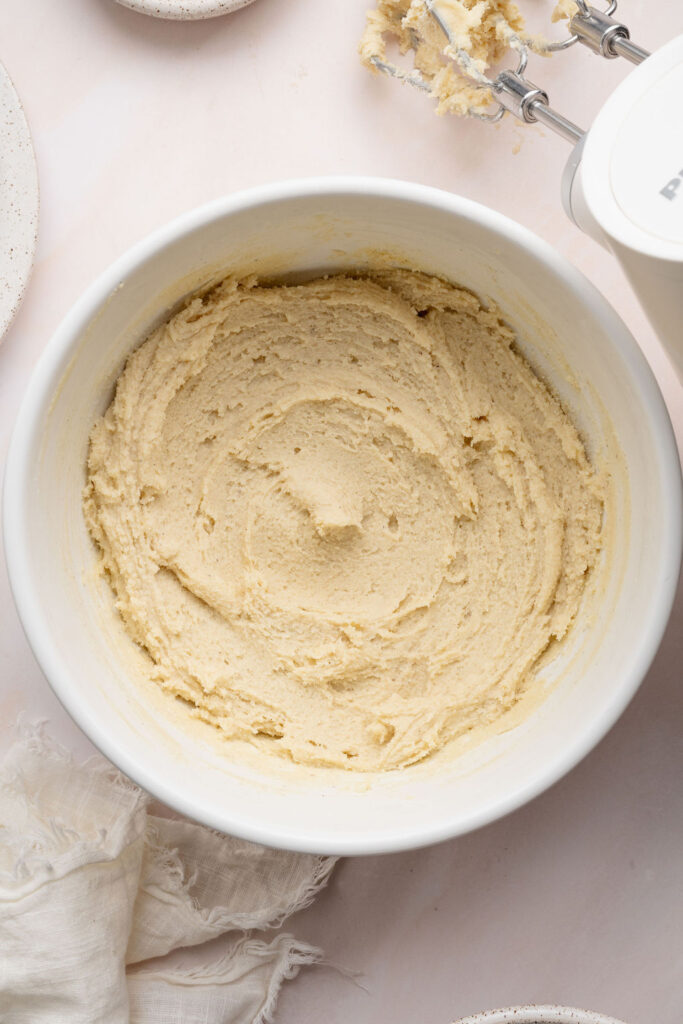
Add the dry ingredients to the wet ingredients and mix on low speed just until combined and a soft dough forms. The dough will be smooth, thick, and easy to pipe.
Step 6: Pipe the cookies
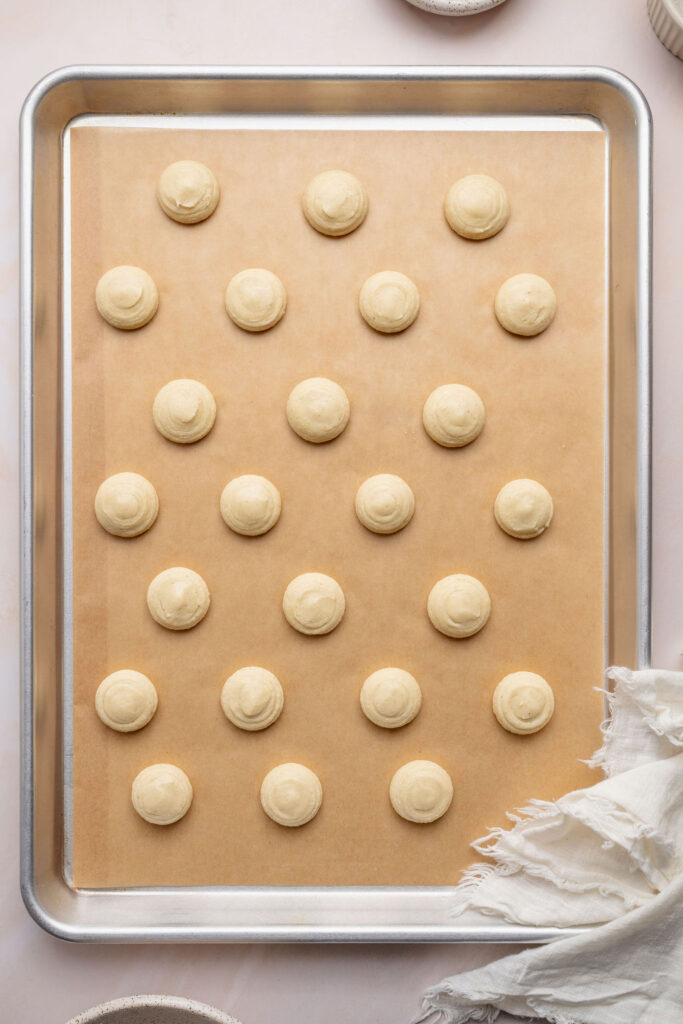
Transfer the dough to a piping bag fitted with a large round piping tip. Pipe rounds slightly larger than 1 inch in diameter (about 1½ teaspoons of dough each) onto parchment-lined baking sheets, spacing them 1½–2 inches apart. If needed, use a damp fingertip to gently smooth down any peaks.
Step 7: Bake and cool
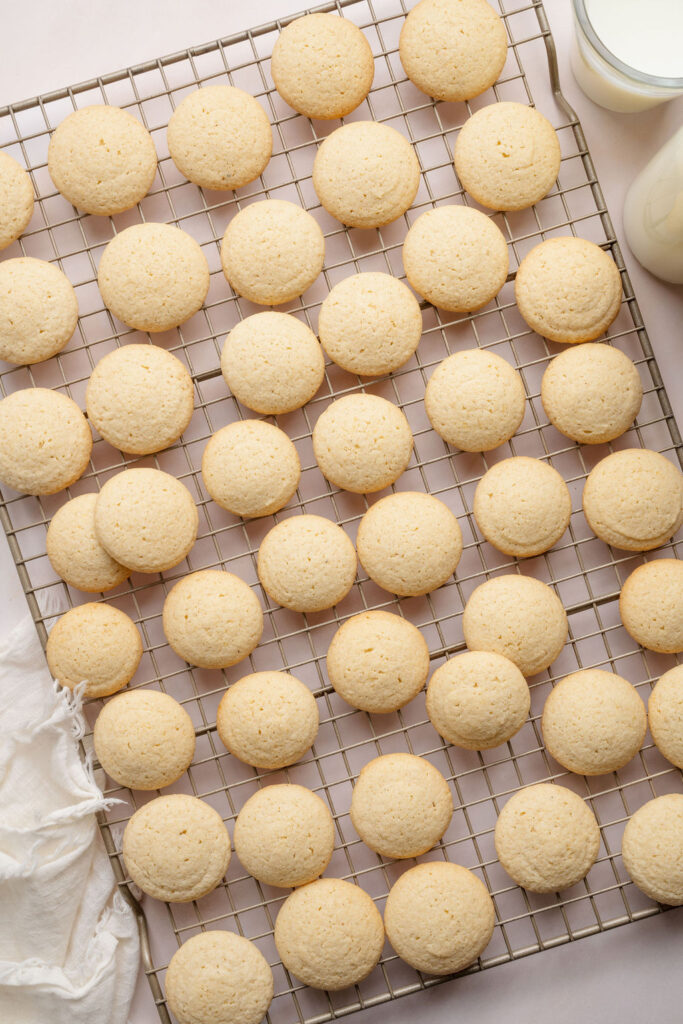
Bake one baking sheet at a time for 10–12 minutes, or until the cookies are set and the edges are lightly golden. Let the cookies cool on the baking sheet for 5 minutes before transferring them to a wire rack to cool completely.
Recipe Tips
Measure the flour carefully
For the most accurate results, use a kitchen scale to measure the flour. Too much flour can make the dough difficult to pipe and result in dry cookies.
Use room temperature ingredients
Room temperature butter, egg, and milk blend more easily and create a smooth, uniform dough.
Pipe uniform cookies
For evenly baked vanilla wafers, try to pipe the dough rounds the same size. A large round piping tip helps create smooth, consistent cookies.
Smooth any peaks before baking
If the dough leaves peaks after piping, gently smooth them with a damp fingertip before placing the cookies in the oven.
Bake until lightly golden
The cookies should be set with lightly golden edges. Baking them a little longer will create a crispier cookie, while slightly underbaking will result in a more tender texture.
Storage Recommendations
Room temperature
Store the cooled cookies in an airtight container at room temperature for up to 5 days.
Freezer
Place the cookies in a freezer-safe container or zip-top bag and freeze for up to 3 months. Thaw at room temperature before serving.
Frequently Asked Questions
Can I use vanilla extract instead of vanilla bean paste?
Yes. Substitute an equal amount of pure vanilla extract. The cookies will still have plenty of vanilla flavor, though they will not have the characteristic vanilla bean specks.
Can I make the dough ahead of time?
Yes. The dough can be prepared up to 24 hours in advance and stored covered in the refrigerator. Allow it to sit at room temperature for 15–20 minutes before piping if it becomes too firm.
Can I make these without almond flour?
Yes. Replace the almond flour with an additional 1/4 cup of gluten-free 1:1 flour (use 1½ cups total gluten-free 1:1 flour). The cookies will still be crisp and flavorful, though the almond flour version has a slightly more delicate texture.
What can I use gluten-free vanilla wafers for?
These cookies are perfect for banana pudding, icebox cakes, cheesecake crusts, trifles, and other no-bake desserts. They’re also delicious enjoyed on their own with a cup of coffee or tea.
Why did my cookies spread too much?
Overly soft butter or warm baking sheets can cause the cookies to spread more than intended. For best results, use softened—not melted—butter and pipe the dough onto cool baking sheets.
Gluten-Free Vanilla Wafers
- Total Time: 32 minutes
- Yield: 56 cookies
- Diet: Gluten-Free
Description
These homemade gluten-free vanilla wafers bake up crisp and golden with rich vanilla flavor and a delicate buttery crunch. Enjoy them on their own, layer them into banana pudding, or use them in your favorite no-bake desserts.
Ingredients
1 1/4 cups (185g) gluten-free 1:1 flour
1/2 cup (56g) blanched almond flour (see notes)
3/4 teaspoon baking powder
1/2 teaspoon fine kosher salt
1/2 cup (113g) unsalted butter, softened
3/4 cup (150g) granulated sugar
1 large egg, room temperature
1 tablespoon vanilla bean paste
1 tablespoon whole milk, room temperature
Instructions
PREPARE THE COOKIE DOUGH
- Position an oven rack in the center of the oven and preheat to 350°F (177°C). Line two large baking sheets with parchment paper and set aside.
- In a medium bowl, whisk together the gluten-free flour, almond flour, baking powder, and salt.
- In a large mixing bowl, use an electric hand mixer to beat the butter and granulated sugar until light and creamy, about 2 minutes.
- Add the egg and vanilla bean paste and mix until fully combined, scraping down the sides of the bowl as needed.
- Add the milk and mix until incorporated.
- Add the dry ingredients and mix on low speed just until combined and a soft dough forms.
BAKE THE COOKIES
- Transfer the dough to a piping bag fitted with a large round tip.
- Pipe rounds slightly larger than 1 inch in diameter (about 11⁄2 teaspoons of dough each) onto the prepared baking sheets, spacing them 11⁄2–2 inches apart. If needed, use a damp fingertip to gently smooth down any peaks on top of the cookies.
- Bake one baking sheet at a time for 10-12 minutes, or until the cookies are set and the edges are lightly golden.
- Let the cookies cool on the baking sheet for 5 minutes before transferring them to a wire rack to cool completely.
Store in an airtight container at room temperature for up to 5 days.
Notes
- Almond Flour: For the best flavor and texture, I recommend using almond flour. However, if preferred, you can replace the almond flour with an addition 1/4 cup of gluten-free 1:1 flour (use 11⁄2 cups gluten-free 1:1 flour total). The cookies will still bake up beautifully, though the texture may be slightly less delicate.
- For best results, use a large round piping tip (such as Ateco 808 or Wilton 2A) to pipe uniform cookies. If the dough leaves peaks after piping, gently smooth them with a damp fingertip before baking.
- Prep Time: 20 minutes
- Cook Time: 12 minutes
- Category: Dessert
- Method: Baking
Photography by Creating Kaitlin


Leave a Reply