


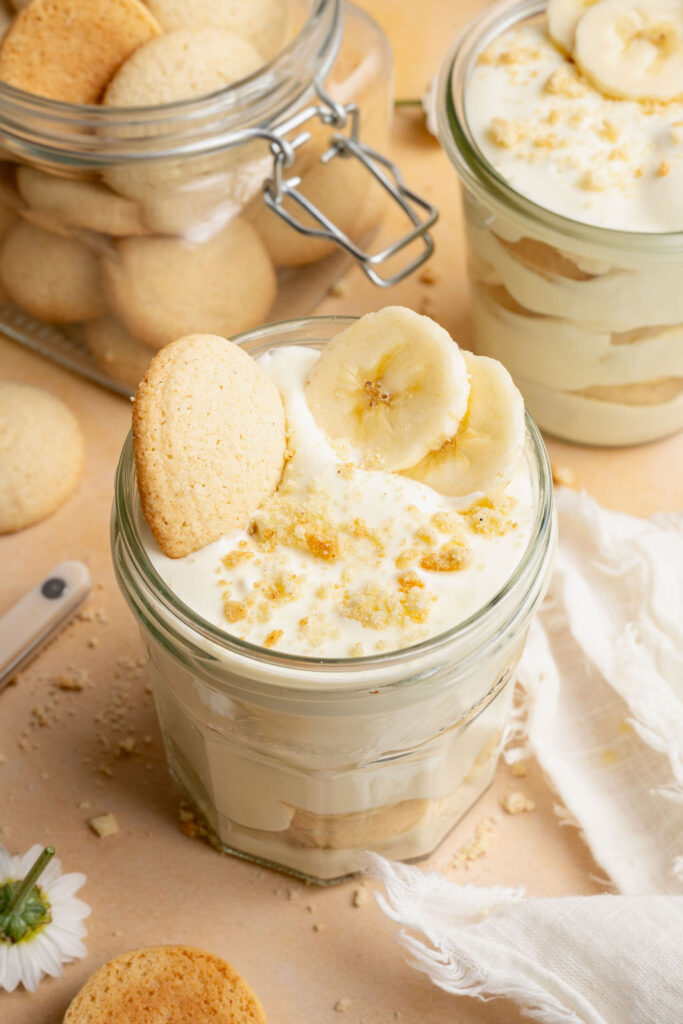
This gluten-free Magnolia Bakery banana pudding is my homemade recreation of the famous dessert from Magnolia Bakery. It captures the creamy vanilla pudding, fresh bananas, and soft vanilla wafer layers that made the original so popular, but uses gluten-free vanilla wafers so everyone can enjoy it.
Made with fluffy vanilla pudding, fresh bananas, and homemade gluten-free vanilla wafers, this simple dessert is creamy, nostalgic, and perfect for making ahead. After a few hours in the refrigerator, the wafers soften into cake-like layers, creating the signature texture that has made banana pudding a longtime favorite.
Why You’ll Love This Recipe
Inspired by the Magnolia Bakery favorite
This gluten-free version recreates the creamy vanilla pudding, fresh banana slices, and soft vanilla wafer layers that made the bakery’s famous banana pudding so popular.
Made completely gluten-free
Homemade gluten-free vanilla wafers make it easy to enjoy all of the classic flavors and textures without compromising on taste. Any similar store-bought gluten-free vanilla cookie will work beautifully in this recipe too.
Perfect for making ahead
The pudding needs several hours to chill, making it an ideal dessert for preparing in advance for parties, holidays, and gatherings.
Simple ingredients
This recipe comes together with a handful of easy-to-find ingredients, many of which you may already have on hand.
Rich, creamy, and nostalgic
The combination of fluffy vanilla pudding, ripe bananas, and softened vanilla wafers creates a comforting dessert that never goes out of style.
Ingredient Notes
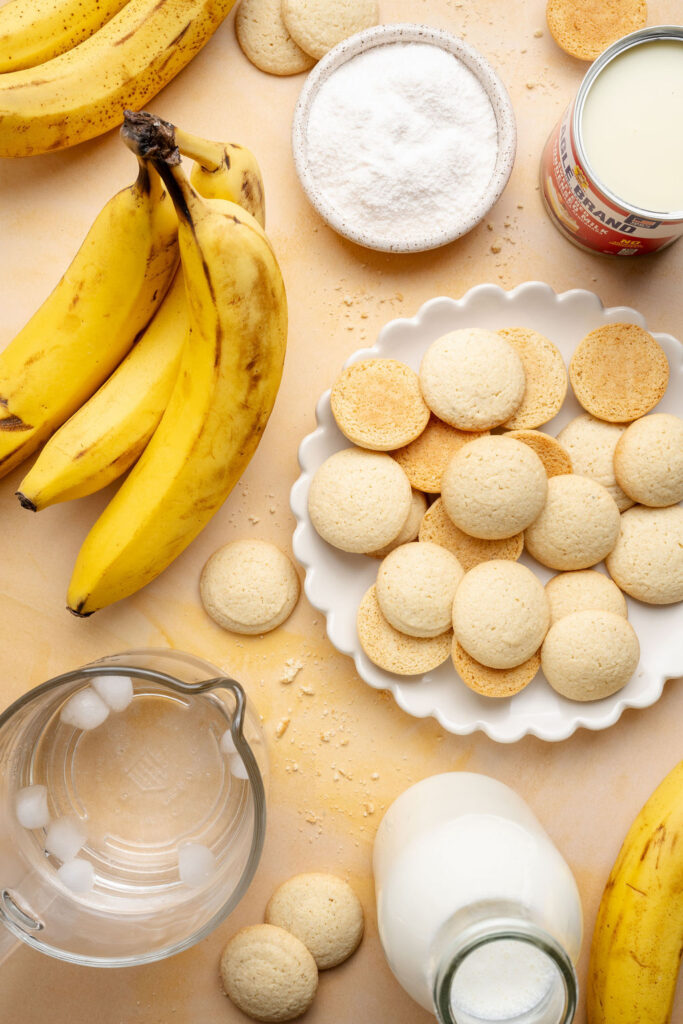
Sweetened condensed milk
Adds sweetness and contributes to the rich, creamy texture of the pudding.
Ice-cold water
Helps dissolve the pudding mix and ensures the pudding sets properly. For the best results, use very cold water.
Instant vanilla pudding mix
Be sure to use instant pudding mix, not cook-and-serve pudding.
Heavy whipping cream
Whipped cream lightens the pudding and creates the signature fluffy texture.
Bananas
Use ripe but firm bananas for the best flavor and texture. Overripe bananas can become overly soft after chilling.
Gluten-free vanilla wafers
I recommend using my homemade gluten-free vanilla wafers for the closest recreation of the bakery version. If preferred, you can substitute your favorite store-bought gluten-free vanilla wafers or gluten-free vanilla cookies. (hyperlink “gluten-free vanilla wafers” to the gluten-free vanilla wafers blog post)
Optional garnishes
Extra banana slices, crushed vanilla wafers, and whole vanilla wafers make a simple and beautiful finishing touch.
How to Make Magnolia Bakery Banana Pudding
See the recipe card below for the full ingredient list, measurements, and instructions.
Step 1: Make the pudding base
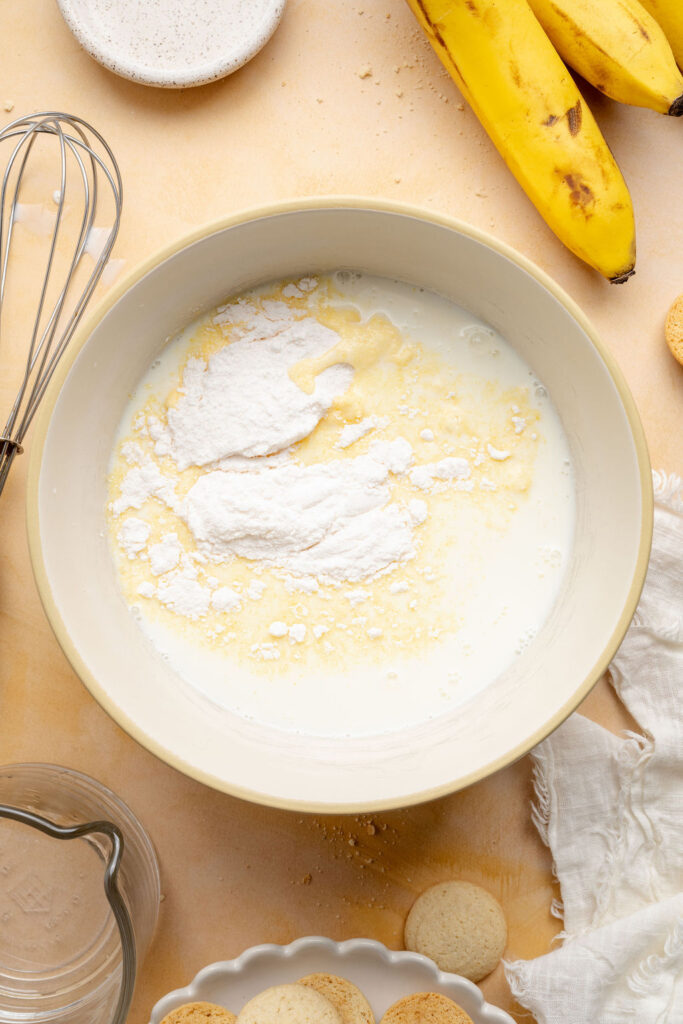
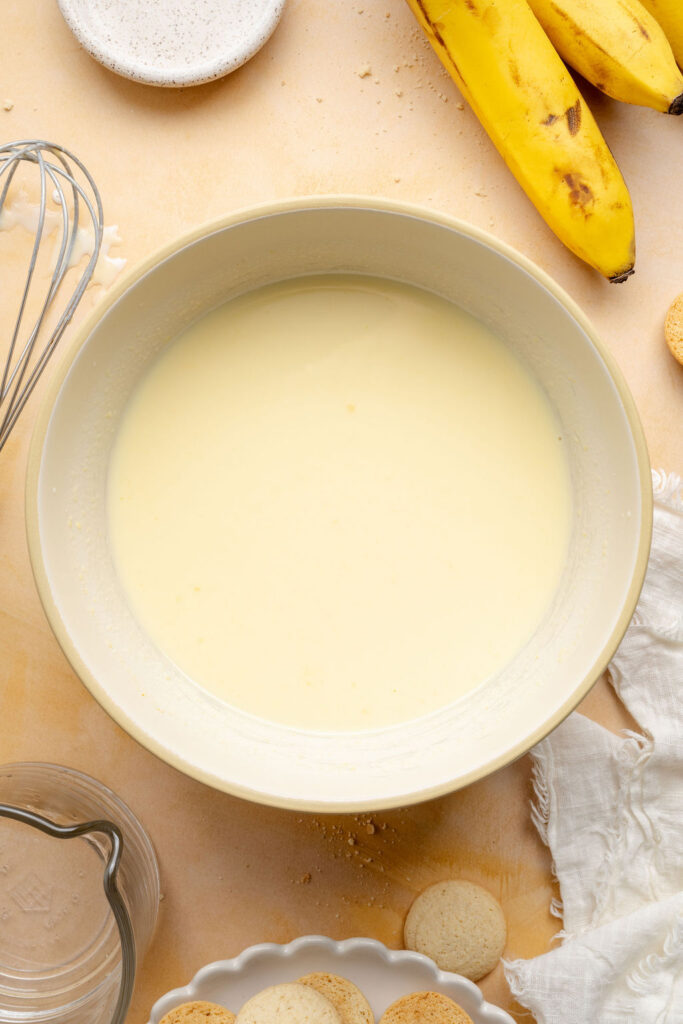
In a large bowl, whisk together the sweetened condensed milk and ice-cold water until smooth and fully combined. Add the instant vanilla pudding mix and whisk for 1–2 minutes, or until the mixture is completely smooth. Cover and refrigerate for 3–4 hours, or until thickened and set.
Step 2: Whip the cream
In a large mixing bowl, beat the cold heavy cream until stiff peaks form. The whipped cream should hold its shape, but still look smooth and creamy.
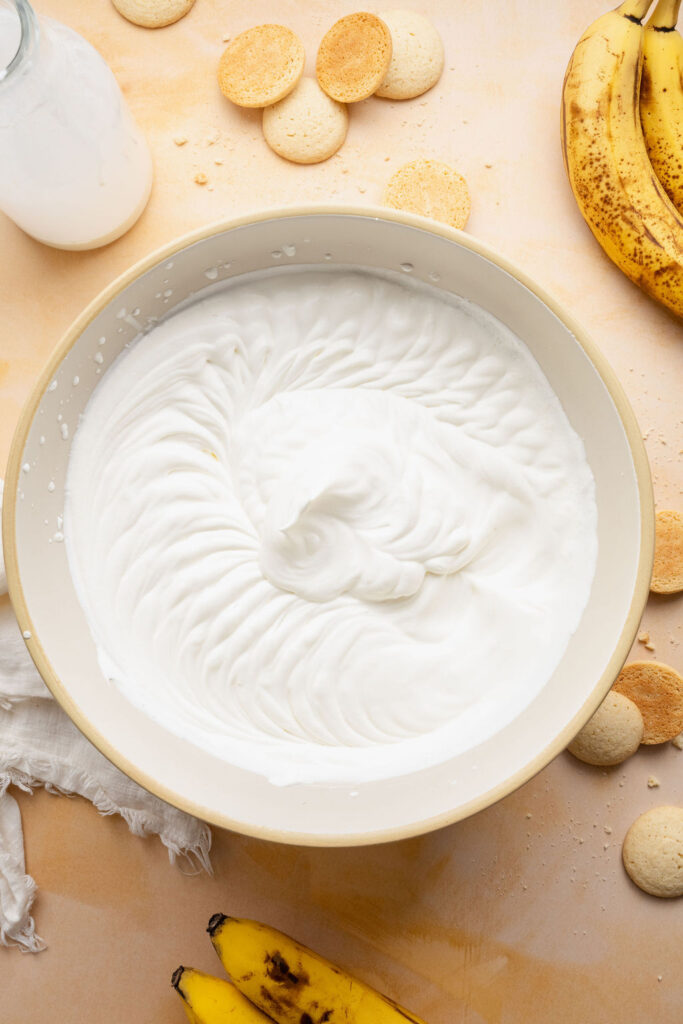
Step 3: Fold the cream into the pudding
Remove the pudding mixture from the refrigerator and gently stir to loosen. Add the whipped cream in several additions, folding gently until the mixture is light, fluffy, and fully combined.
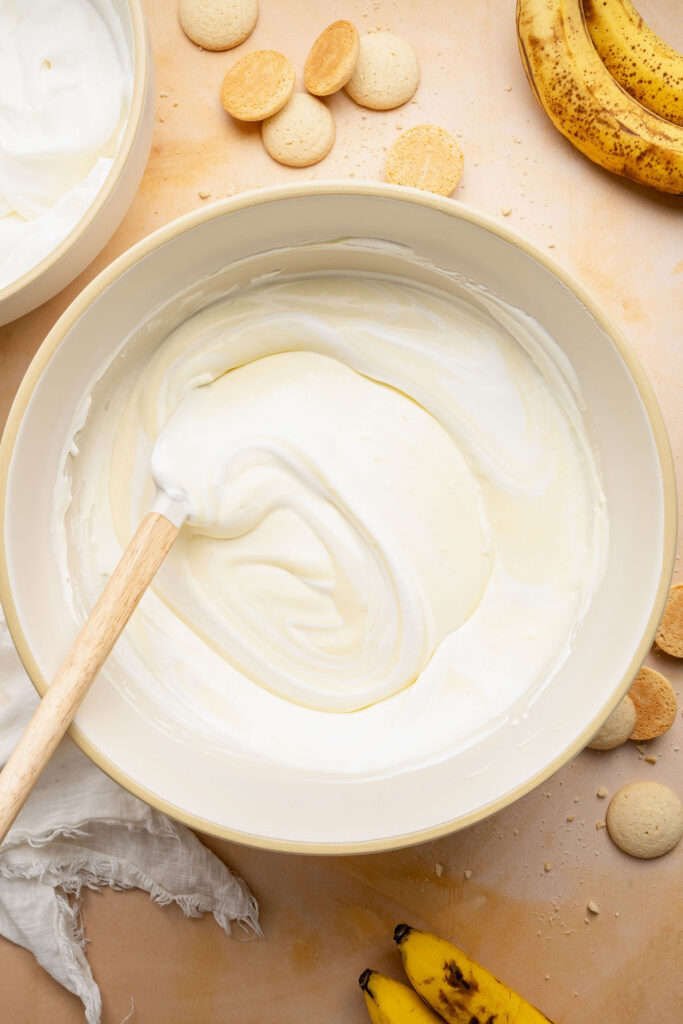
Step 4: Assemble the banana pudding
Spread a thin layer of pudding in the bottom of your serving dish. Add a layer of gluten-free vanilla wafers, followed by a layer of banana slices. Repeat the layers, finishing with a final layer of pudding on top.
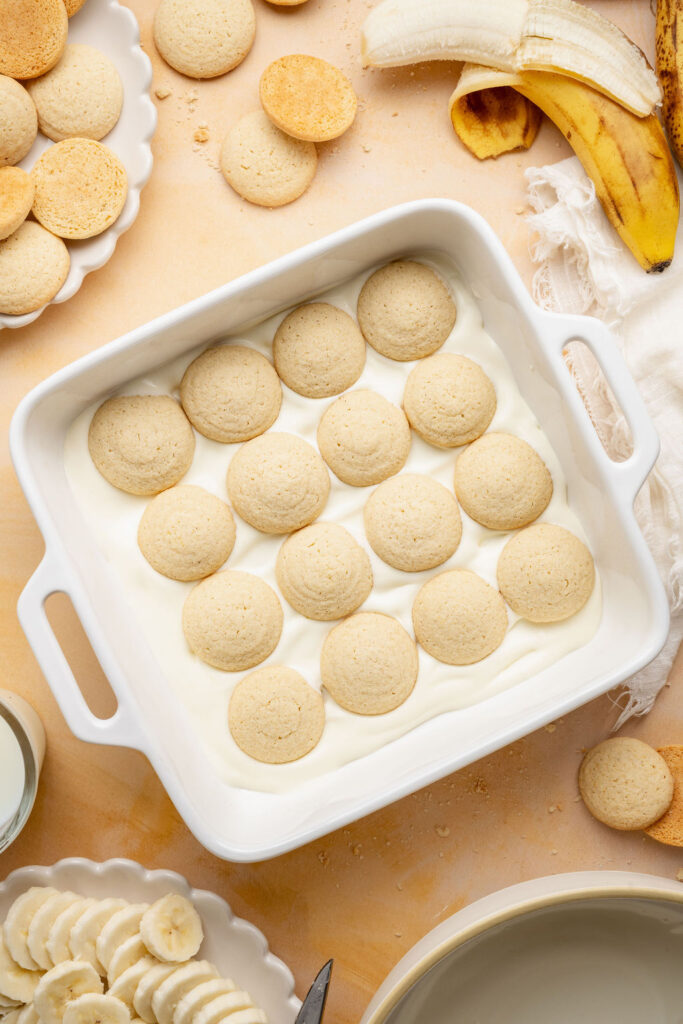
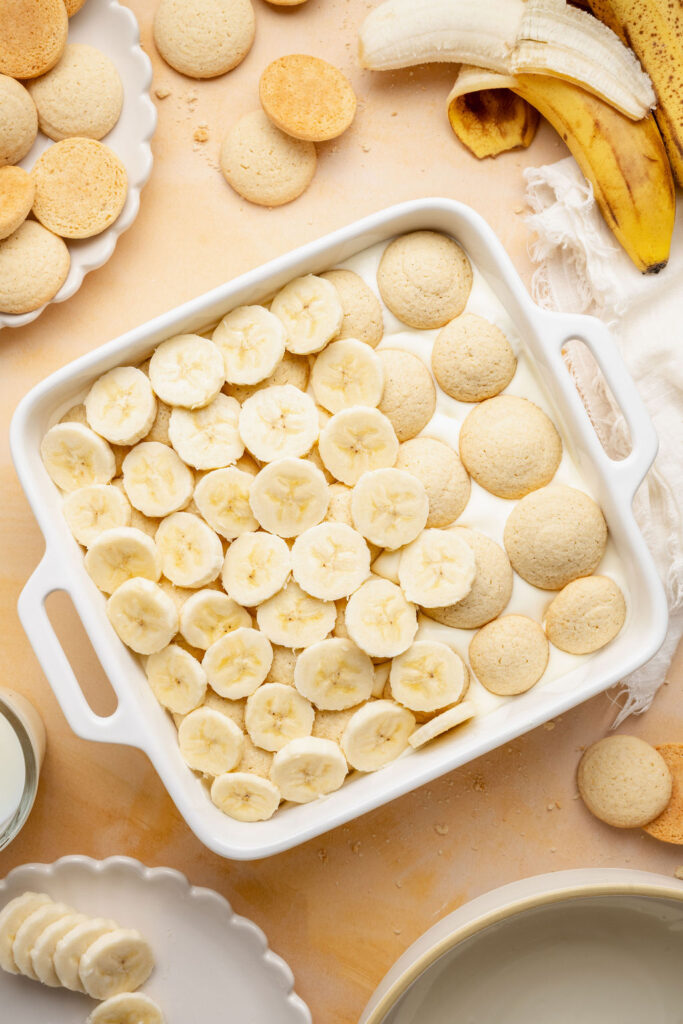
Step 5: Chill and serve
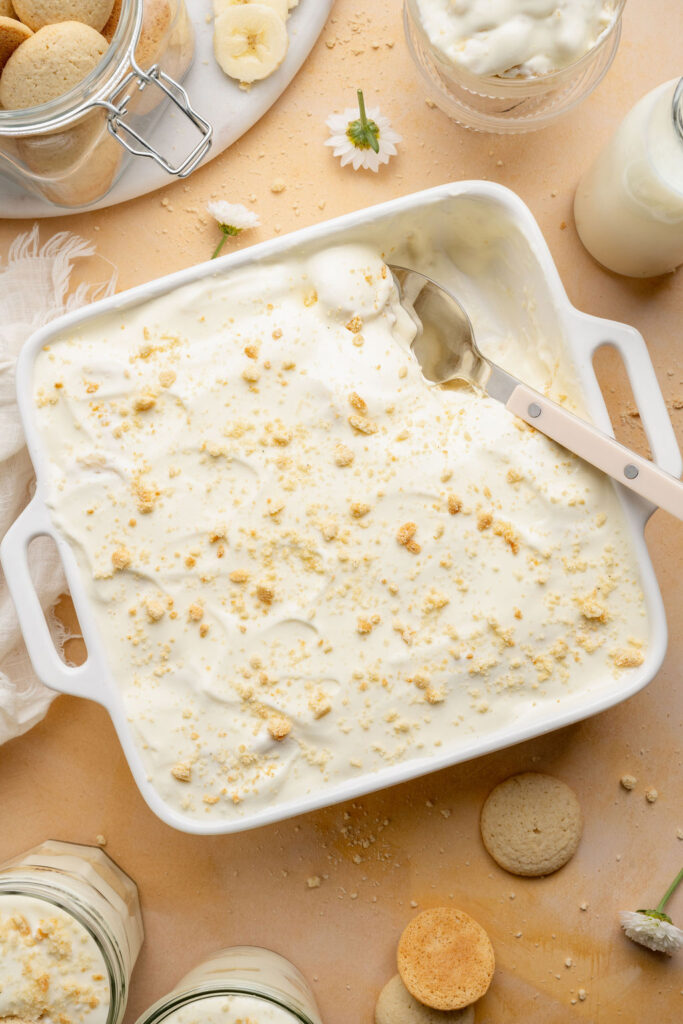
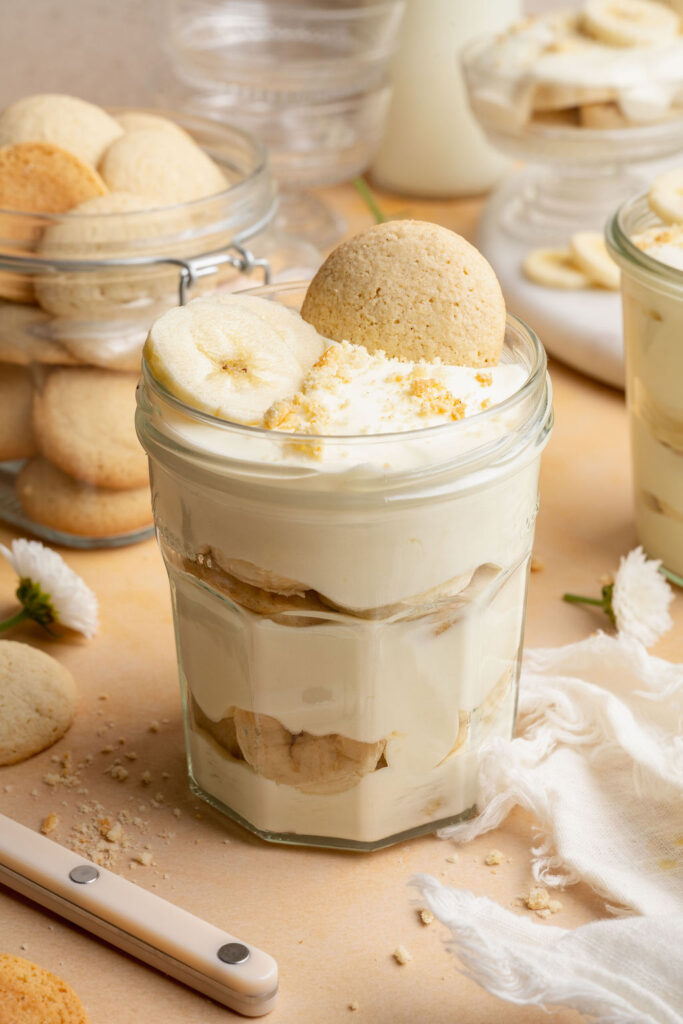
Cover and refrigerate the banana pudding for at least 4 hours to allow the wafers to soften and the flavors to meld. Scoop into individual bowls or jars and garnish with extra vanilla wafers, crushed wafers, and fresh banana slices before serving.
Recipe Tips
Use ripe but firm bananas
Use ripe but firm bananas for the best texture. Bananas that are overly ripe can become soft and mushy after the pudding chills.
Give the pudding time to set
Allow the pudding mixture to chill until fully thickened before folding in the whipped cream. This helps create the light, fluffy texture that makes this dessert so popular.
Wait to slice the bananas
Slice the bananas immediately before assembling the pudding to minimize browning.
Don’t rush the final chill
For the best flavor and texture, chill the assembled pudding for at least 4 hours before serving. This gives the vanilla wafers time to soften and allows the flavors to meld together.
Use homemade or store-bought wafers
Homemade gluten-free vanilla wafers provide the closest recreation of the original bakery-style dessert, but store-bought gluten-free vanilla wafers or vanilla cookies work well when you’re short on time.
Storage & Make Ahead
Storage
Store leftover banana pudding tightly covered in the refrigerator for up to 3 days. The bananas may soften and darken slightly over time, but the pudding will remain delicious.
Make ahead
This dessert is perfect for making ahead. Assemble the banana pudding up to 24 hours before serving and store it covered in the refrigerator. In fact, many people prefer the texture after it has chilled overnight because the vanilla wafers become exceptionally soft and cake-like.
Freezing
I do not recommend freezing banana pudding. The texture of the pudding, whipped cream, and bananas can become watery and grainy after thawing.
Frequently Asked Questions
Can I use store-bought gluten-free vanilla wafers?
Yes. While I recommend homemade gluten-free vanilla wafers for the closest recreation of the original bakery-style dessert, store-bought gluten-free vanilla wafers or vanilla cookies work well in this recipe.
Is this banana pudding completely no-bake?
The pudding itself is completely no-bake. However, if you’re using my homemade gluten-free vanilla wafers, you’ll need to bake those in advance. To keep the recipe entirely no-bake, simply substitute store-bought gluten-free vanilla wafers.
How far in advance can I make banana pudding?
Banana pudding can be assembled up to 24 hours in advance and stored covered in the refrigerator until ready to serve.
Why do the vanilla wafers get soft?
The vanilla wafers absorb moisture from the pudding as it chills, transforming from crisp cookies into soft, cake-like layers. This is completely normal and is one of the signature characteristics of classic banana pudding. Many people actually prefer the texture after the pudding has chilled overnight because the wafers become even softer and more flavorful.
Gluten-Free Magnolia Bakery Banana Pudding
- Total Time: 8 hours 20 minutes
- Yield: 12 servings
- Diet: Gluten-Free
Description
This homemade gluten-free Magnolia Bakery banana pudding is a recreation of the bakery favorite, made with layers of creamy vanilla pudding, fresh bananas, and homemade gluten-free vanilla wafers. Rich, fluffy, and easy to make ahead, it’s the perfect dessert for holidays, celebrations, and whenever you’re craving a nostalgic treat.
Ingredients
1 (14 ounce/396g) can sweetened condensed milk
1 1/2 cups (360g) ice-cold water
1 (3.4 ounce/96g) box instant vanilla pudding mix
3 cups (720g) heavy whipping cream, cold
5–6 medium ripe but firm bananas
1 batch homemade gluten-free vanilla wafers or 12 ounces (340g) store-bought gluten-free vanilla wafers
extra banana slices and vanilla wafers for garnish
Instructions
PREPARE THE PUDDING BASE
- In a large bowl, whisk together the sweetened condensed milk and ice-cold water until fully combined.
- Add the instant vanilla pudding mix and whisk for 1-2 minutes until completely smooth.
- Cover and refrigerate for 3-4 hour, or until thickened and set.
PREPARE THE VANILLA WAFERS (OPTIONAL)
- While the pudding chills, prepare a batch of homemade gluten- free vanilla wafers and allow them to cool completely. If preferred, you can substitute store-bought gluten-free vanilla wafers or vanilla cookies.
WHIP AND FOLD IN THE CREAM
- In a large mixing bowl or the bowl of a stand mixer fitted with the whisk attachment, beat the cold heavy cream just until stiff peaks form.
- Remove the pudding from the refrigerator and gently stir to loosen slightly.
- Add the whipped cream to the pudding in several additions and gently fold together until the mixture is smooth, fluffy, and fully combined.
ASSEMBLE THE PUDDING
- Immediately before assembly, slice the bananas.
- In a 9×9 or 8×8-inch ceramic baking dish, a large pie plate, or any similar serving dish, spread a small amount of pudding on the bottom. Add a layer of vanilla wafers, followed by a layer of bananas, then a layer of pudding. Repeat the layers 2-3 times, finishing with pudding on top.
- Cover and chill at least 4 hours to allow the wafers to soften and the flavors to meld.
GARNISH AND SERVE
- Scoop the pudding into individual dessert cups, jars, or bowls and garnish with extra vanilla wafers, crushed wafers, and banana slices.
Store covered in the refrigerator for 3-4 days.
- Prep Time: 20 minutes
- Chill: 8 hours
- Category: Dessert
Photography by Creating Kaitlin


Leave a Reply