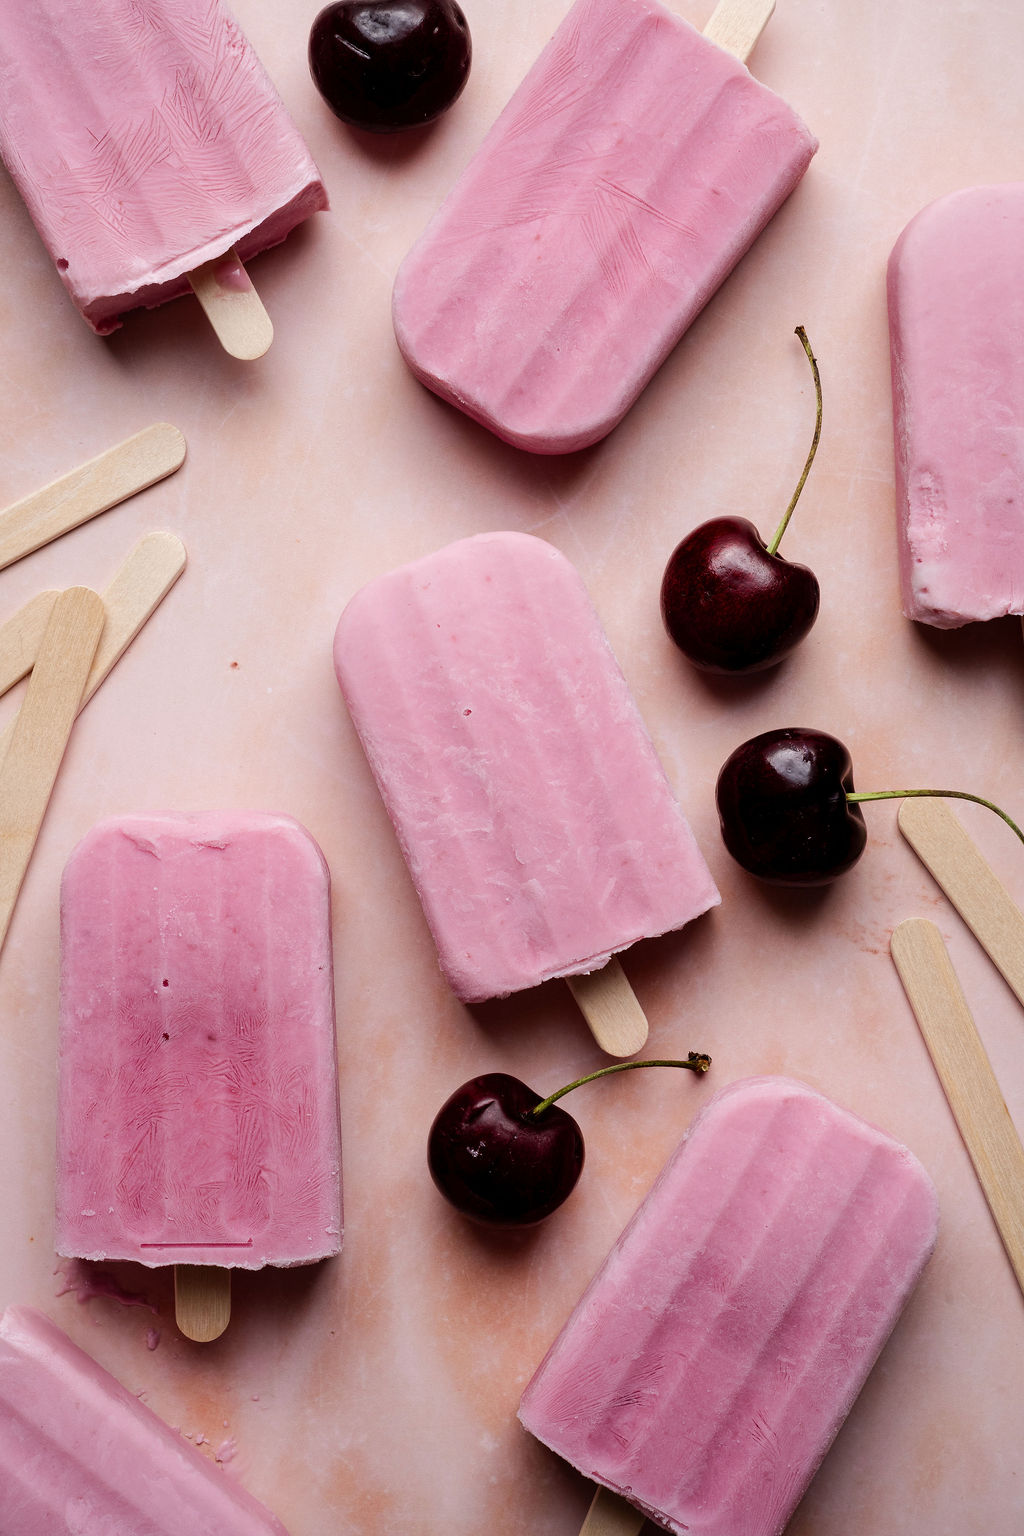


Cherry season always feels a little fleeting, which makes recipes like these cherry Greek yogurt popsicles feel extra special. Sweet dark cherries are cooked down just enough to bring out their natural flavor, then blended with creamy Greek yogurt and vanilla for popsicles that are rich, smooth, and perfectly balanced between fruity and tangy.
These homemade popsicles are simple to make with just a handful of ingredients, and they feel a little more elevated than your average frozen treat. Keep a batch tucked away in the freezer for warm afternoons, summer gatherings, or those moments when you want something refreshing that still tastes homemade.
Why You’ll Love This Recipe
Creamy and refreshing
Full-fat Greek yogurt creates popsicles that are rich, smooth, and creamy.
Made with real cherries
Fresh sweet cherries are cooked down to concentrate their flavor, giving these popsicles a burst of cherry in every bite.
Easy to make
This recipe comes together with just a handful of ingredients and a few simple steps.
Perfect for summer
Keep a batch in the freezer for warm afternoons, summer gatherings, or an easy make-ahead treat.
Naturally gluten-free
These homemade popsicles are naturally gluten-free and made with simple ingredients.
Ingredient Notes
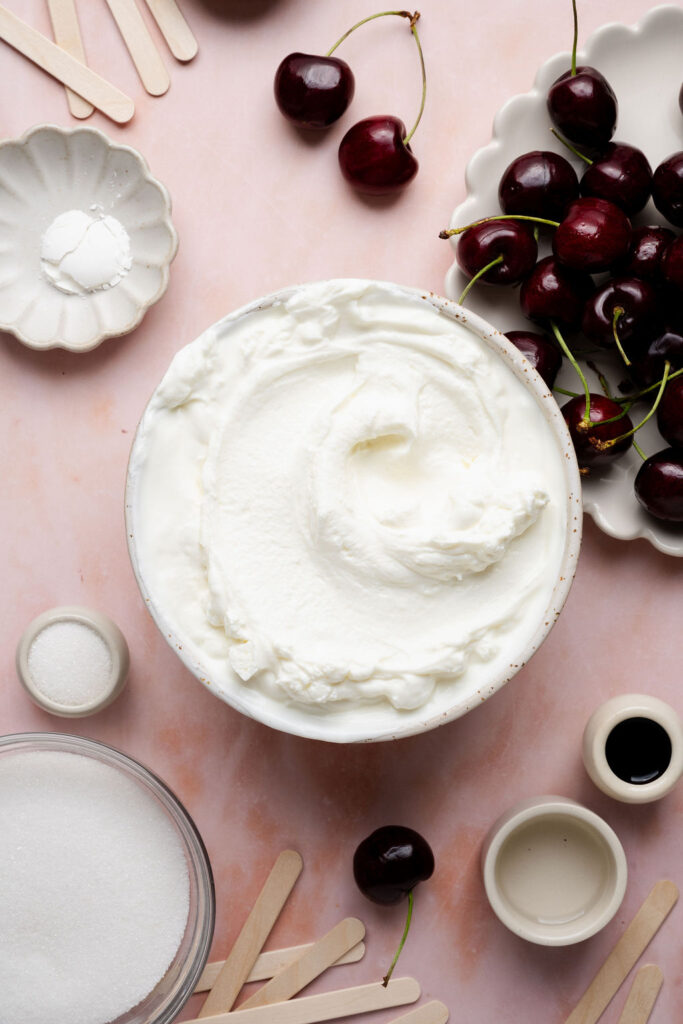
Fresh dark sweet cherries
Fresh cherries provide the best flavor and color in these popsicles. Dark sweet cherries create a rich cherry flavor and beautiful soft pink color. Be sure to remove the pits and stems before cooking.
Granulated sugar
A small amount of sugar sweetens the popsicles while also contributing to a smoother texture once frozen.
Full-fat Greek yogurt
Full-fat Greek yogurt creates the creamiest texture and helps prevent the popsicles from becoming overly icy. Lower-fat varieties may produce a firmer texture.
Vanilla bean paste or extract
Vanilla adds warmth and rounds out the tartness of the yogurt and cherries.
Cornstarch
A small amount of cornstarch helps create a smoother, creamier texture.
How to Make Cherry Greek Yogurt Popsicles
See the recipe card below for the full ingredient list, measurements, and instructions.
Step 1: Cook the cherries
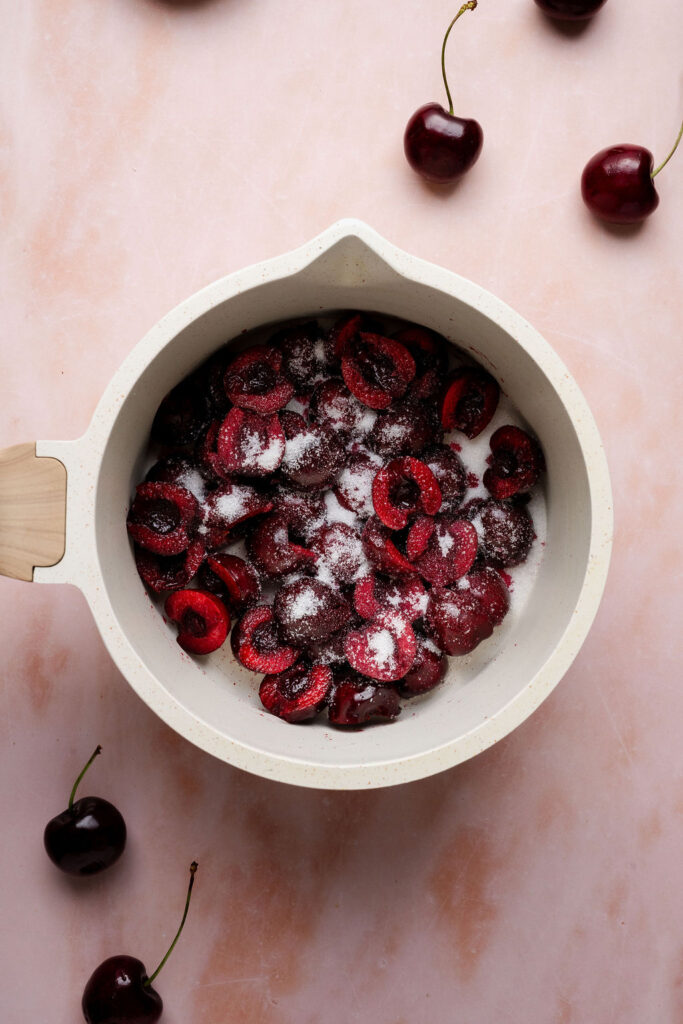
Add the pitted cherries, sugar, and water to a small saucepan. Cook over medium heat, stirring occasionally, until the cherries soften and release their juices.
Step 2: Puree the cherries
Let the cherries cool, then blend until mostly smooth.
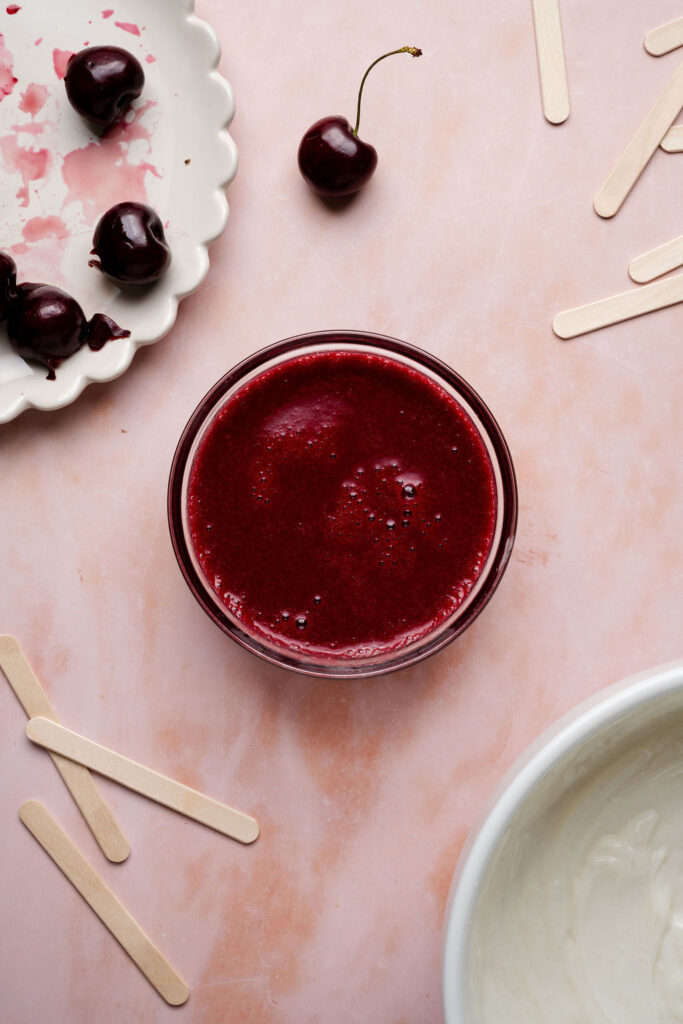
Step 3: Make the yogurt base
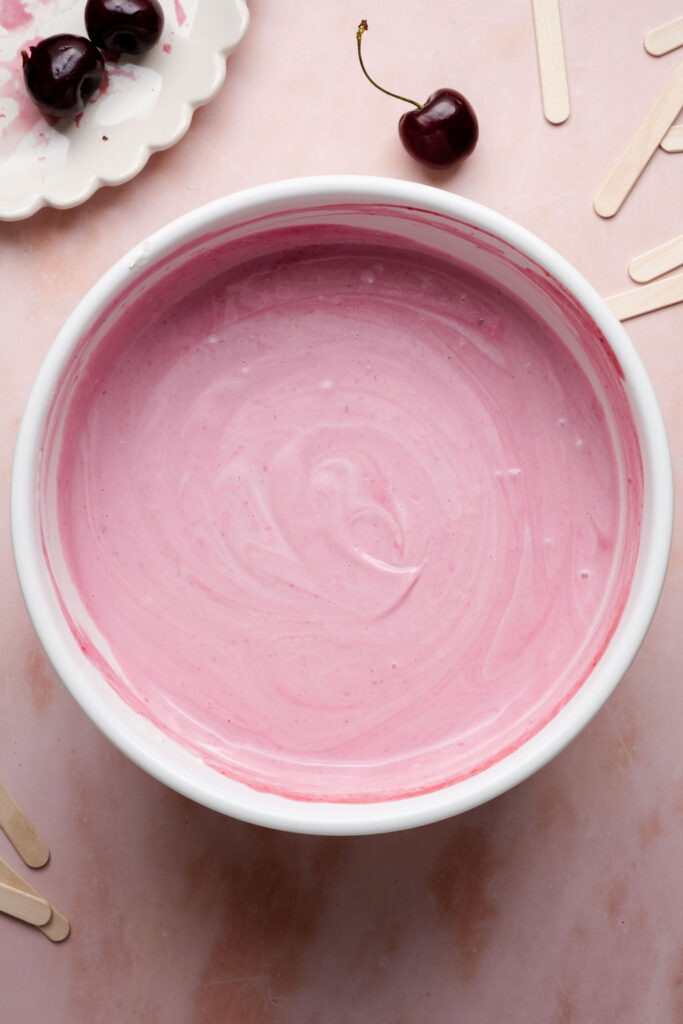
In a large mixing bowl, whisk together the Greek yogurt, sugar, vanilla, and cornstarch until smooth and well combined. The mixture should look creamy and mostly uniform.
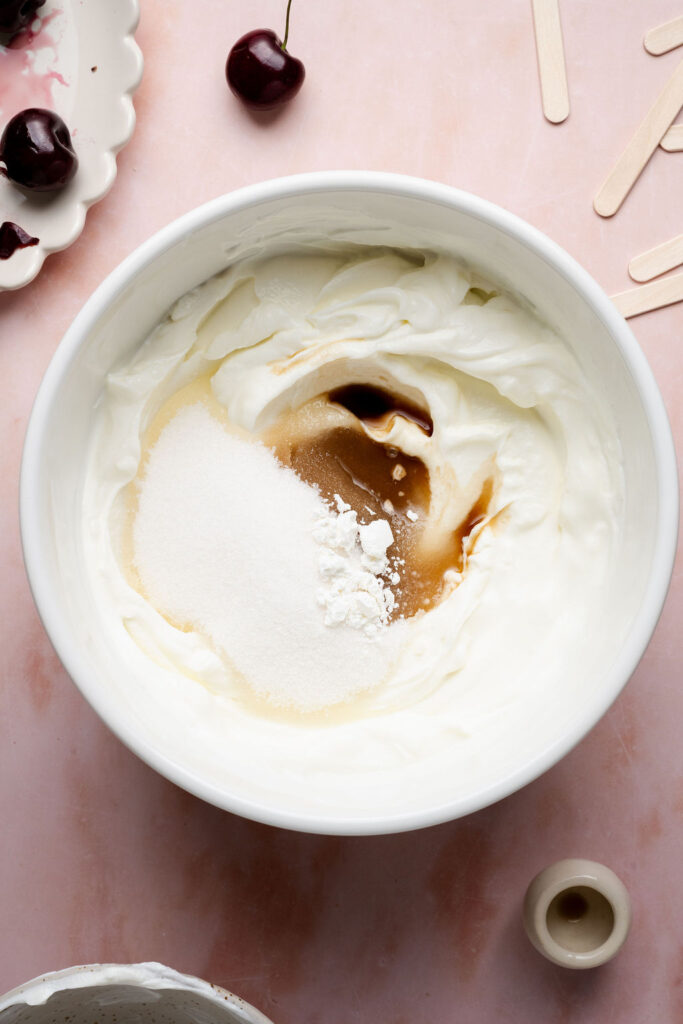
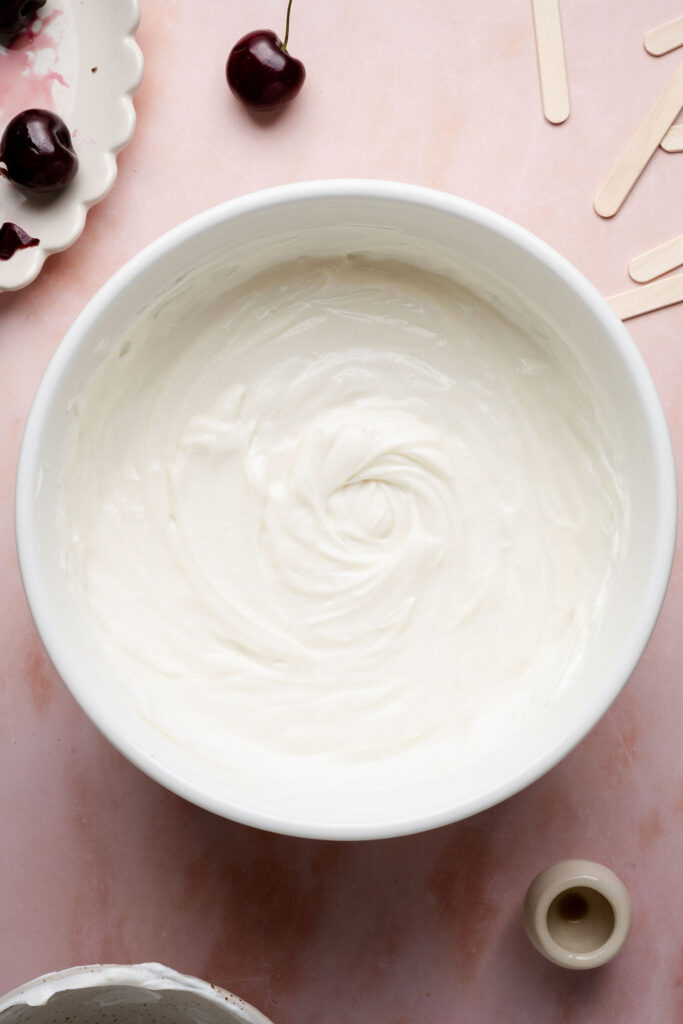
Step 4: Add the cherry puree
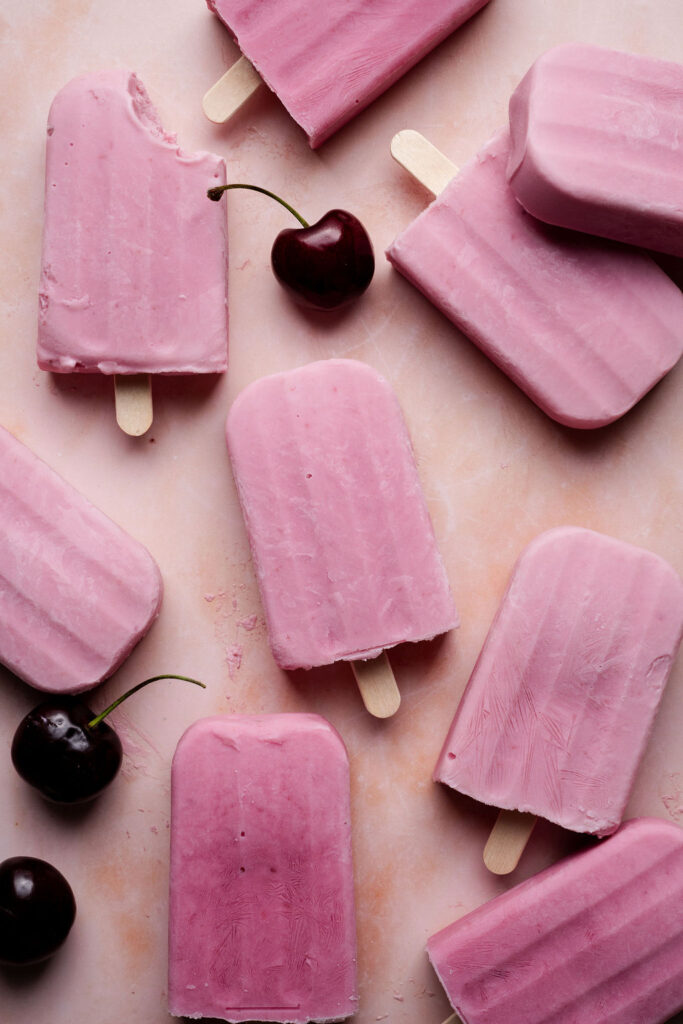
Pour the cherry puree into the yogurt mixture and gently whisk until fully combined. The mixture will turn a soft pink color with tiny flecks of cherry throughout.
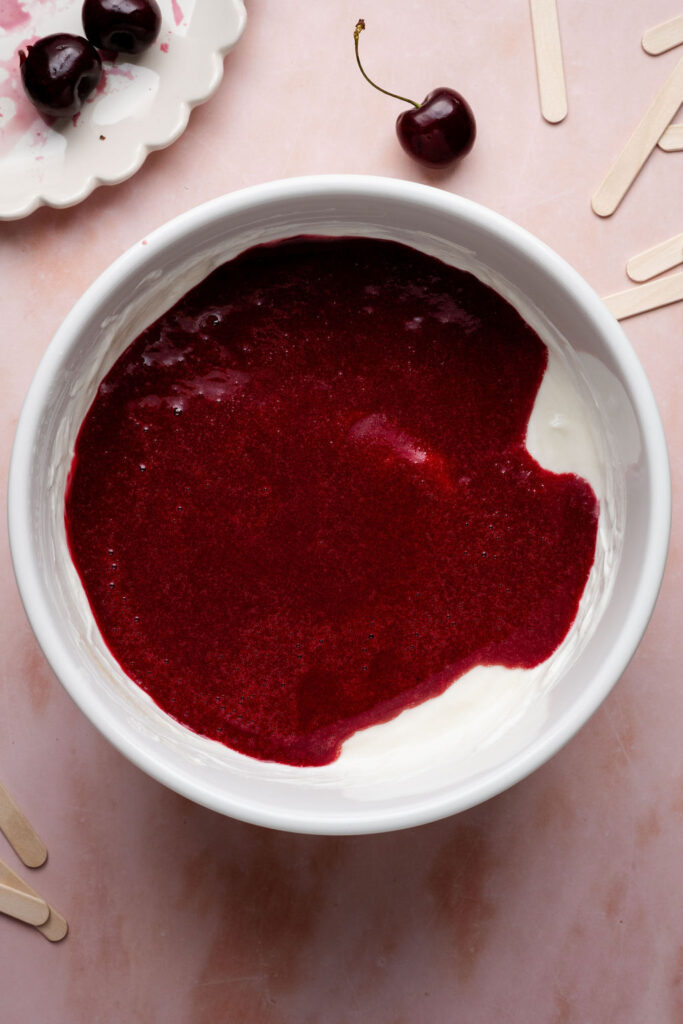
Step 5: Fill the popsicle mold
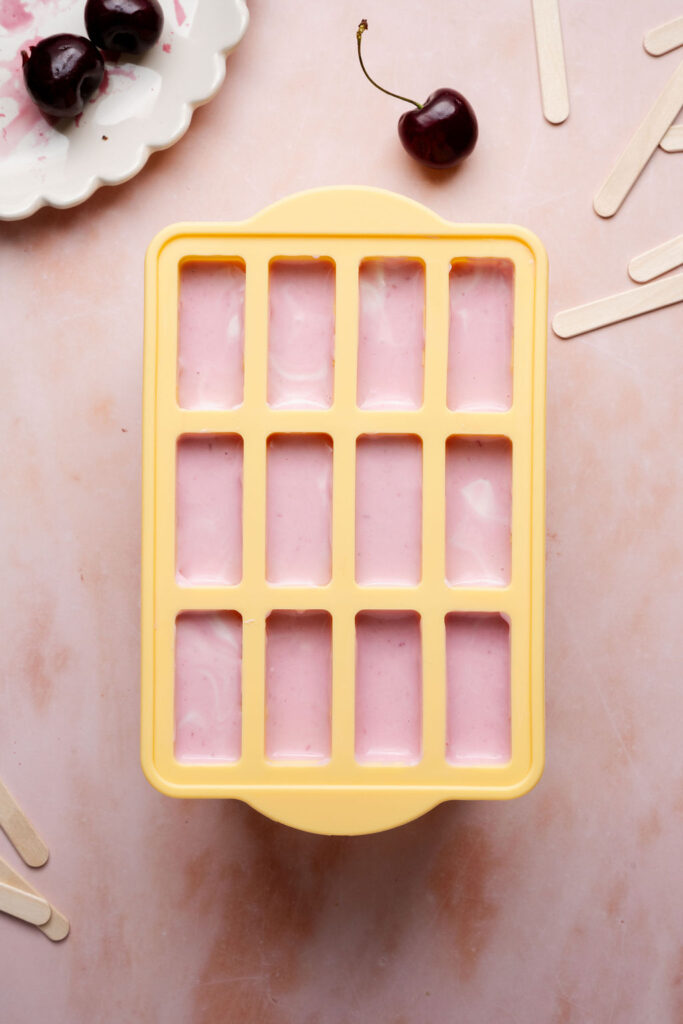
Spoon or pour the cherry yogurt mixture into a popsicle mold, leaving a little room at the top for expansion. Add the lid and insert wooden popsicle sticks.
Step 6: Freeze and unmold
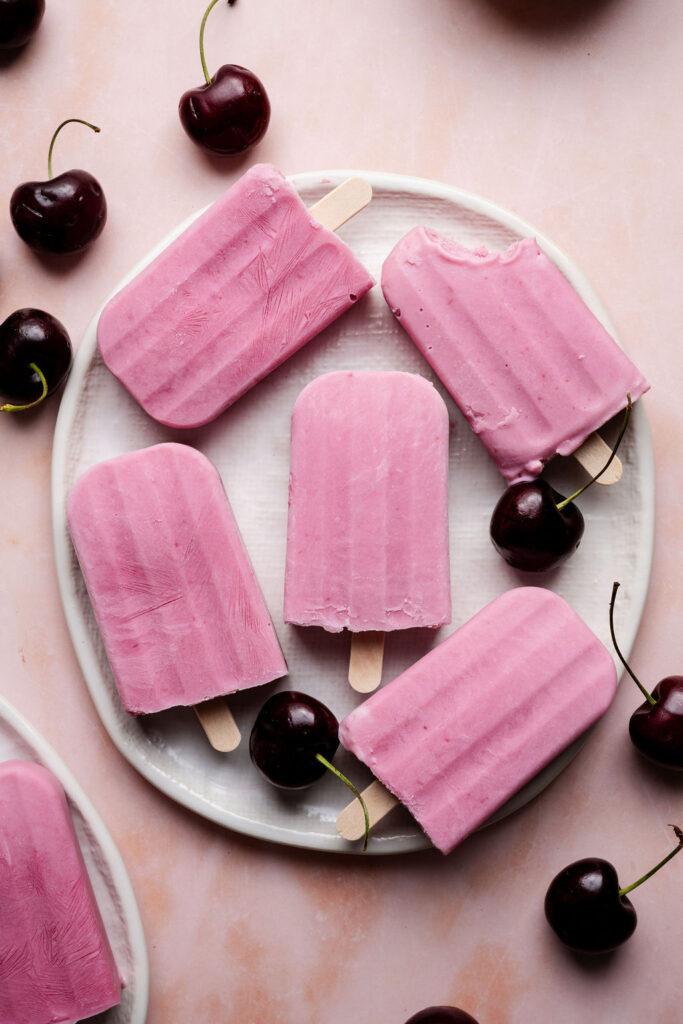
Freeze the popsicles until completely firm, about 12 hours or overnight. To release, briefly run the outside of the mold under warm water, then gently pull the popsicles from the mold.
Storage Tips
Freezer storage
Once fully frozen, remove the popsicles from the molds and individually wrap them in plastic wrap. Store the wrapped popsicles in an airtight container or freezer-safe bag to help prevent freezer burn.
For best texture
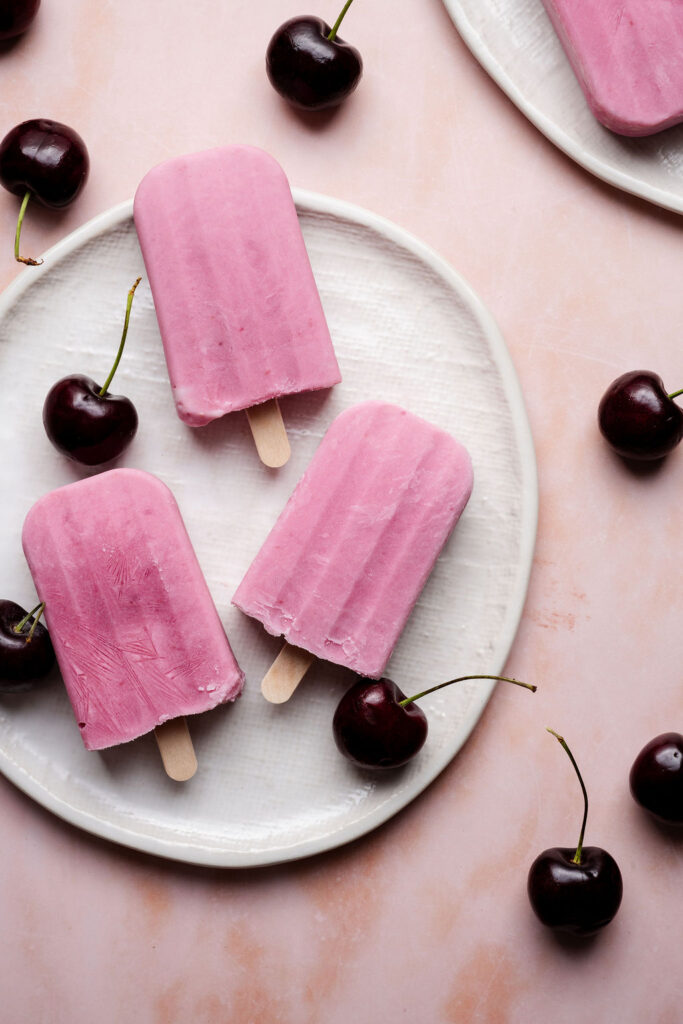
These cherry Greek yogurt popsicles are best enjoyed within 1–2 months.
Frequently Asked Questions
Can I use frozen cherries instead of fresh cherries?
Yes. Frozen sweet cherries can be used in place of fresh cherries if needed. There is no need to thaw them first. Add them directly to the saucepan and cook until softened and juicy. They may require a few extra minutes of cooking time.
Can I use a different type of yogurt?
Full-fat Greek yogurt creates the creamiest texture and works best for this recipe. Lower-fat yogurt or regular yogurt may produce popsicles that are firmer or slightly icier.
How long do these cherry Greek yogurt popsicles last in the freezer?
For the best flavor and texture, enjoy the popsicles within 1–2 months. Store them wrapped or separated to help prevent freezer burn and sticking.
How do I remove popsicles from the molds?
Briefly run the outside of the molds under warm water, being careful not to let water seep into the molds. If needed, let the tray sit at room temperature for a few minutes before gently pulling the popsicles out.
Can I make these without a popsicle mold?
Yes. Small paper cups or freezer-safe cups can be used instead. Fill the cups, cover with foil, and insert popsicle sticks through the center before freezing.
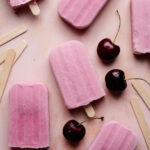
Creamy Cherry Greek Yogurt Popsicles
- Total Time: 12 hours 40 minutes
- Yield: 10-12 popsicles
- Diet: Gluten-Free
Description
These cherry Greek yogurt popsicles combine sweet dark cherries, creamy Greek yogurt, and a touch of vanilla for a refreshing frozen treat. With their smooth, creamy texture and vibrant cherry flavor, they’re easy to make and perfect for keeping in the freezer all summer long.
Ingredients
CHERRY PUREE
1 1/2 cups (180g) fresh dark sweet cherries, pitted and halved
1 tablespoon (12g) granulated sugar
1 tablespoon water
YOGURT MIXTURE
3 cups (720g) plain full-fat Greek yogurt
2/3 cup (160g) granulated sugar
1 1/2 teaspoons vanilla bean paste
or pure vanilla extract
3/4 teaspoon cornstarch
SPECIAL EQUIPMENT
10–12 count popsicle mold
10–12 wooden popsicle sticks
Instructions
PREPARE THE CHERRIES
- Add the cherries, sugar, and water to a small saucepan. Cook over medium heat, stirring occasionally, until the cherries soften and release their juices. Continuing cooking until the juices are gently simmering.
- Remove from the heat and allow the cherries to cool to room temperature.
- Transfer the cherries and all of the juices from the saucepan to a blender and blend until mostly smooth. A few small bits of cherry are perfectly fine.
MAKE THE YOGURT MIXTURE
- In a large mixing bowl, whisk together the Greek yogurt, sugar, vanilla bean paste or extract, and cornstarch until smooth and well combined. Continue whisking until the sugar begins dissolving into the mixture.
- Add the cherry puree and whisk until evenly incorporated.
ASSEMBLE AND FREEZE THE POPSICLES
- Fill each cavity of a 10–12 count popsicle mold with the yogurt mixture, leaving a small amount of space at the top for expansion while freezing.
- Place the lid on the mold and insert popsicle sticks.
- Freeze the popsicles for at least 12 hours or overnight, until completely firm.
- To remove the popsicles, run the outside of the mold briefly under warm water, being careful not to let water enter the molds. If needed, allow the tray to sit at room temperature for a few minutes before gently pulling the popsicles out.
Notes
- Frozen sweet cherries can be used in place of fresh cherries if needed. There is no need to thaw them first. Simply add the frozen cherries directly to the saucepan and continue cooking until softened and the juices are released. The cherries may require an extra few minutes of cook time.
- Full-fat Greek yogurt gives the creamiest texture.
- The number of popsicles will vary depending on the size of your mold.
- Store the popsicles in an airtight container or individually wrap them after freezing for best freshness.
- Prep Time: 30 minutes
- Chill: 12 hours
- Cook Time: 10 minutes
- Category: Dessert
Photography by Creating Kaitlin


Leave a Reply