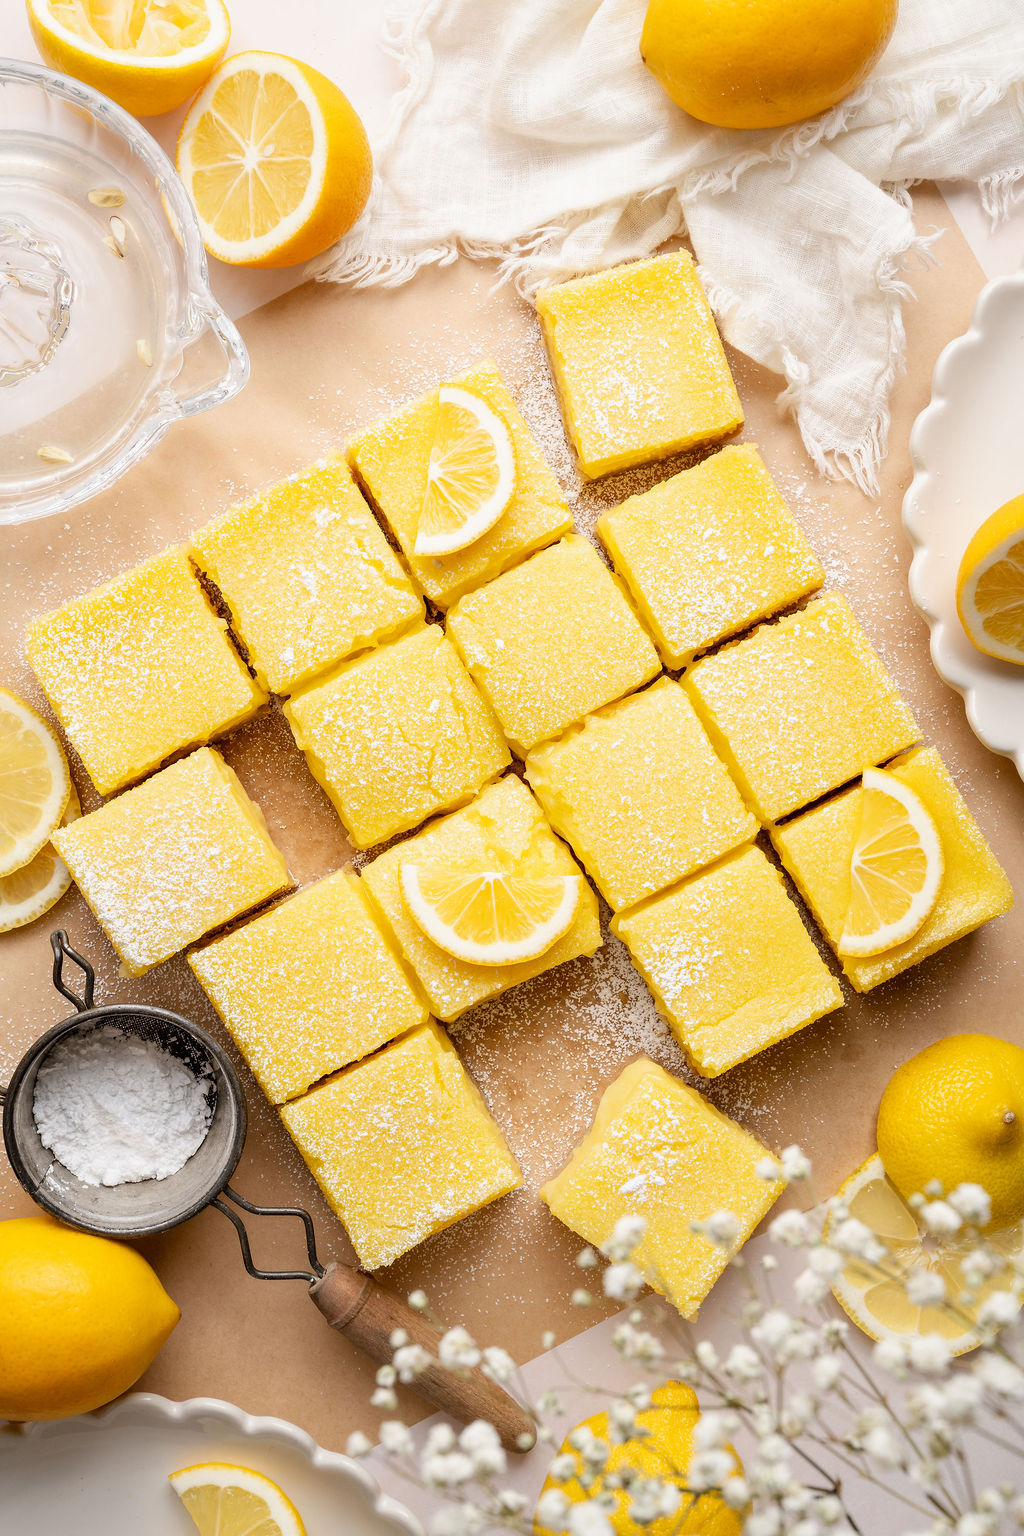


These gluten-free Meyer lemon bars are bright, elegant, and layered with a soft, floral citrus flavor. A refined take on the classic, they feature a rich, buttery crust paired with a silky-smooth lemon filling that strikes the perfect balance between sweet and tangy.
Unlike traditional lemon bars, this version uses a stovetop-cooked lemon filling that’s strained before baking for an ultra-smooth, custard-like texture. The result is a thicker, creamier layer that sits beautifully on top of a tender almond flour crust, with clean, defined edges and a soft, melt-in-your-mouth bite.
Finished with a light dusting of powdered sugar, these bars are bright, refined, and just a little bit indulgent—perfect for spring entertaining, Easter brunch, or whenever you’re craving a citrus dessert that feels both classic and elevated.
Why You’ll Love This Recipe
Bright, floral citrus flavor
Meyer lemons add a softer, slightly sweet citrus note that feels more delicate and refined than traditional lemon bars.
Ultra-smooth, creamy texture
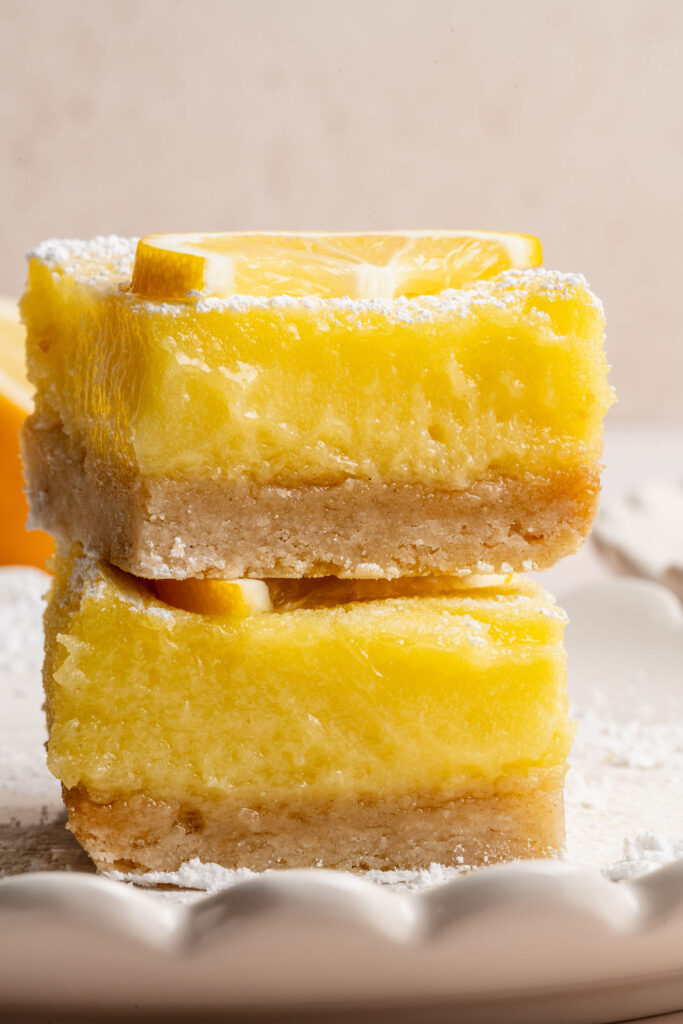
Cooking the filling on the stovetop and straining it before baking creates a silky, custard-like consistency with a clean, professional finish.
Buttery, tender almond flour crust
The gluten-free crust is soft yet sturdy, with a subtle richness that complements the citrus filling without overpowering it.
Clean slices with defined layers
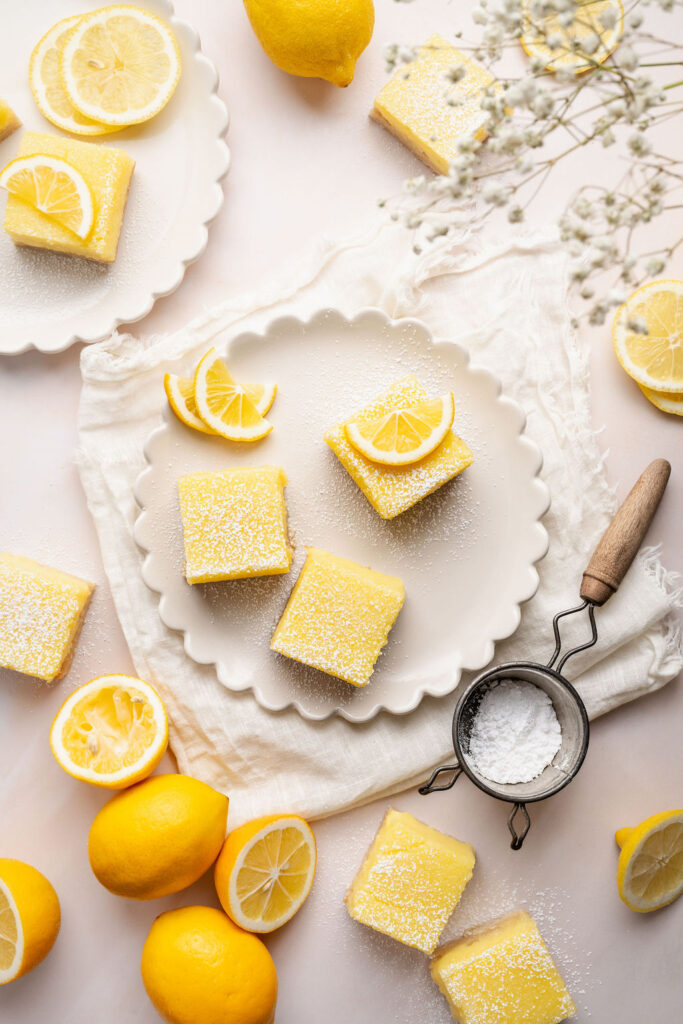
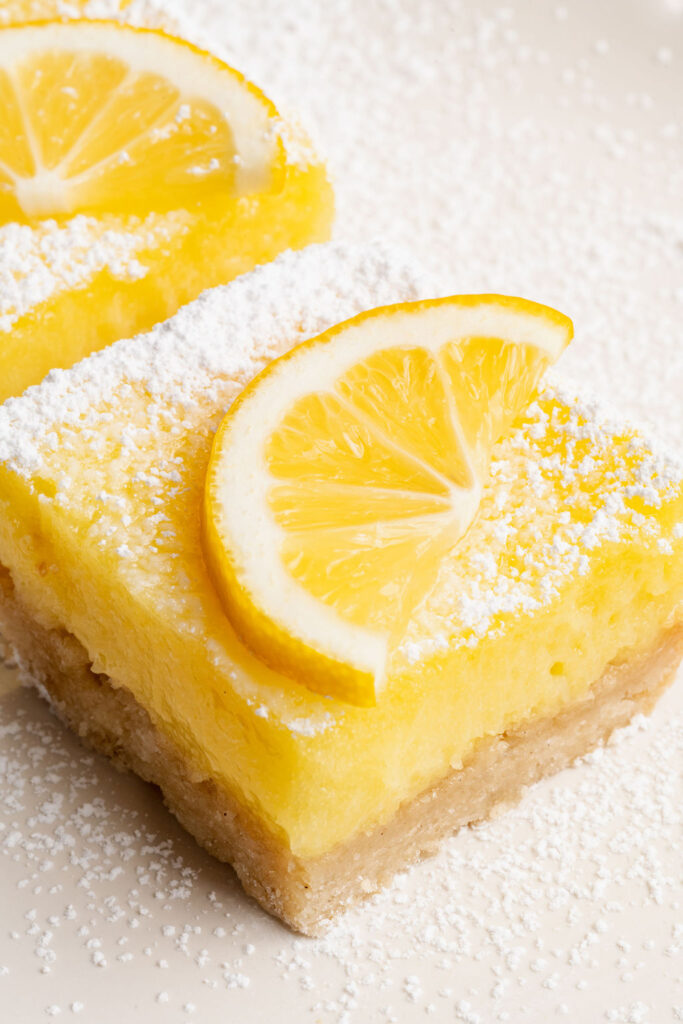
Once chilled, these bars cut beautifully into neat squares with distinct layers—perfect for serving and presentation.
Elegant yet approachable
They feel elevated enough for special occasions like Easter or brunch, but are simple enough to make anytime you’re craving a bright, citrusy dessert.
Ingredient Notes
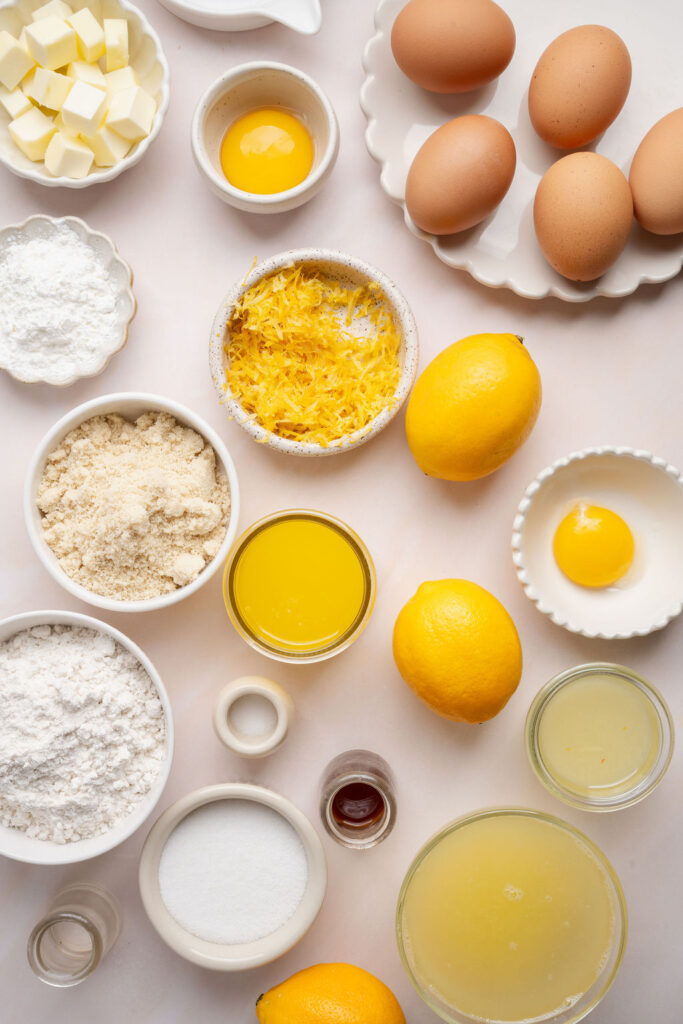
Gluten-Free 1:1 Flour
A high-quality gluten-free 1:1 baking flour provides structure for both the crust and the filling. For best results, use a blend that contains xanthan gum and measure by weight when possible for accuracy.
Almond Flour
Blanched almond flour adds tenderness and a subtle richness to the crust, creating a soft, buttery texture that pairs beautifully with the citrus filling.
Meyer Lemons
Meyer lemons are slightly sweeter and more floral than regular lemons, giving these bars a delicate, less sharp citrus flavor. If you can’t find Meyer lemons, you can substitute with regular lemons for a brighter, more tangy result—or use a combination of fresh lemon and orange juice to mimic the softer, slightly sweet flavor of Meyer lemons.
Fresh Lemon Juice
A combination of Meyer lemon juice and regular lemon juice helps balance the flavor—adding brightness and acidity while maintaining that signature softness.
Lemon Zest
Rubbing the zest into the sugar helps release the natural oils, enhancing the citrus flavor throughout the filling.
Granulated Sugar
Sugar not only sweetens the filling but also helps create that smooth, glossy texture once the curd is cooked and baked.
Eggs + Egg Yolks
Using both whole eggs and additional yolks creates a rich, custard-like filling with a smooth, creamy consistency and a beautiful golden color.
Cornstarch + Gluten-Free Flour
This combination helps thicken the filling while keeping it stable and sliceable without becoming rubbery or overly firm.
Unsalted Butter
Butter adds richness to both the crust and the filling. In the filling, it’s stirred in at the end for a silky finish and extra depth of flavor.
Vanilla + Almond Extracts
A small amount of vanilla and almond extract enhances the overall flavor, adding warmth and a subtle bakery-style note that complements the lemon without overpowering it.
Powdered Sugar
A light dusting just before serving adds a soft, elegant finish and a touch of sweetness.
How to Make Meyer Lemon Bars
See the recipe card below for the full ingredient list, measurements, and detailed instructions.
Step 1: In a medium bowl, whisk together the gluten-free 1:1 flour, almond flour, granulated sugar, cornstarch, and salt.
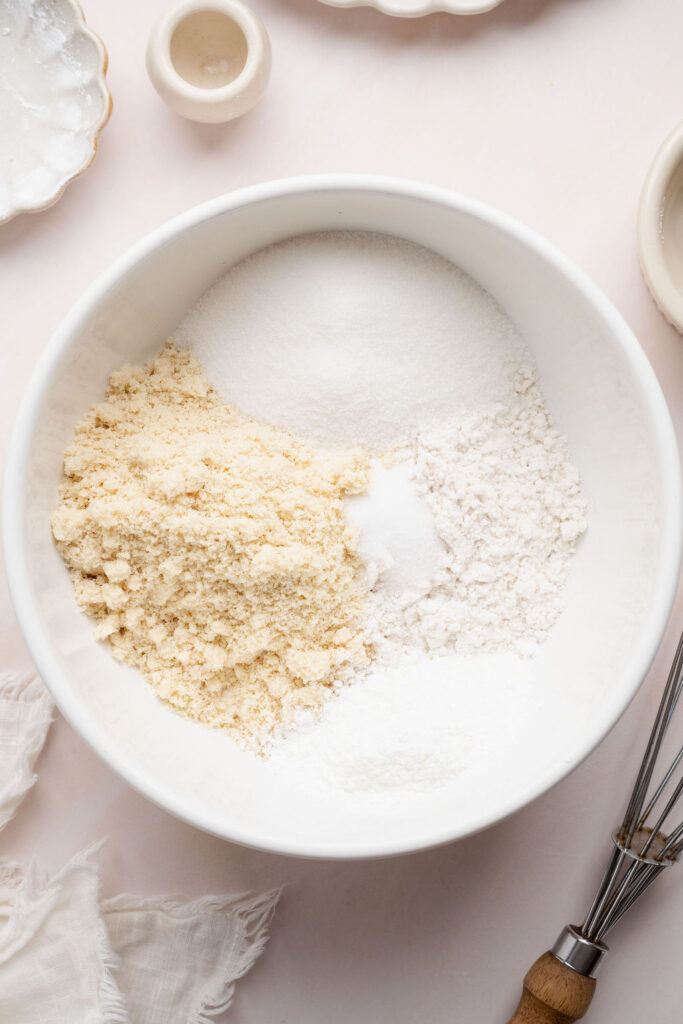
Step 2: Add the melted butter, vanilla extract, and almond extract, then stir until a cohesive dough forms.
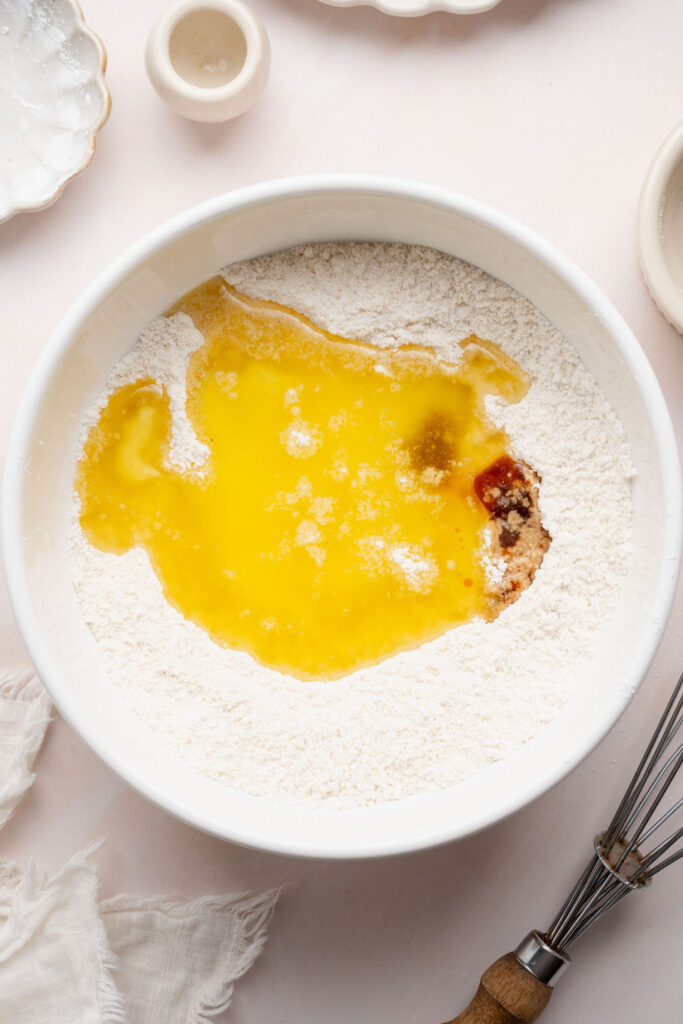
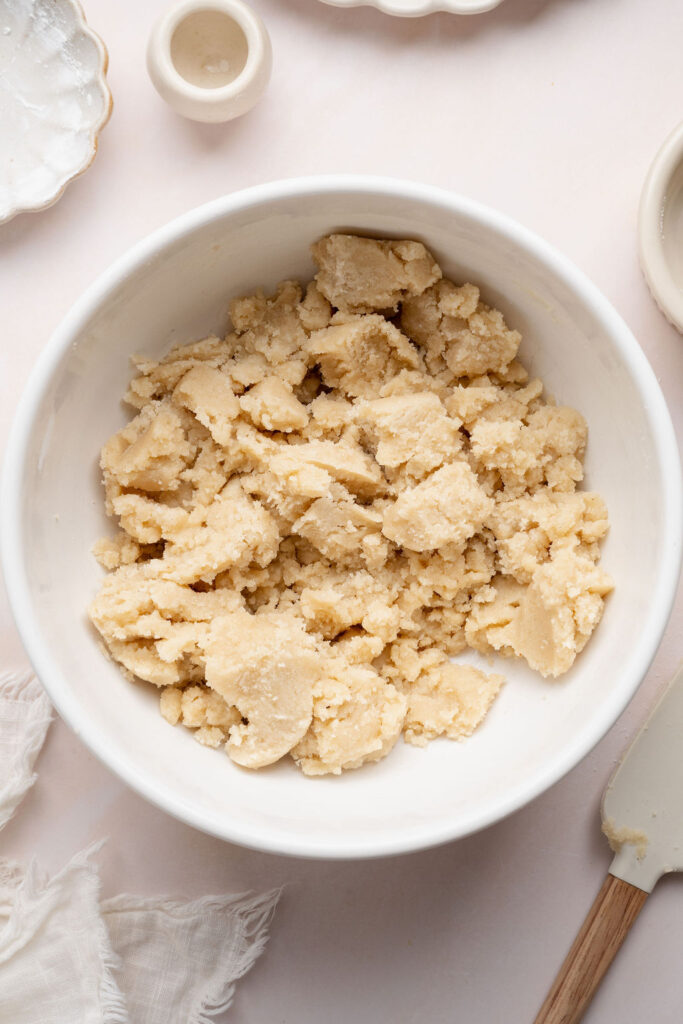
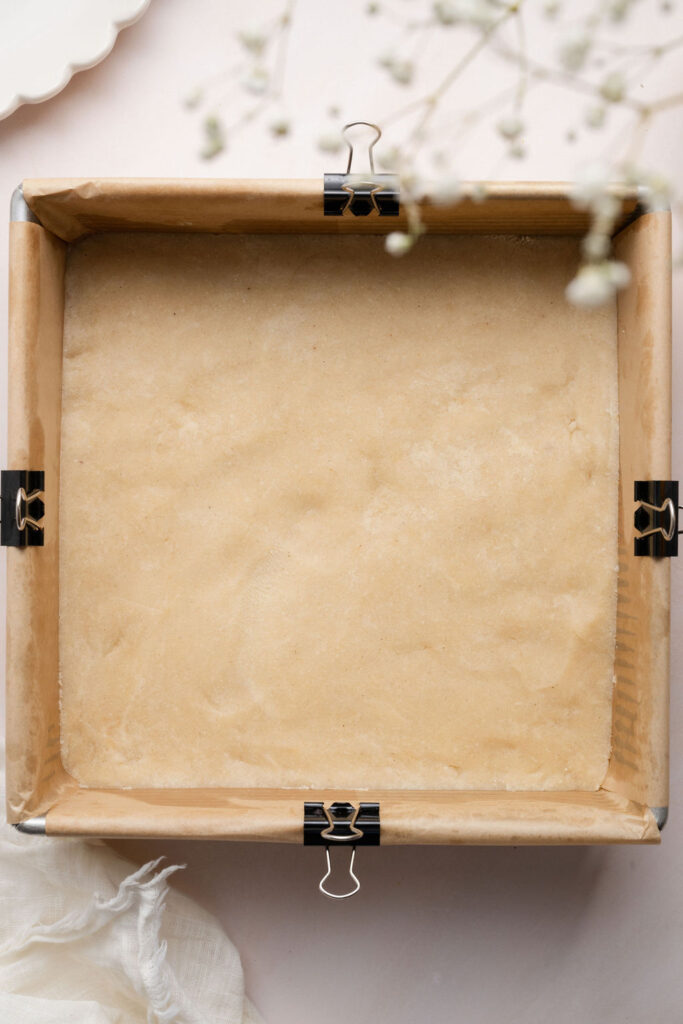
Step 3: Press the dough firmly into the prepared pan in an even layer. Use an offset spatula to smooth the surface and create clean edges. Bake for 22–25 minutes, or until the crust is set with a matte finish and lightly golden edges.
Step 4: While the crust bakes, prepare the filling. In a large bowl, rub the granulated sugar and Meyer lemon zest together until fragrant. Add the cornstarch, gluten-free 1:1 flour, and salt to the lemon sugar and whisk to combine. Add the eggs and egg yolks, whisking until fully incorporated.
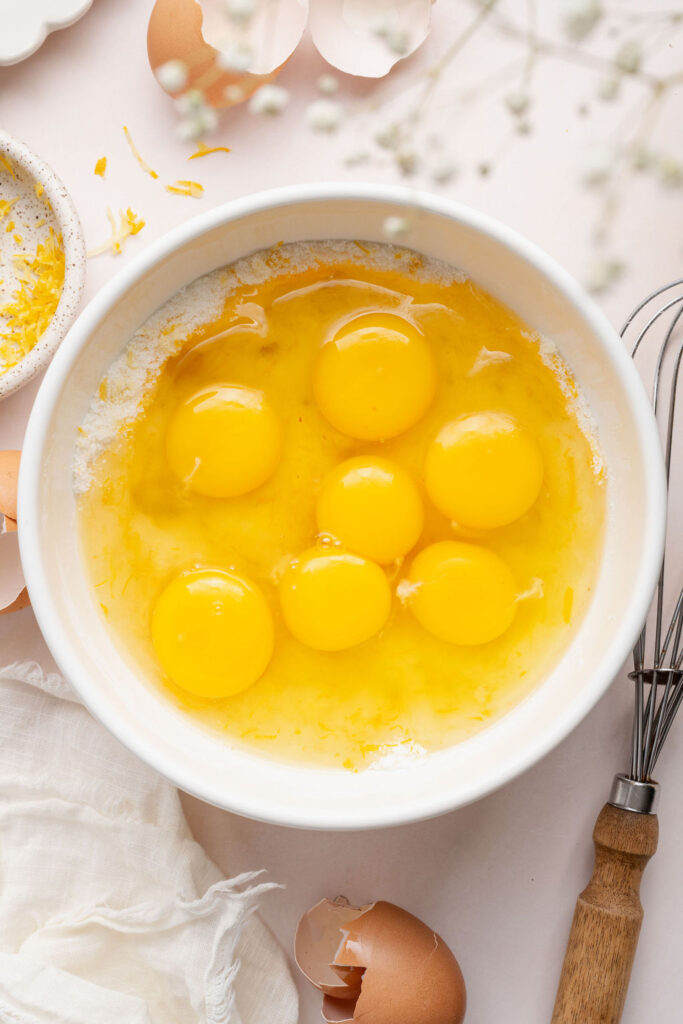
Step 5: Slowly pour in the Meyer lemon juice and regular lemon juice, whisking until smooth.
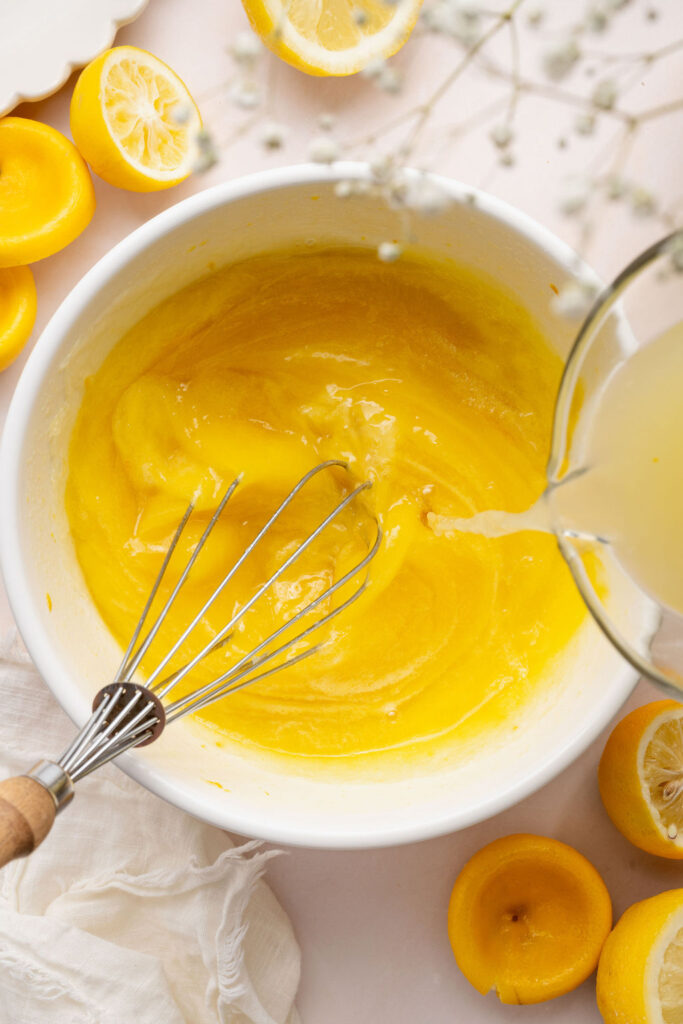
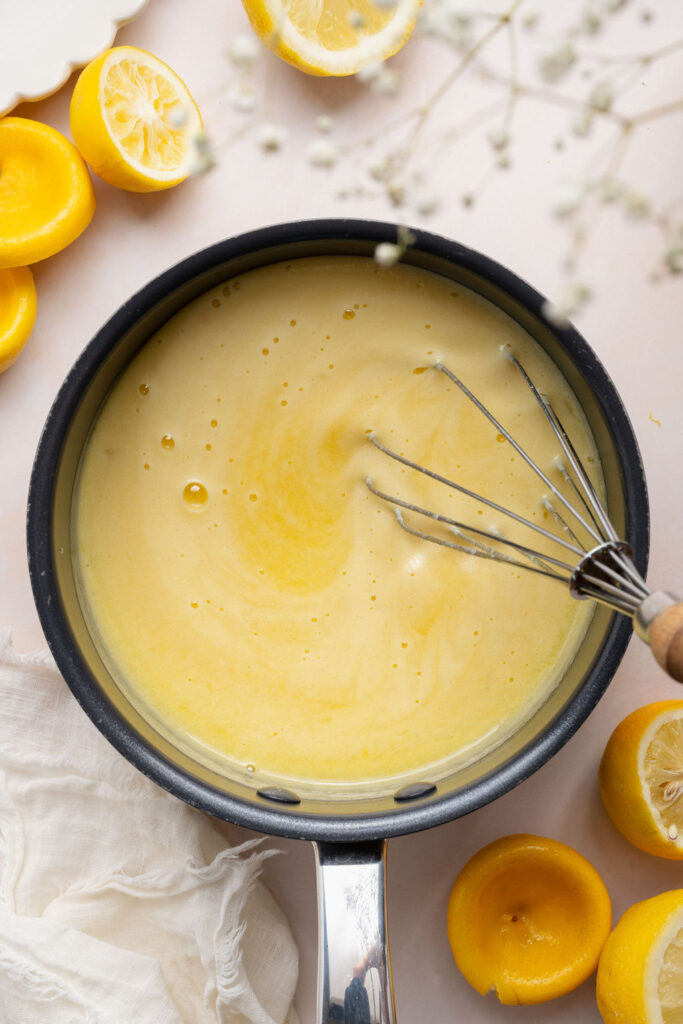
Step 6: Transfer the mixture to a heavy-bottomed saucepan and cook over medium-low heat, whisking constantly, until thickened and the mixture reaches 170°F. This should take about 8–12 minutes. The filling should not come to a full boil, though light bubbling around the edges is normal.
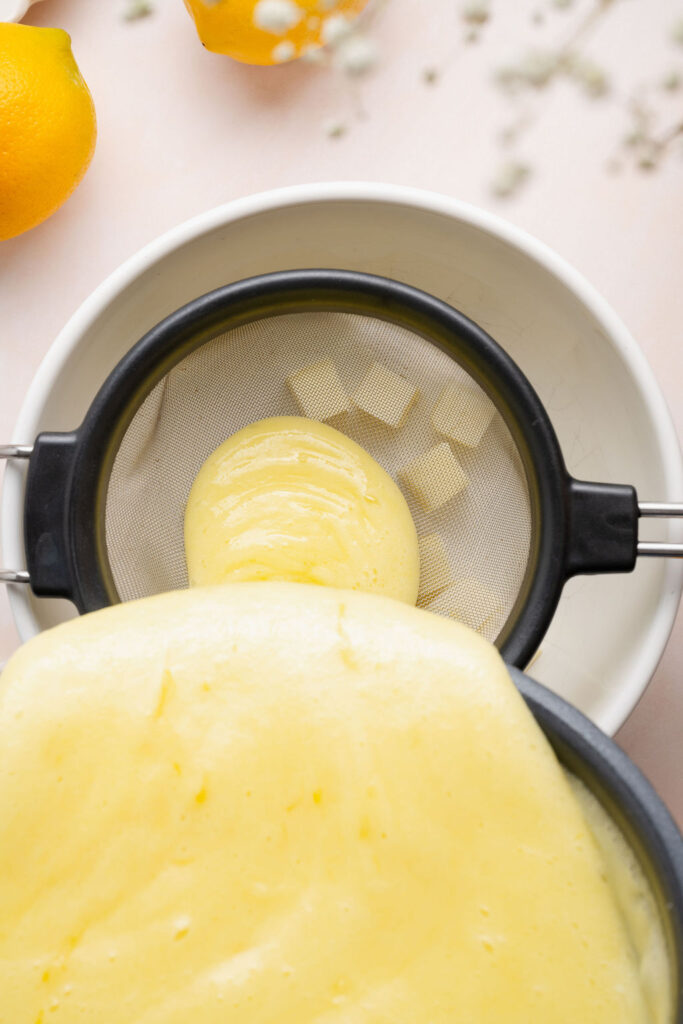
Step 7: Immediately pour the hot lemon mixture through the fine mesh strainer into the bowl of butter. Stir until the butter is melted and the filling is smooth, pressing the mixture through the strainer with a rubber spatula if needed.
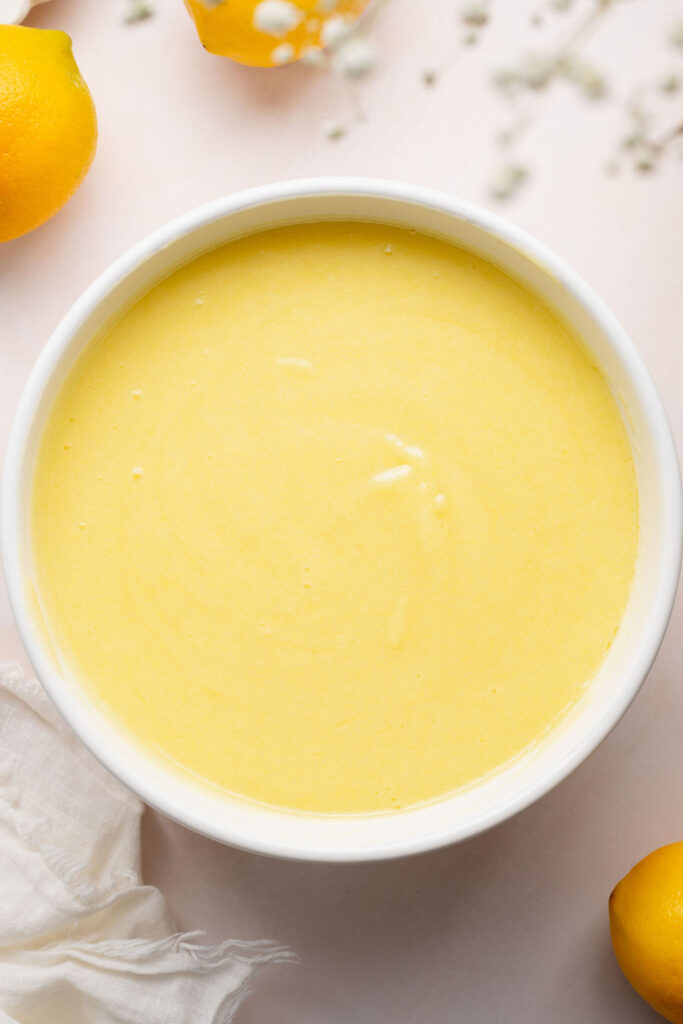
Step 8: Pour the warm lemon filling over the warm crust and spread gently into an even layer. Tap the pan lightly on the counter to release air bubbles, then bake for 15–18 minutes, until the edges are set and the center still has a slight jiggle.
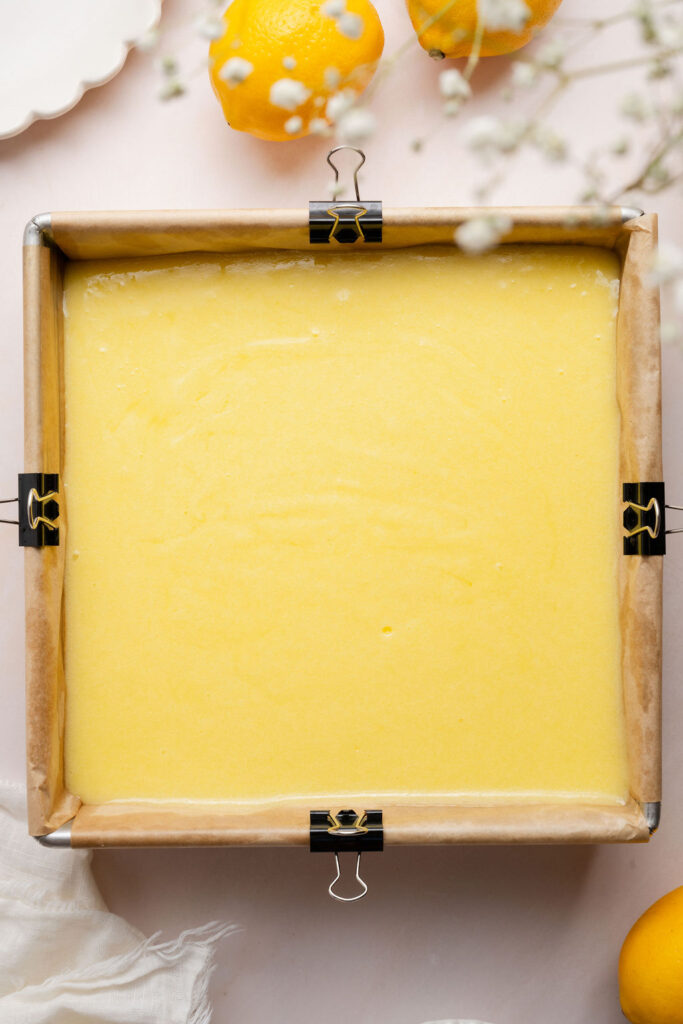
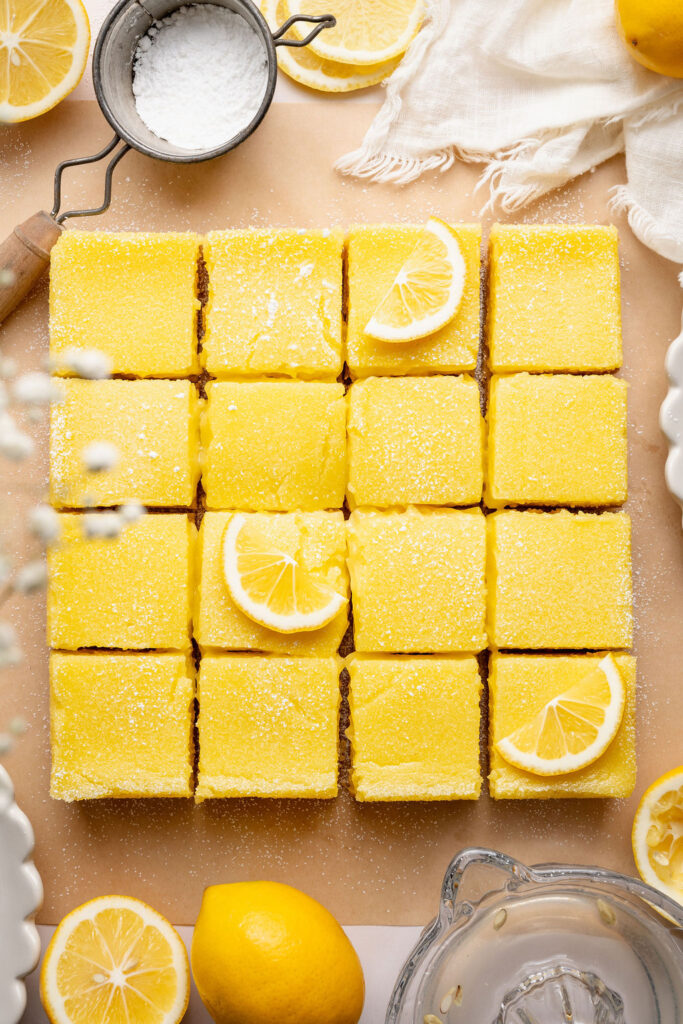
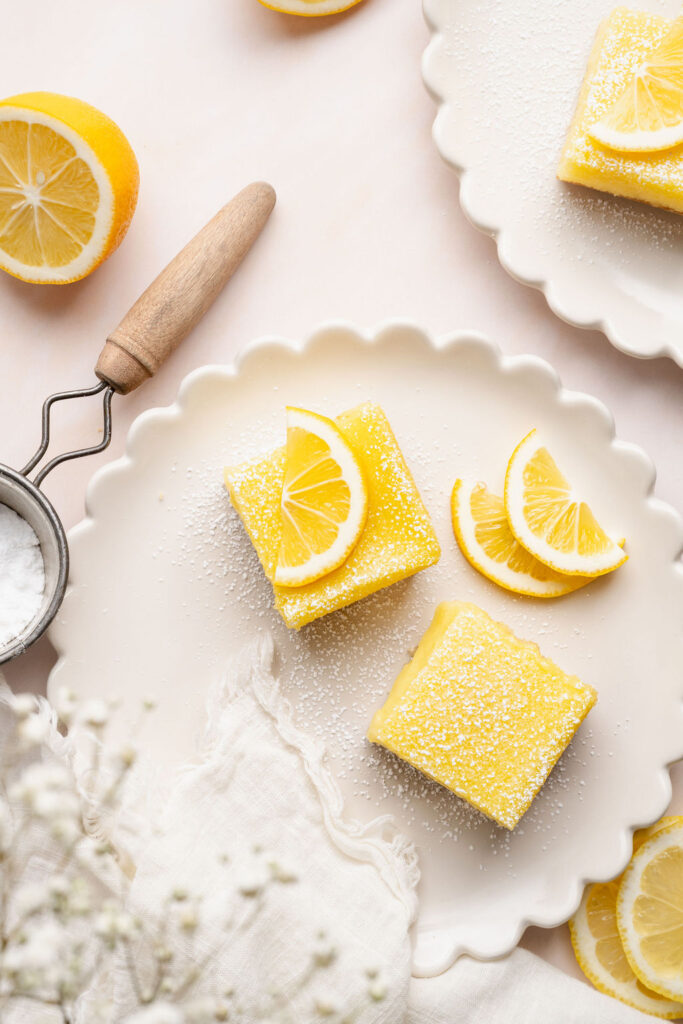
Step 9: Cool the bars at room temperature for 1 hour, then transfer to the refrigerator and chill uncovered for at least 4 hours. Once chilled and fully set, lift the bars from the pan, slice into squares with a sharp knife, and wipe the blade clean between cuts. Dust with powdered sugar just before serving.
Tips for Perfect Lemon Bars
A few simple techniques will help you achieve smooth, creamy lemon bars with clean, bakery-style slices every time.
Use a thermometer for the filling
Cooking the lemon filling to 170°F ensures it thickens properly without curdling. This is key for achieving a smooth, custard-like texture.
Whisk constantly and keep the heat moderate
Slow, steady heat helps prevent the eggs from scrambling. You should see slight bubbling around the edges, but the mixture should never come to a full boil.
Strain the filling for a silky finish
Pouring the hot filling through a fine mesh strainer removes any bits of zest or cooked egg, giving you an ultra-smooth, professional-quality texture.
Pour the filling over a warm crust
Adding the filling while the crust is still warm helps the layers bond together and prevents separation.
Don’t overbake
The edges should be set, but the center should still have a slight jiggle (like jello) when you gently tap the pan. The bars will continue to set as they cool and chill.
Chill completely before slicing
For clean, defined squares, allow the bars to chill for at least 4 hours. This helps the filling fully set and makes slicing much easier.
Wipe your knife between cuts
Cleaning the knife between slices keeps the edges neat and gives you those beautiful, bakery-style squares.
Dust with powdered sugar just before serving
This prevents the sugar from dissolving into the surface and keeps that clean, fresh finish.
Troubleshooting Guide
Why is my filling runny?
The filling likely wasn’t cooked long enough on the stovetop or didn’t reach 170°F. This step is essential for activating the eggs and thickening the mixture before baking. The bars will also continue to set as they chill, so be sure to refrigerate for at least 4 hours.
Why did my filling turn out lumpy or curdled?
The heat was likely too high or the filling wasn’t whisked constantly enough. Cook over low to medium heat and whisk continuously to prevent the eggs from scrambling. Straining the mixture will help remove any small bits and create a smooth finish.
Why does the top look foamy or bubbly?
Some light foam or small bubbles are normal from whisking. Straining the filling before baking helps minimize this, but any remaining bubbles will settle as the bars bake and chill.
Why are my bars cracking?
Cracking can happen if the bars are overbaked or cooled too quickly. Remove them from the oven when the center still has a slight jiggle, and allow them to cool gradually at room temperature before chilling.
Why is my crust too soft or crumbly?
Make sure the crust is firmly pressed into the pan and baked until set with lightly golden edges. Measuring the flour accurately (preferably by weight) also helps ensure the right texture.
Why are my slices messy or not clean?
The bars may not be fully chilled. For the cleanest slices, refrigerate for at least 4 hours and use a sharp knife, wiping it clean between each cut.
Storage & Freezing
Refrigerator storage
Store the lemon bars in an airtight container in the refrigerator for up to 4–5 days. For best texture and flavor, keep them chilled and dust with powdered sugar just before serving.
Freezing
Allow the bars to chill completely, then slice into squares. Place the bars on a baking sheet and freeze until solid, then transfer to an airtight container or freezer-safe bag. Freeze for up to 2 months.
To serve after freezing
Thaw the bars in the refrigerator overnight. If needed, lightly blot any surface moisture and dust with powdered sugar before serving.
Frequently Asked Questions
What can I use instead of Meyer lemons?
If Meyer lemons aren’t available, you can use all regular lemons for a more classic, tart flavor. For a closer match to the softer, slightly sweet profile of Meyer lemons, use mostly fresh lemon juice with a small portion of orange juice (about a 3:1 ratio) to maintain brightness while adding a touch of natural sweetness.
Do I have to cook the filling on the stovetop first?
This step is key for achieving a thick, smooth, custard-like filling. It helps control the texture and prevents the filling from becoming too thin or uneven during baking.
Can I make these ahead of time?
Yes—these bars are perfect for making ahead. In fact, they need several hours to chill, so making them the day before serving works beautifully.
Can I make this recipe dairy-free?
You can substitute the butter with a dairy-free alternative. The flavor and texture may vary slightly, but the bars will still set and slice well.
How do I know when the bars are done baking?
The edges should be set, and the center should still have a slight jiggle when you gently tap the pan. The filling will continue to firm up as it cools and chills.
Can I double this recipe?
Yes—double the recipe and bake it in a 9×13-inch pan. You may need to slightly adjust the baking time, so keep an eye on the center for doneness.
Ways to Serve
These gluten-free Meyer lemon bars are simple and elegant on their own, but a few thoughtful touches can make them feel even more special:
Serve well chilled
These bars are best served straight from the refrigerator, when the filling is firm and the texture is at its creamiest.
Add fresh berries
A handful of raspberries, blueberries, or sliced strawberries adds a pop of color and a fresh, slightly tart contrast to the sweet citrus filling.
Pair with whipped cream or mascarpone cream
A light dollop of softly whipped cream or mascarpone cream complements the bright lemon flavor and adds a subtle richness.
Finish with a dusting of powdered sugar
Just before serving, dust the tops lightly with powdered sugar for a clean, classic presentation.
Serve for spring gatherings
These bars are perfect for Easter brunch, Mother’s Day, bridal showers, or any warm-weather gathering where you want a dessert that feels both fresh and refined.
Gluten-Free Meyer Lemon Bars
- Total Time: 5 hours 25 minutes
- Yield: 16 bars
- Diet: Gluten-Free
Description
These gluten-free Meyer lemon bars feature a buttery almond flour crust and a smooth, custard-like lemon filling that’s perfectly balanced between sweet and tangy. Bright, elegant, and easy to make ahead, they’re the perfect citrus dessert for spring and summer.
Ingredients
SHORTBREAD CRUST
3/4 cup (110g) gluten-free 1:1 baking flour
1/2 cup (56g) blanched almond flour
1/3 cup (67g) granulated sugar
2 tablespoons (16g) cornstarch
1/2 teaspoon fine kosher salt
1/2 cup (113g) unsalted butter, melted and slightly cooled
1/2 teaspoon vanilla extract
1/4 teaspoon almond extract
LEMON FILLING
1 1/2 cups (300g) granulated sugar
2 tablespoons Meyer lemon zest (from about 3 Meyer lemons)
1 1/2 tablespoons (12g) cornstarch
1 tablespoon (9g) gluten-free 1:1 baking flour
1/8 teaspoon fine kosher salt
5 large eggs, room temperature
2 large egg yolks, room temperature
3/4 cup (180g) fresh Meyer lemon juice
1/4 cup (60g) fresh lemon juice
4 tablespoons (56g) unsalted butter, cold and cubed
Powdered sugar, for dusting
SPECIAL EQUIPMENT
8×8-inch square baking pan
fine mesh strainer
instant-read thermometer or candy thermometer
Instructions
PREPARE THE CRUST
- Position a rack in the center of the oven and preheat to 325°F.
- Grease an 8×8-inch baking pan and line with parchment paper, leaving an overhang on all sides for easy removal. Set aside.
- In a medium bowl, whisk together the gluten-free 1:1 flour, almond flour, granulated sugar, cornstarch, and salt.
- Add the melted butter, vanilla extract, and almond extract, and stir until a cohesive dough forms.
- Press the dough firmly into the bottom of the prepared pan, creating an even layer. Use an offset spatula to smooth the surface and create clean edges.
- Bake for 22–25 minutes, or until the crust is set with a matte finish and lightly golden edges.
MAKE THE LEMON FILLING
- Place the cubed butter in a heat-safe bowl and set a fine mesh strainer over the top. Set aside.
- In a large bowl, combine the sugar and lemon zest. Rub the zest into the sugar with your fingers until fragrant.
- Add the cornstarch, gluten-free 1:1 flour, and salt, and whisk to combine.
- Add the eggs and egg yolks, and whisk until fully incorporated.
- Slowly pour in the Meyer lemon juice and regular lemon juice, whisking until smooth.
- Transfer the mixture to a heavy-bottomed saucepan and cook over medium-low heat, whisking constantly, until thickened and the mixture reaches 170°F on an instant-read thermometer, about 8–12 minutes. The mixture should not come to a full boil, though light bubbling around the edges is normal.
- Remove from the heat and immediately pour through the prepared strainer into the bowl of butter. Use a rubber spatula to press the mixture through the strainer if needed.
- Stir until the butter is fully melted and the mixture is smooth.
BAKE THE BARS
- Pour the warm lemon filling over the warm crust, spreading gently if needed to create an even layer.
- Tap the pan lightly on the counter to release any air bubbles.
- Bake for 15–18 minutes, checking around 12 minutes. The edges should be set, and the center should have a slight jiggle when gently shaken.
- Remove from the oven and cool at room temperature for 1 hour.
- Transfer to the refrigerator and chill uncovered for at least 4 hours, or until fully set.
FOR SERVING
- When ready to serve, lift the bars out of the pan using the parchment overhang. Slice into squares with a sharp knife, wiping the blade clean between cuts.
- Dust with powdered sugar just before serving.
Store the bars in an airtight container in the refrigerator for 4–5 days.
- Prep Time: 45 minutes
- Chill: 4 hours
- Cook Time: 40 minutes
- Category: Dessert
- Method: Baking
Photography by Creating Kaitlin


Leave a Reply