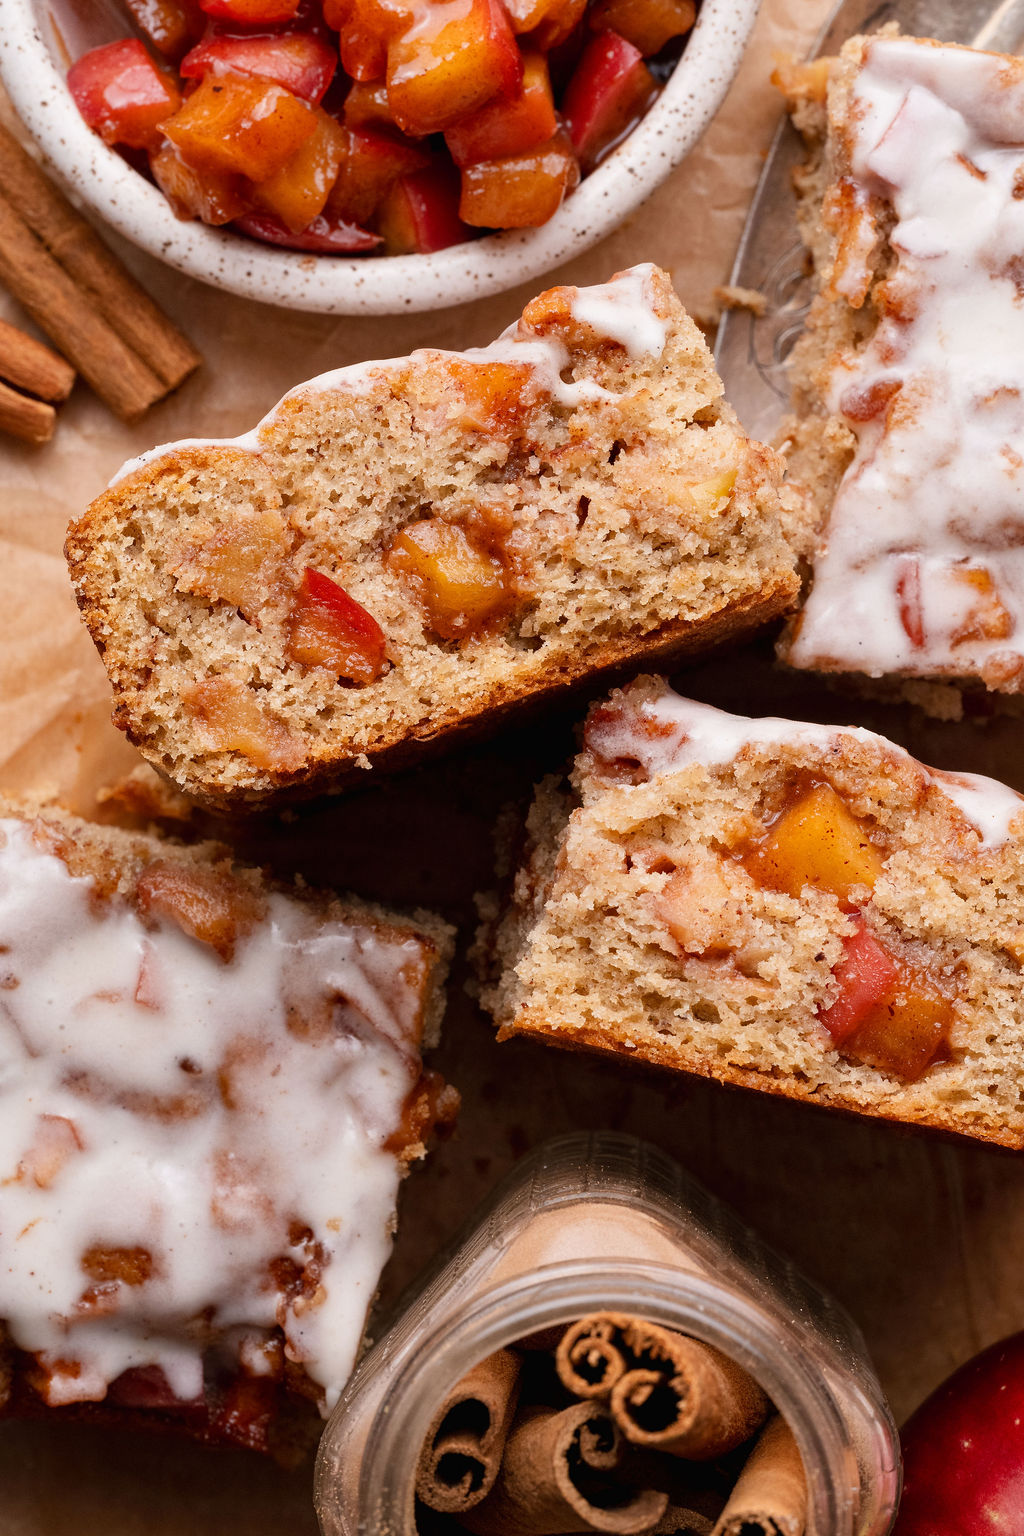


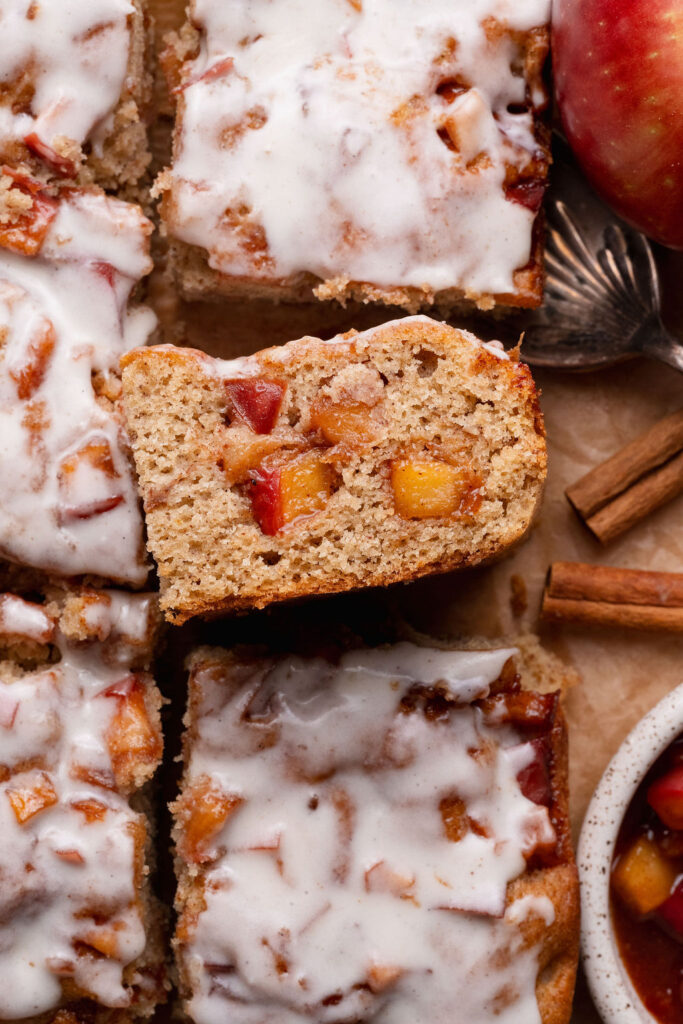
This gluten-free apple fritter cake combines everything you love about a classic apple fritter in a soft, buttery cake. Layers of tender, cinnamon-spiced apples are nestled between a moist vanilla cake and finished with a sweet vanilla bean glaze that settles into all the little crevices.
Made with fresh apples, warm fall spices, and a combination of gluten-free flour and almond flour for an extra tender crumb, this cozy apple cake is perfect for breakfast, brunch, or an afternoon treat. It has all the comforting flavors of a bakery-style apple fritter, without the fuss of frying!
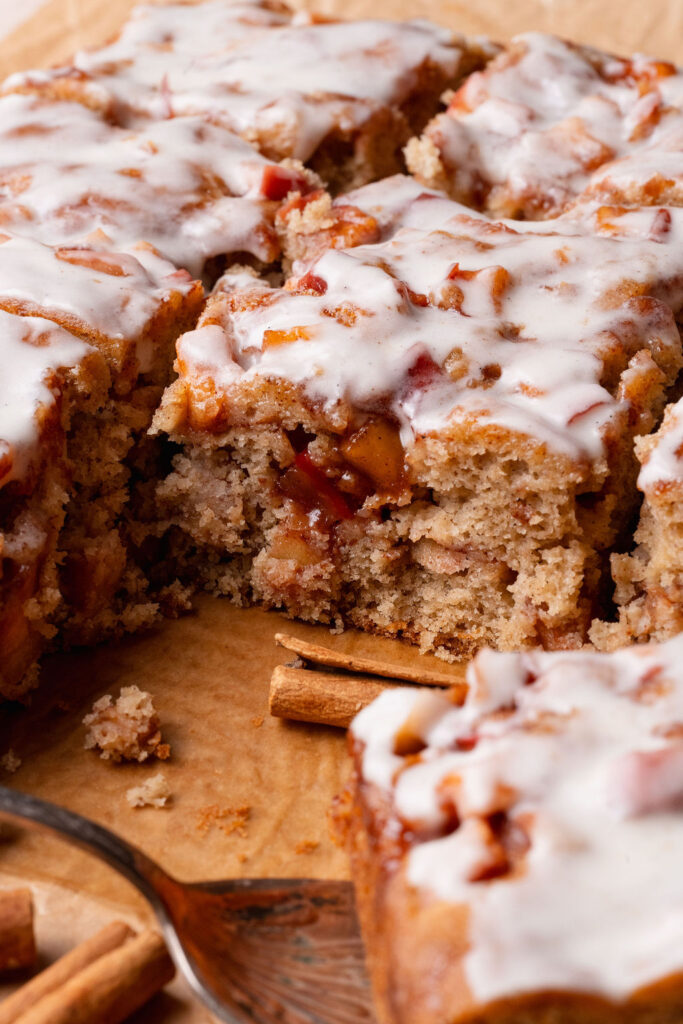
Why You’ll Love This Recipe
All the flavors of a classic apple fritter
Tender cinnamon-spiced apples, a buttery vanilla cake, and a sweet glaze come together for all the delicious flavors of a bakery-style apple fritter in cake form.
Soft, moist, and tender
A combination of sour cream, butter, and almond flour creates a wonderfully tender cake that stays moist without feeling heavy.
Layers of cinnamon-spiced apples
Fresh apples are gently cooked with brown sugar, butter, and warm spices before being layered and swirled throughout the cake.
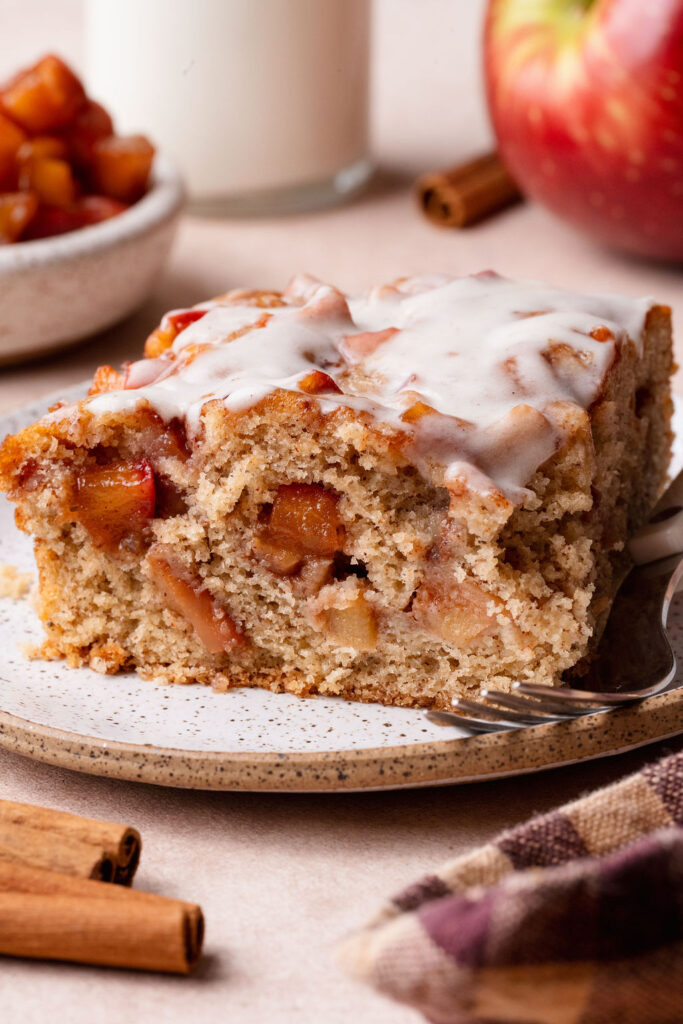
Sweet vanilla bean glaze
A simple buttery vanilla bean glaze drapes over the cake, settling into the crevices and adding that signature apple fritter finish.
No frying required
Enjoy everything you love about homemade apple fritters without the extra work of preparing and frying individual pastries.
Ingredient Notes
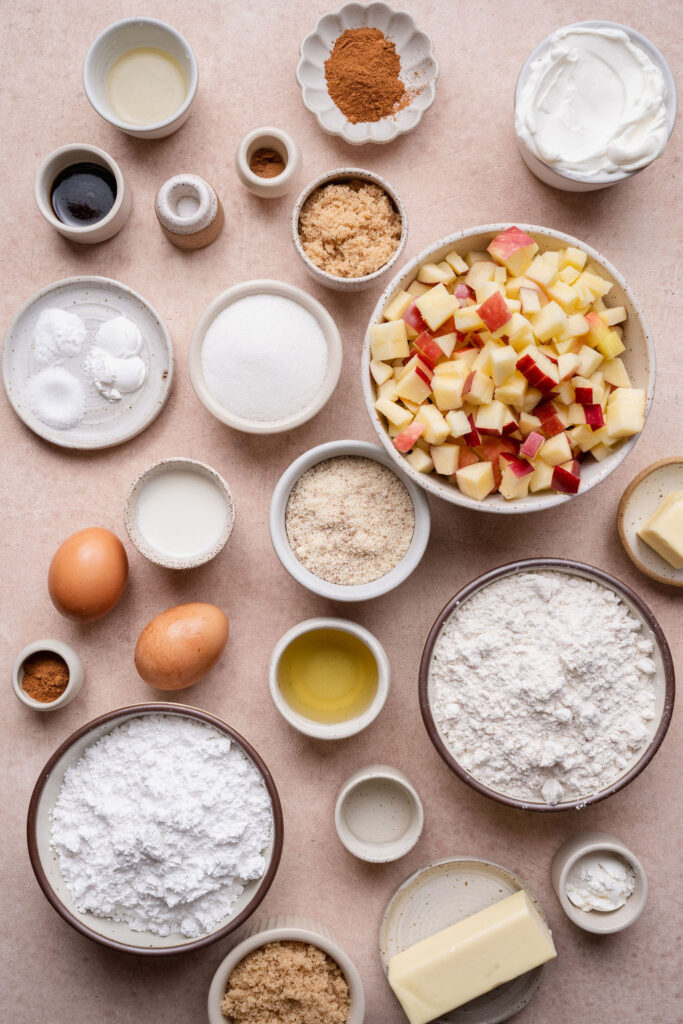
Apples
I recommend Cosmic Crisp apples for their naturally sweet flavor and firm texture, which helps them hold their shape as they cook and bake. Honeycrisp or Pink Lady apples are also great options. There’s no need to peel the apples!
Gluten-free flour
Use a high-quality gluten-free 1:1 baking flour that contains xanthan gum. I recommend Bob’s Red Mill Gluten Free 1-to-1 Baking Flour for the best results.
Almond flour
Blanched almond flour adds richness and moisture while helping create a soft, tender crumb. Be sure to use finely ground almond flour rather than almond meal.
Brown sugar
Light brown sugar adds a subtle caramel-like sweetness to the apples and enhances the flavor of the cake.
Butter and avocado oil
Using both butter and oil gives the cake a rich, buttery flavor while keeping the crumb soft and moist. You can substitute another neutral-flavored oil for the avocado oil.
Sour cream
Full-fat sour cream adds moisture and richness while giving the cake its tender texture. For the best results, bring it to room temperature before mixing.
Cinnamon and nutmeg
These warm spices complement the apples and give the cake its classic apple fritter flavor.
Vanilla bean paste
Adds a rich vanilla flavor and beautiful vanilla bean specks to the glaze. Vanilla extract can also be used if preferred.
How to Make Gluten-Free Apple Fritter Cake
See the recipe card below for the full ingredient list, measurements, and instructions.
Step 1: Prepare the cinnamon-spiced apples
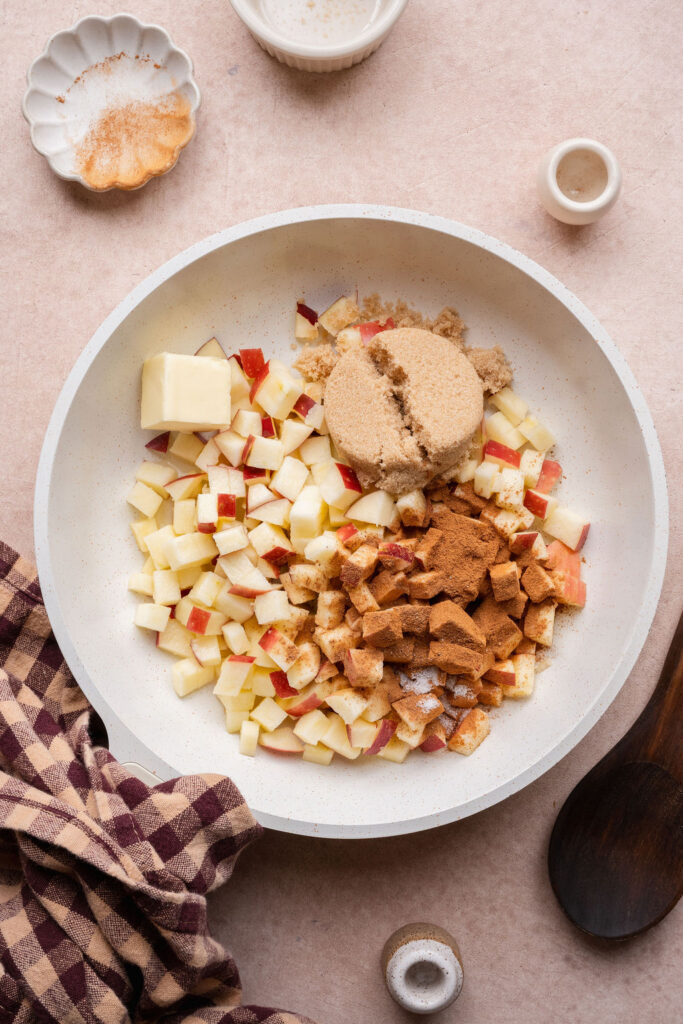
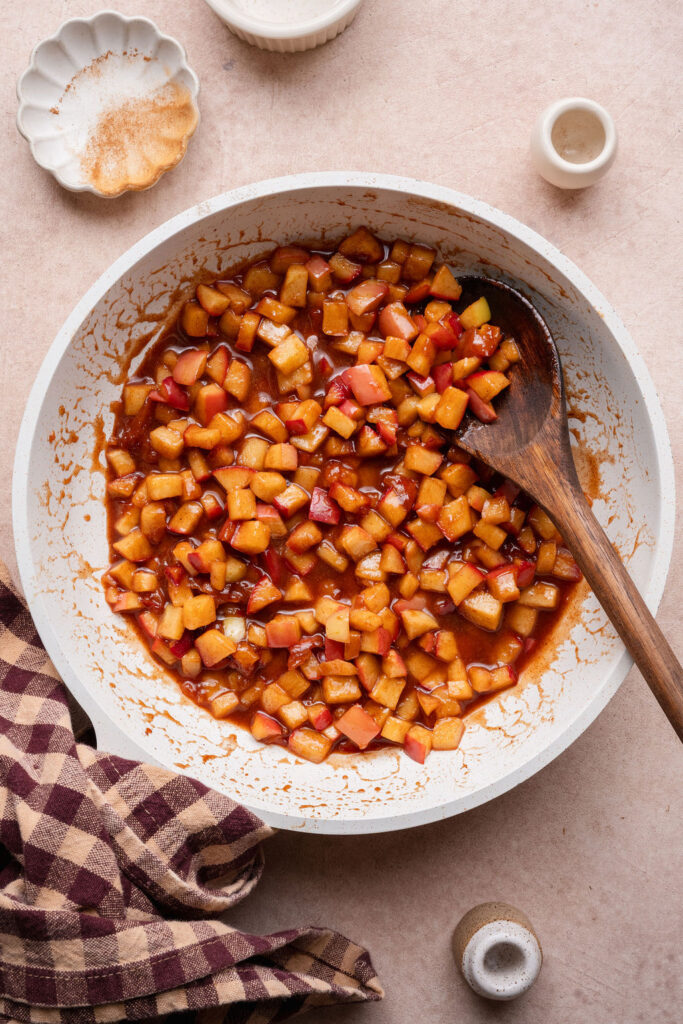
In a medium skillet, combine the diced apples, brown sugar, butter, lemon juice, cinnamon, nutmeg, and salt. Cook over medium heat until the apples begin to release their juices, then simmer for about 5 minutes until slightly softened. Stir in the cornstarch slurry and cook for another minute until thickened. Transfer to a shallow bowl and let cool completely.
Step 2: Combine the dry ingredients
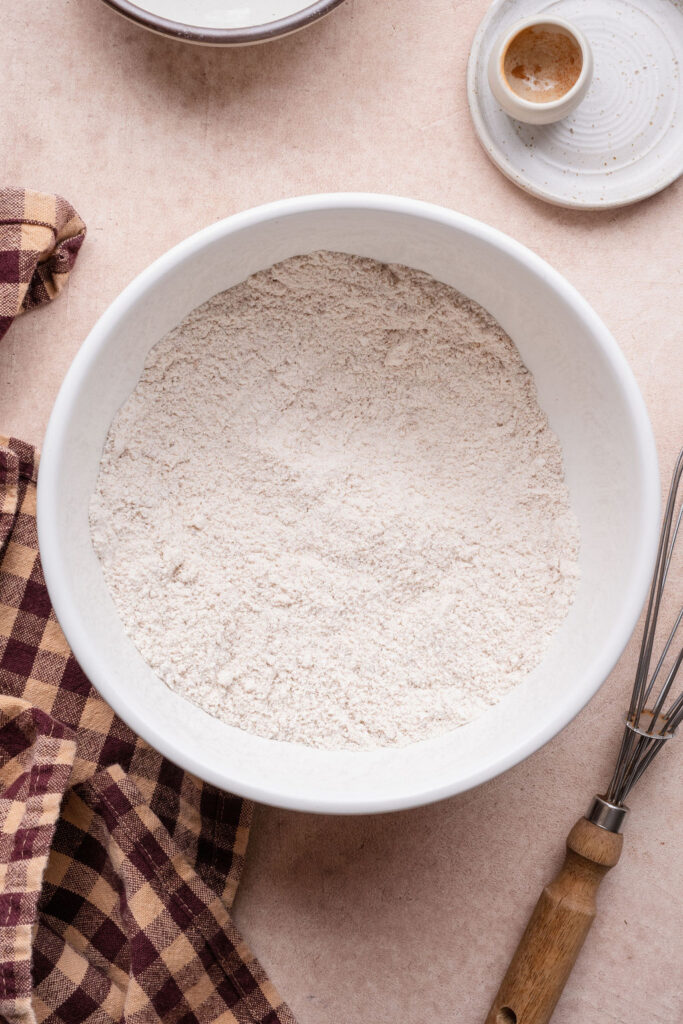
In a medium bowl, whisk together the gluten-free flour, almond flour, baking powder, baking soda, salt, and cinnamon. Set aside.
Step 3: Cream the butter and sugars
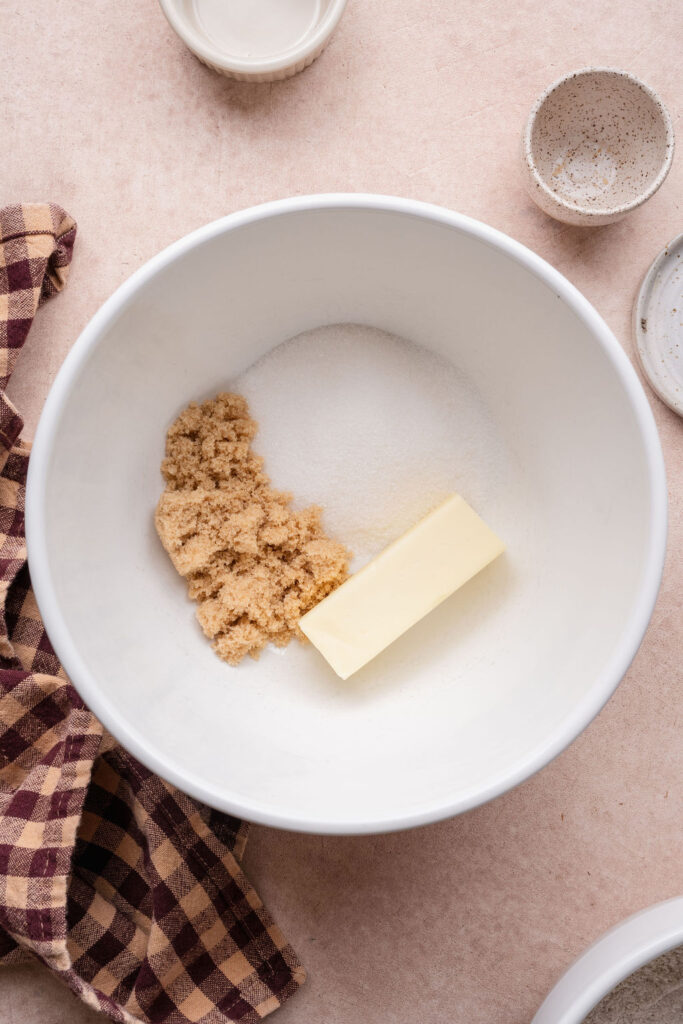
In a large mixing bowl, beat the softened butter, granulated sugar, and brown sugar until light and creamy, about 2–3 minutes. Add the avocado oil and mix until combined.
Step 4: Mix in the wet ingredients
Add the eggs one at a time, mixing after each addition. Add the sour cream and vanilla and mix to combine.
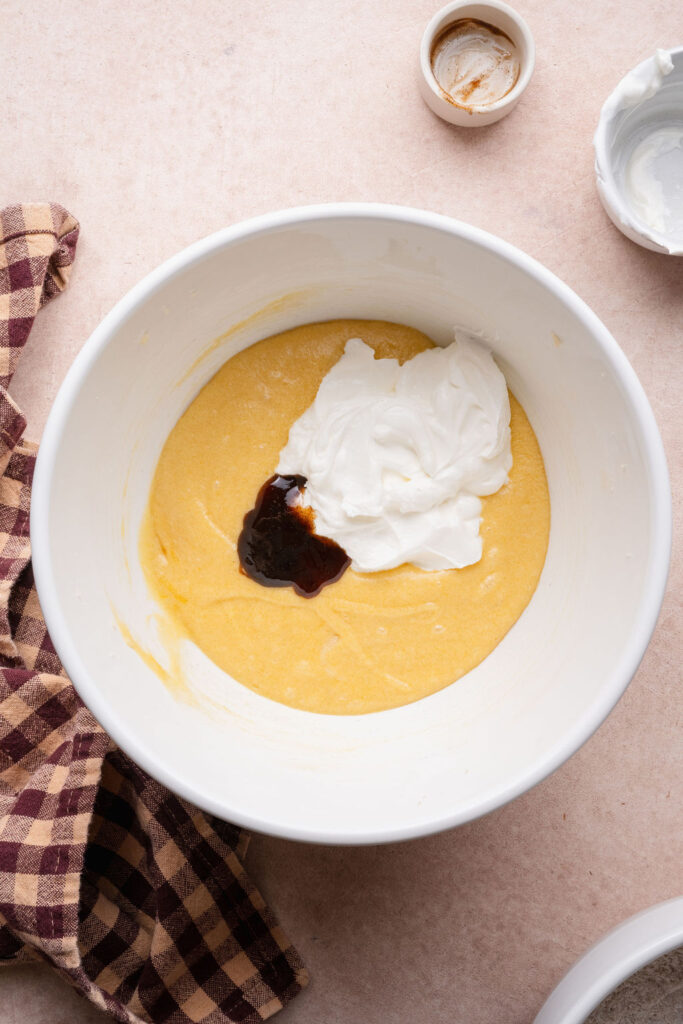
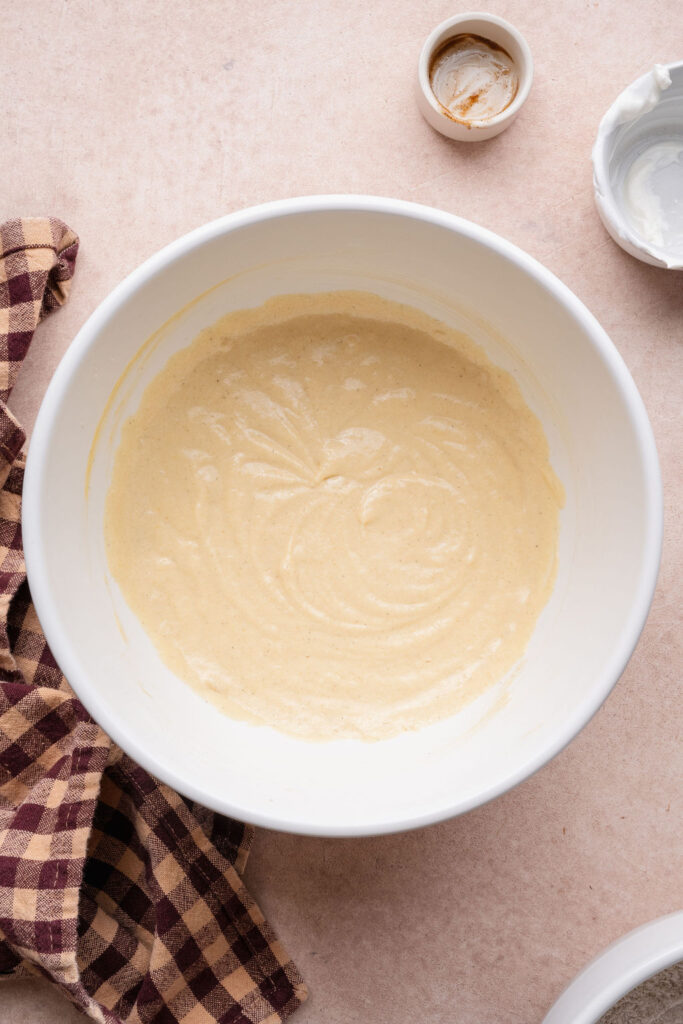
Step 5: Add the dry ingredients
Add the dry ingredients and mix on low until combined and mostly smooth.
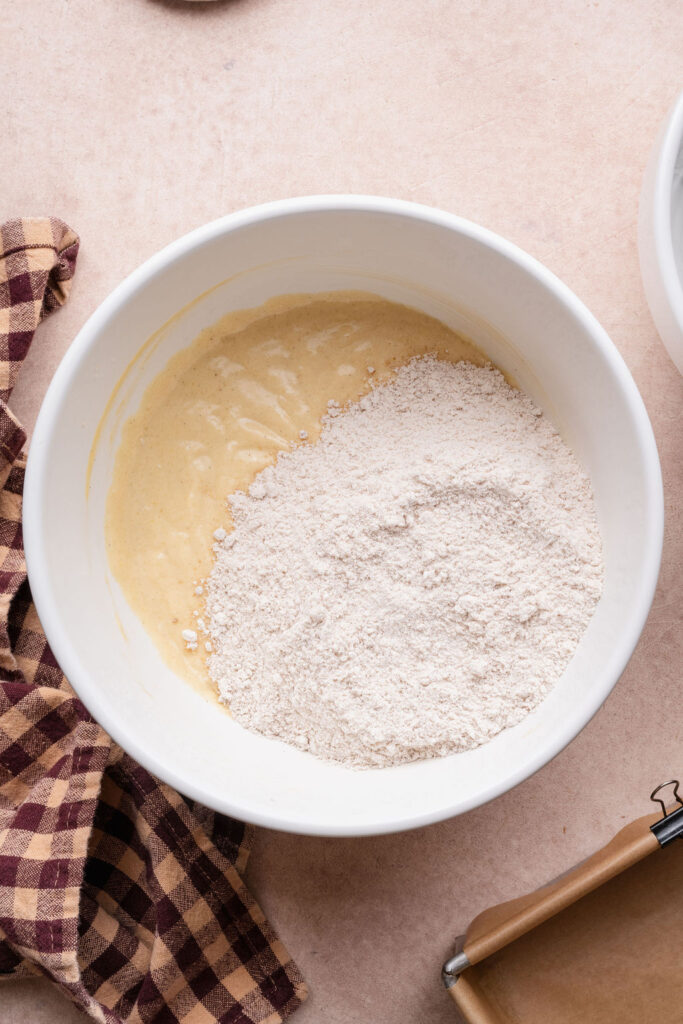
Step 6: Layer the cake batter and apples
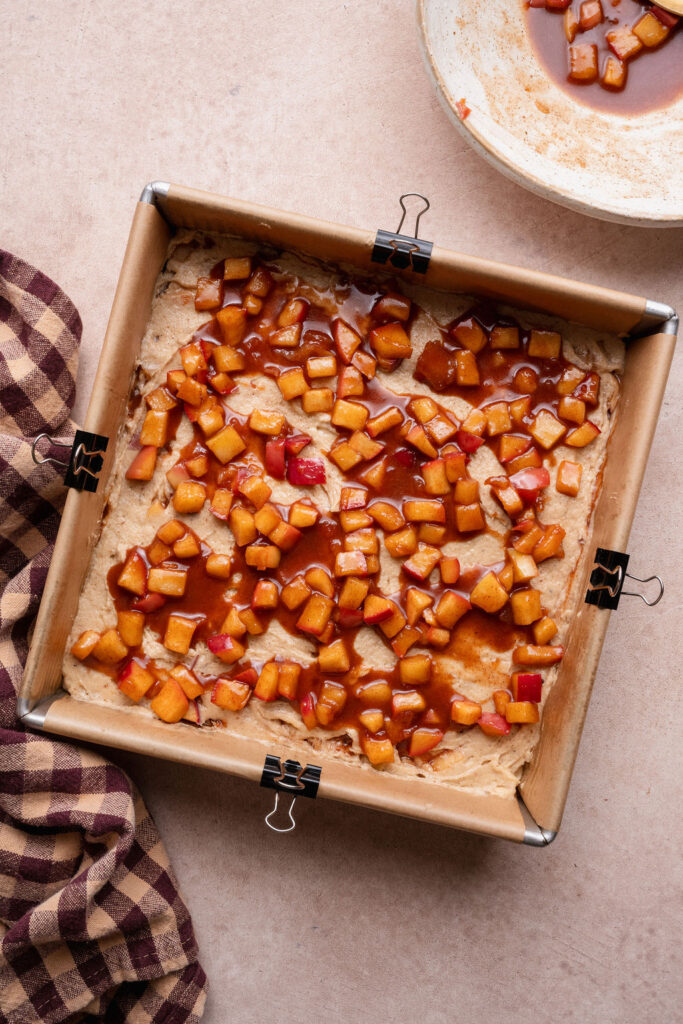
Spread half of the cake batter evenly into the prepared pan, then spoon half of the cooled apple mixture over the top. Gently spread the remaining cake batter over the apples, covering them as evenly as possible.
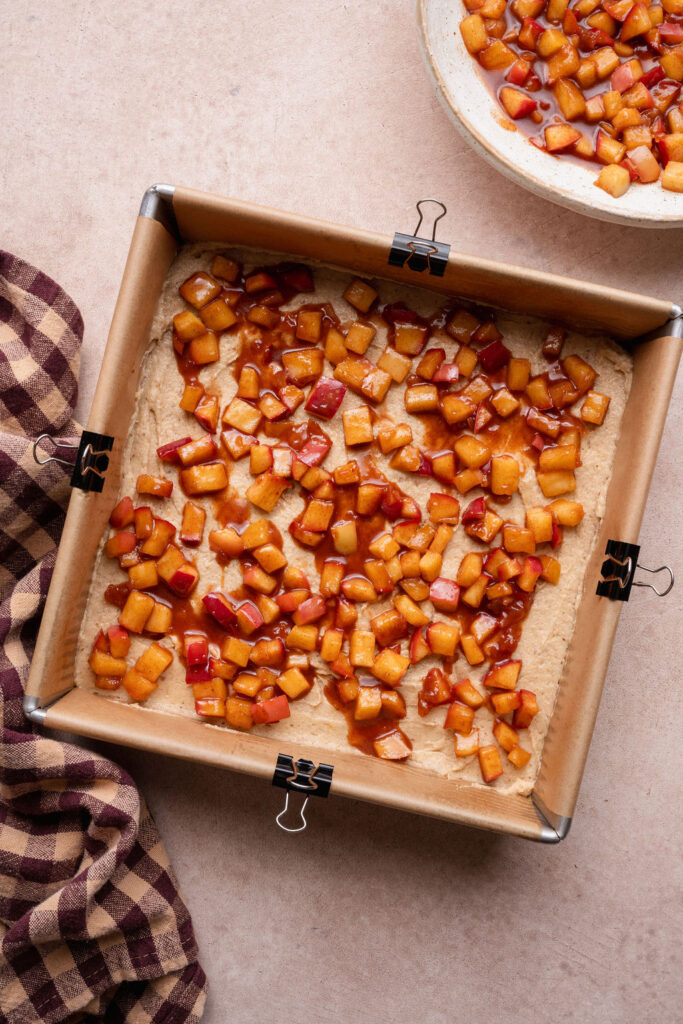
Step 7: Add and swirl the remaining apples
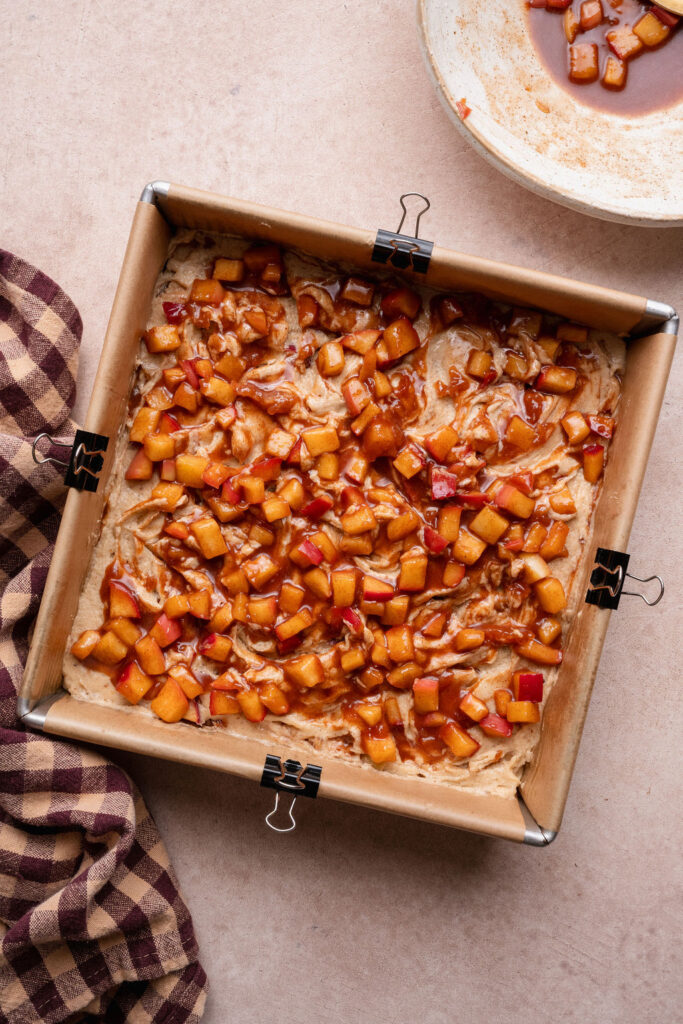
Spoon the remaining apple mixture over the top of the batter. Using a butter knife or skewer, gently swirl the apples into the top layer of batter, keeping the swirls shallow rather than extending all the way to the bottom of the pan.
Step 8: Bake the cake
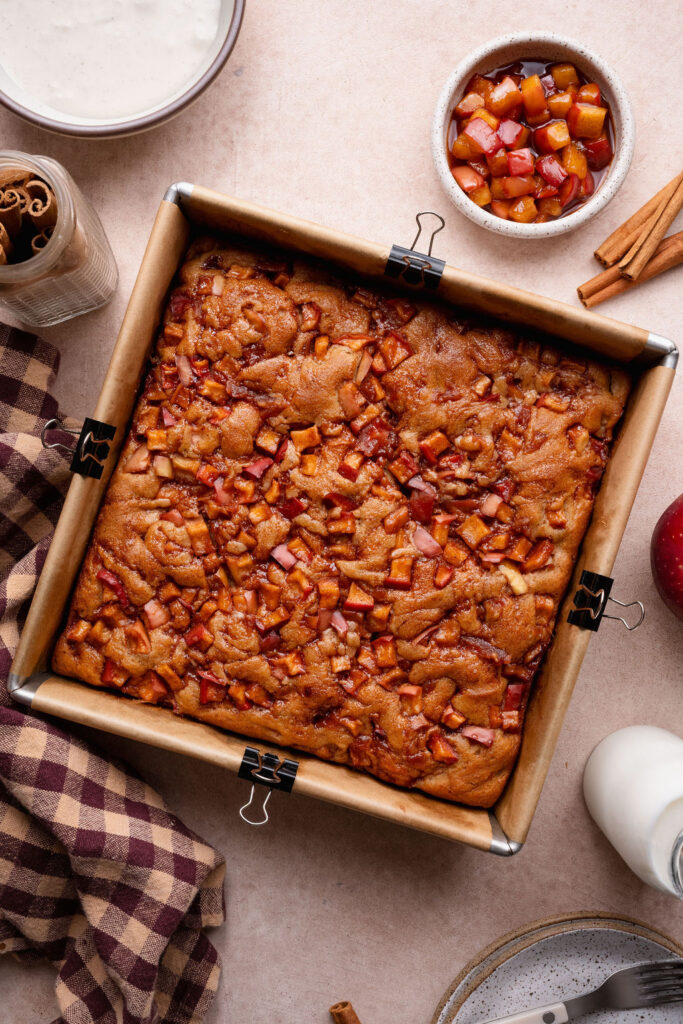
Bake at 350°F for 40–45 minutes, or until the cake is golden brown and a toothpick inserted into the cake portion near the center comes out clean or with a few moist crumbs. Allow the cake to cool completely in the pan on a wire rack.
Step 9: Glaze the cake
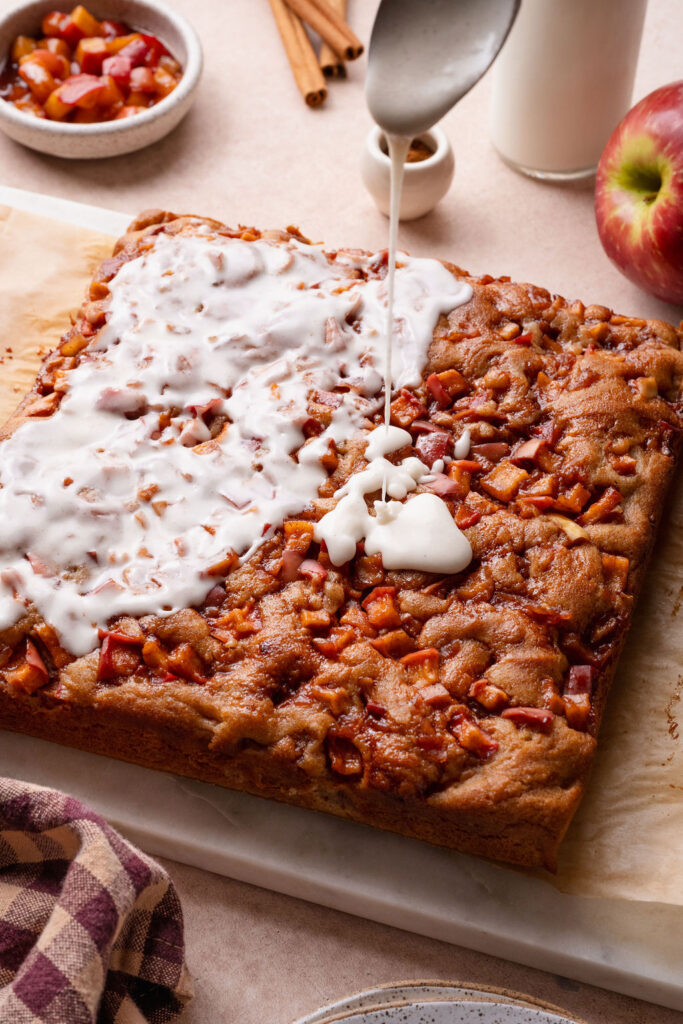
Whisk together the powdered sugar, milk, melted butter, vanilla bean paste, and salt until smooth and pourable, adding additional milk as needed. Lift the cooled cake out of the pan and pour the glaze over the top, gently spreading it into the crevices. Allow the glaze to set slightly before slicing and serving.
Recipe Tips
Choose the right apples
Use firm, crisp apples that will hold their shape during cooking and baking. I love Cosmic Crisp apples for their sweet flavor and firm texture, but Honeycrisp or Pink Lady apples also work well. Dice the apples into small, evenly sized pieces so they soften consistently throughout the cake.
Don’t overcook the apples
Cook the apples just until they begin to soften but still hold their shape. They’ll continue cooking in the oven, so you don’t want them to become too soft or mushy. Allow the apple mixture to cool completely before layering it into the cake batter.
Use room-temperature ingredients
Bring the butter, eggs, and sour cream to room temperature before mixing. This helps the ingredients incorporate smoothly and creates a more uniform, tender cake crumb.
Measure the flour correctly
For the most accurate results, I recommend weighing your gluten-free flour with a kitchen scale. If using measuring cups, spoon the flour into the cup and level it off with a knife rather than scooping directly from the bag.
Layer and swirl gently
Spread the batter and apple mixture in alternating layers, then gently swirl the apples into the top layer using a butter knife or skewer. Keep the swirls shallow to create beautiful pockets of cinnamon-spiced apples without overmixing the batter.
Avoid overbaking
Bake just until the top is golden brown and a toothpick inserted into the cake portion near the center comes out clean or with a few moist crumbs. Avoid inserting the toothpick directly into the apple filling, which can make it difficult to determine whether the cake is fully baked.
Let the cake cool before glazing
Allow the cake to cool completely before adding the vanilla bean glaze. Glazing while the cake is still warm can cause the glaze to become too thin and run off rather than settling beautifully over the surface.
Storage
Room temperature
Store the cooled apple fritter cake in an airtight container at room temperature for up to 2 days. Keep it in a cool, dry place away from direct sunlight.
Refrigerator
For longer storage, transfer the cake to an airtight container and refrigerate for up to 5 days. Allow individual slices to come to room temperature before serving for the best flavor and texture.
Freezer
For longer storage, freeze individual slices of the unglazed cake tightly wrapped in plastic wrap and placed in a freezer-safe container for up to 2 months. Thaw overnight in the refrigerator or at room temperature, then add the vanilla bean glaze before serving.
Frequently Asked Questions
What are the best apples for apple fritter cake?
Firm, crisp apples such as Cosmic Crisp, Honeycrisp, or Pink Lady work best because they hold their shape during cooking and baking. I especially love Cosmic Crisp apples for their natural sweetness and balanced flavor.
Do I need to peel the apples?
No! I prefer leaving the skins on for this recipe. The apples are diced into small pieces and gently cooked before baking, so the skins soften nicely and add a little extra texture. However, you can certainly peel the apples if you prefer.
Can I make this apple fritter cake ahead of time?
Absolutely! You can bake the cake a day in advance and store it tightly covered at room temperature. For the freshest appearance, I recommend adding the vanilla bean glaze shortly before serving.
Can I use regular all-purpose flour instead of gluten-free flour?
This recipe was developed using gluten-free 1:1 baking flour, so I haven’t tested it with regular all-purpose flour. While a substitution may work, the texture and moisture level could be slightly different.
Can I substitute Greek yogurt for the sour cream?
Full-fat plain Greek yogurt may work as a substitute for the sour cream, although I haven’t tested it in this particular recipe. For the softest, richest texture, I recommend sticking with full-fat sour cream.
How do I know when the apple fritter cake is done baking?
The cake should be golden brown on top, with a center that feels set rather than jiggly. Insert a toothpick into a cake portion near the center, avoiding the apple filling. It should come out clean or with a few moist crumbs attached.
Can I freeze apple fritter cake?
Yes! For the best results, freeze the cake without the glaze. Wrap individual slices tightly and store them in a freezer-safe container for up to 2 months. Thaw completely before adding the glaze and serving.
Gluten-Free Apple Fritter Cake
- Total Time: 1 hour 20 minutes
- Yield: 9-12 slices
- Diet: Gluten-Free
Description
This gluten-free apple fritter cake is soft, buttery, and layered with tender cinnamon-spiced apples, then finished with a sweet vanilla bean glaze. Made with fresh apples, warm spices, and a moist, tender cake, it’s everything you love about a classic apple fritter in an easy-to-make cake!
Ingredients
APPLES
3 1/4 cups (400g) apples, diced (see note)
6 tablespoons (75g) light brown sugar, lightly packed
2 tablespoons (28g) unsalted butter
1 tablespoon fresh lemon juice
2 teaspoons ground cinnamon
1/4 teaspoon ground nutmeg
1/8 tsp fine sea salt
2 teaspoons cornstarch
2 teaspoons water
CAKE
1 1/4 cups (185g) gluten-free 1:1 flour
1/2 cup (56g) blanched almond flour
1 1/4 teaspoons baking powder
1/4 teaspoon baking soda
1/2 teaspoon fine sea salt
1 teaspoon ground cinnamon
1/2 cup (100g) granulated sugar
1/4 cup (50g) light brown sugar, lightly packed
6 tablespoons (85g) unsalted butter, softened
2 tablespoons (28g) avocado oil (or preferred neutral oil)
2 large eggs, room temperature
3/4 cup (180g) sour cream, room temperature
2 teaspoons vanilla extract or vanilla bean paste
GLAZE
1 cup (120g) powdered sugar
2 1/2 tablespoons whole milk, room temperature (plus more as needed)
1 tablespoon (14g) unsalted butter, melted
1/2 teaspoon vanilla bean paste
pinch of fine sea salt
Instructions
PREPARE THE APPLES
- Core the apples and dice into approximately 1⁄4-inch pieces, leaving the skin on. NOTE: The apples can be peeled before dicing if preferred.
- In a medium skillet, combine the diced apples, brown sugar, butter, lemon juice, cinnamon, nutmeg, and salt. Cook over medium heat, stirring occasionally, until the butter has melted and the apples begin to release their juices.
- Bring the mixture to a gentle simmer and cook for about 5 minutes once simmering, stirring occasionally, until the apples have softened slightly but still hold their shape.
- In a small bowl, whisk together the cornstarch and water until smooth. Pour the slurry into the skillet and stir to combine. Continue cooking for about 1 minute, until the juices are lightly thickened and glossy.
- Remove from the heat and transfer the apples, along with their juices, to a shallow bowl or plate. Allow to cool to room temperature before assembling the cake.
PREPARE THE CAKE BATTER
- Preheat the oven to 350°F (177°C). Lightly grease a 9×9-inch baking pan and line each side with parchment paper. Set aside.
- In a medium bowl, whisk together the gluten-free 1:1 flour, almond flour, baking powder, baking soda, salt, and cinnamon. Set aside.
- In a large mixing bowl, using a hand mixer or stand mixer fitted with the paddle attachment, beat the softened butter, granulated sugar, and light brown sugar on medium speed until light and creamy, about 2–3 minutes. Add the oil and mix until combined.
- Add the eggs, one at a time, mixing until incorporated after each addition.
- Add the sour cream and vanilla and mix to combine.
- Add the dry ingredients and mix on low speed until fully incorporated and the batter is mostly smooth, scraping down the sides and bottom of the bowl as needed.
ASSEMBLE AND BAKE THE CAKE
- Spread half of the cake batter evenly into the prepared pan. Spoon half of the cooled apple mixture over the batter. The apples will not completely cover the surface.
- Gently spread the remaining cake batter over the apple layer. It’s okay if some of the apples become incorporated into the batter as you spread it.
- Spoon the remaining apple mixture over the top. Using a butter knife or skewer, gently swirl the apples into the top layer of batter, keeping the swirls shallow rather than extending all the way to the bottom of the pan. If excess syrup has collected in the bowl, you can leave it behind rather than adding it all to the cake.
- Bake for 40–45 minutes, or until the cake is golden brown, the center is set, and a toothpick inserted into a cake portion near the center comes out clean or with a few moist crumbs. Avoid testing directly through the apple filling.
- Remove from the oven and allow the cake to cool in the pan on a wire rack.
GLAZE THE CAKE
- In a medium bowl, whisk together the powdered sugar, 21⁄2 tablespoons of milk, melted butter, vanilla bean paste, and salt until smooth. If the glaze is too thick, add additional milk, 1 teaspoon at a time, until it reaches a smooth, pourable consistency. The glaze should fall from a spoon in a steady ribbon and slowly settle over the cake without running off immediately or completely obscuring the surface.
- Using the parchment paper overhang, carefully lift the cake out of the pan and transfer it to a serving platter or cutting board.
- Slowly pour the glaze over the top of the cooled cake, using the back of a spoon or an offset spatula to gently spread it over the surface and into some of the crevices around the apples. Allow the glaze to set slightly before slicing and serving.
Notes
Apples: You will need about 2 large red apples. I used Cosmic Crisp apples but any similar variety will work great.
- Prep Time: 35 minutes
- Cook Time: 45 minutes
- Category: Dessert
- Method: Baking
Photography by Creating Kaitlin


Leave a Reply