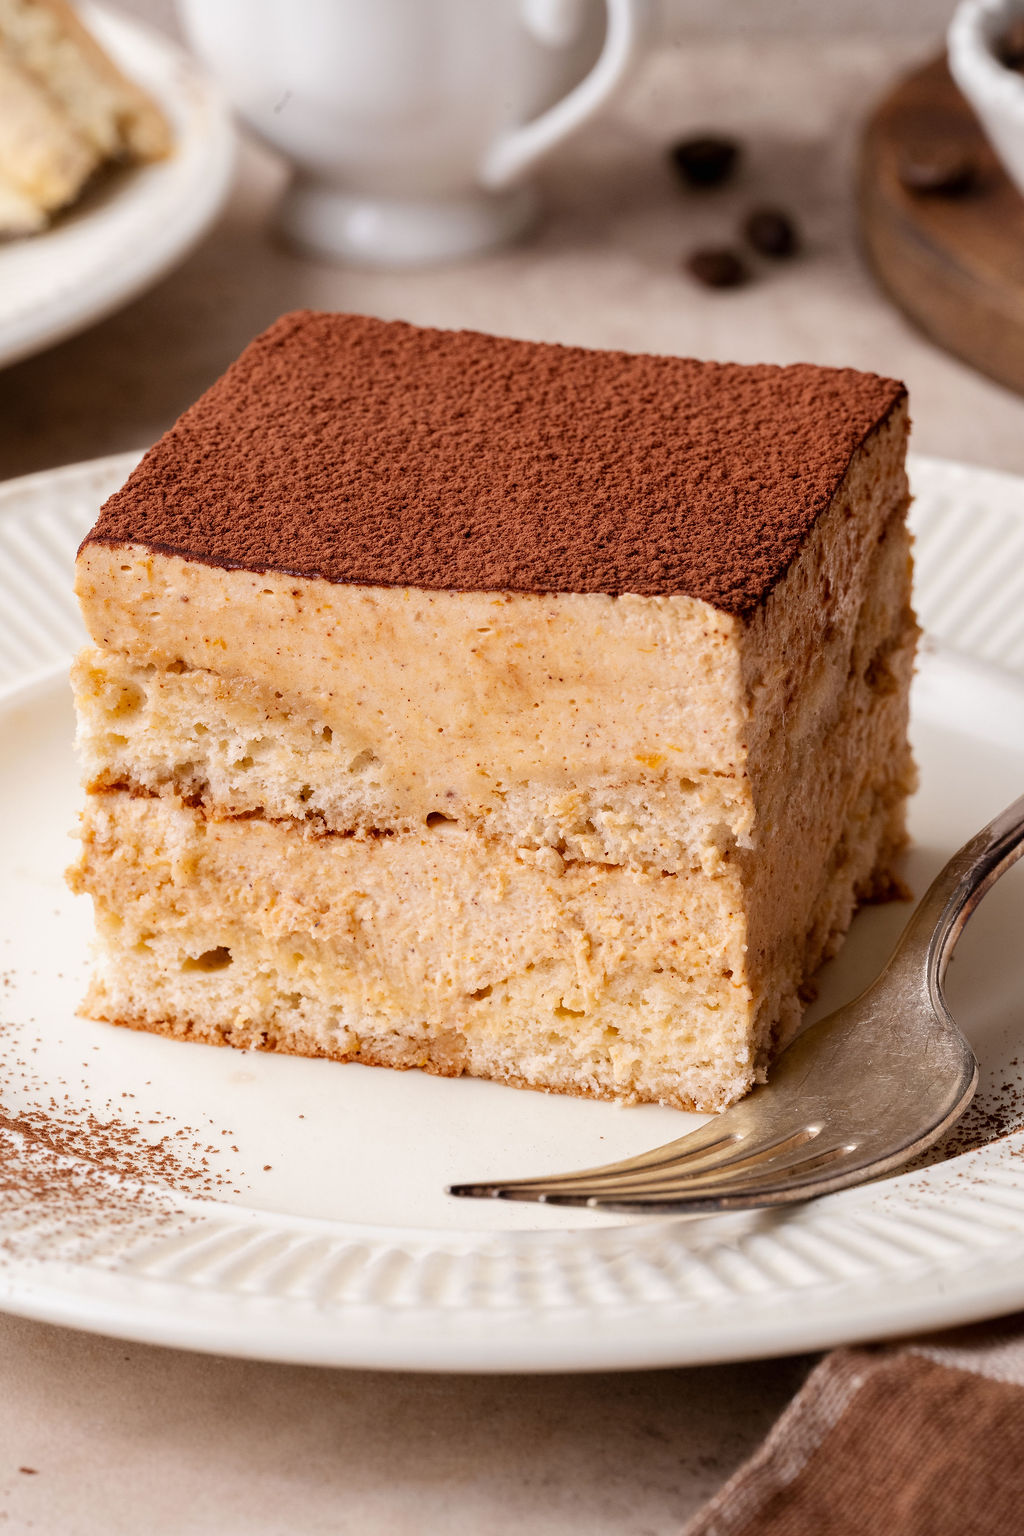


This pumpkin spice tiramisu is a cozy fall-inspired twist on the classic Italian dessert! Layers of soft, espresso-soaked gluten-free ladyfingers are nestled between a rich and creamy pumpkin mascarpone filling, delicately spiced with cinnamon, ginger, nutmeg, and cloves. Finished with a dusting of cocoa powder, each bite is the perfect balance of warm pumpkin spice, bold espresso, and silky mascarpone cream.
Elegant yet surprisingly simple to prepare, this no-bake dessert is made ahead of time, allowing the flavors to develop and the ladyfingers to soften into delicate, cake-like layers. It’s a beautiful addition to your Thanksgiving dessert table or any fall gathering!
Why You’ll Love This Recipe
A cozy twist on classic tiramisu
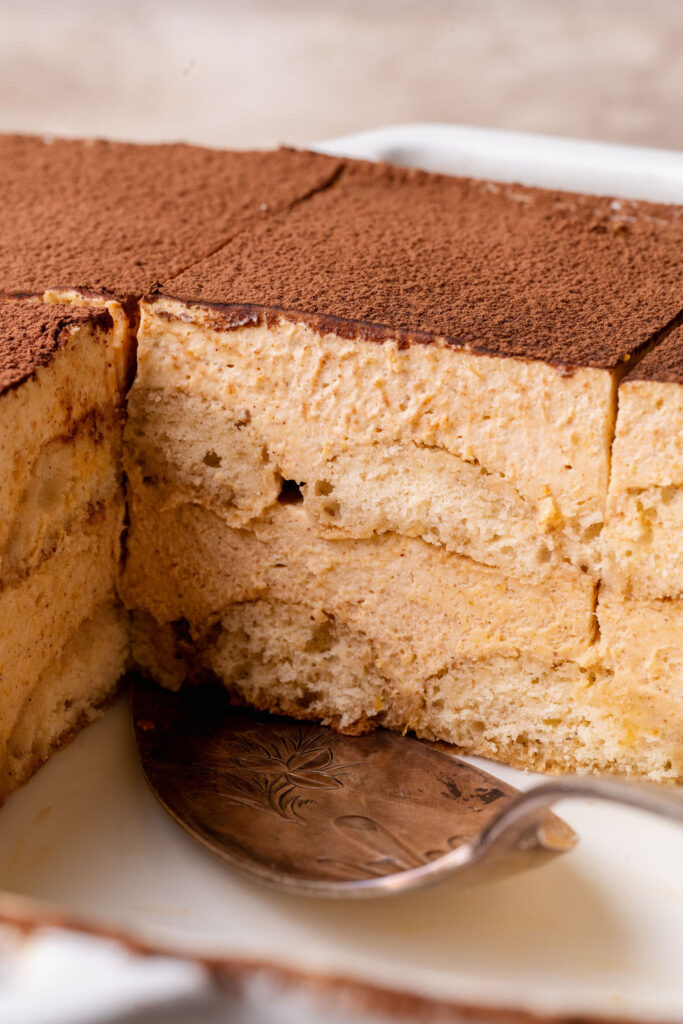
This fall-inspired version combines the rich flavors of traditional tiramisu with creamy pumpkin, warm autumn spices, and a delicate dusting of cocoa powder.
Rich and creamy pumpkin mascarpone filling
Made with mascarpone cheese, real pumpkin puree, and freshly whipped cream, the filling is silky, luscious, and perfectly balanced with cinnamon, ginger, nutmeg, and cloves.
Soft, espresso-soaked ladyfingers
Layers of homemade gluten-free ladyfingers soak up the sweetened espresso, creating a delicate, cake-like texture that pairs beautifully with the creamy pumpkin filling.
Perfect for making ahead
This tiramisu is even better after an overnight chill, giving the flavors time to develop and the ladyfingers time to soften. It’s an ideal make-ahead dessert for Thanksgiving or fall entertaining.
Elegant yet easy to assemble
With no complicated layering techniques or baking required for the filling, this impressive dessert comes together with just a few simple steps.
Ingredient Notes
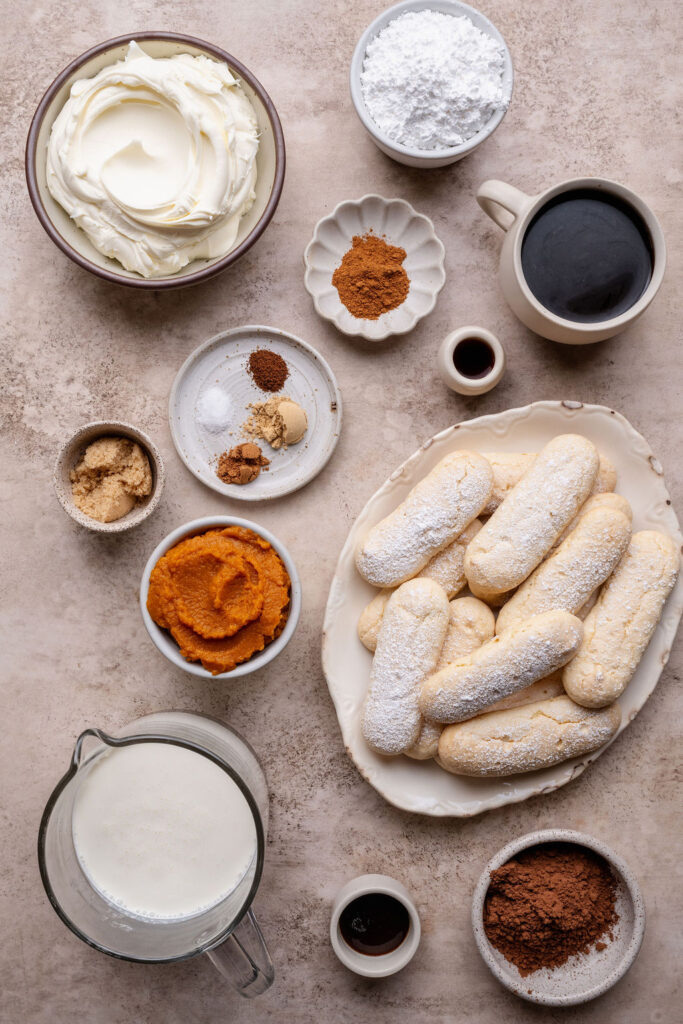
Gluten-free ladyfingers
I use my homemade gluten-free ladyfingers for this recipe. These light, delicate sponge cookies absorb the espresso beautifully, softening into tender, cake-like layers while maintaining their structure. Store-bought gluten-free ladyfingers can also be used for a convenient shortcut. (link “homemade gluten-free ladyfingers” to ladyfingers blog post)
Mascarpone cheese
This rich, creamy Italian cheese gives the filling its signature silky texture and delicate flavor. Use full-fat mascarpone for the best results, and keep it cold until ready to use.
Pumpkin puree
Use 100% pure pumpkin puree, not pumpkin pie filling. The pumpkin adds subtle sweetness, earthy flavor, and a beautiful warm color to the mascarpone filling.
Heavy whipping cream
Whipped to medium-stiff peaks and gently folded into the pumpkin mascarpone mixture, heavy cream lightens the filling while keeping it rich and creamy.
Powdered sugar
Sweetens the pumpkin mascarpone filling without adding any graininess, helping create a smooth, velvety texture.
Espresso or strongly brewed coffee
The espresso soak adds a rich coffee flavor that balances the sweetness of the pumpkin filling. Use freshly brewed espresso or strong coffee, and allow it to cool before dipping the ladyfingers.
Brown sugar
A little light brown sugar sweetens the espresso soak and adds a subtle caramel-like flavor that complements the warm pumpkin spices.
Warm spices
A blend of cinnamon, ginger, nutmeg, and cloves gives the filling its cozy pumpkin spice flavor without overpowering the delicate mascarpone.
Vanilla bean paste
Adds a rich vanilla flavor and subtle warmth to the pumpkin mascarpone filling. Pure vanilla extract can be substituted if needed.
Dutch-process cocoa powder
A final dusting of unsweetened Dutch-process cocoa powder adds a subtle chocolate note and a beautiful contrast to the creamy pumpkin filling.
How to Make Pumpkin Spice Tiramisu
See the recipe card below for the full ingredient list, measurements, and instructions.
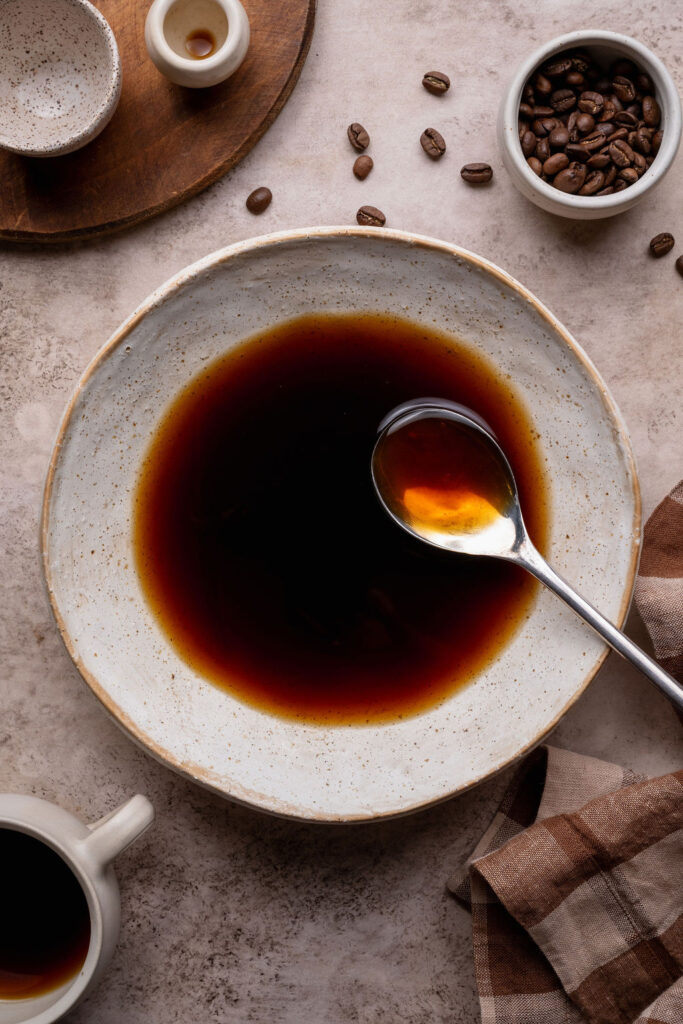
Step 1: Prepare the espresso soak
In a shallow bowl, stir together the brewed espresso or strong coffee, brown sugar, and vanilla extract until the sugar dissolves. Set aside to cool completely.
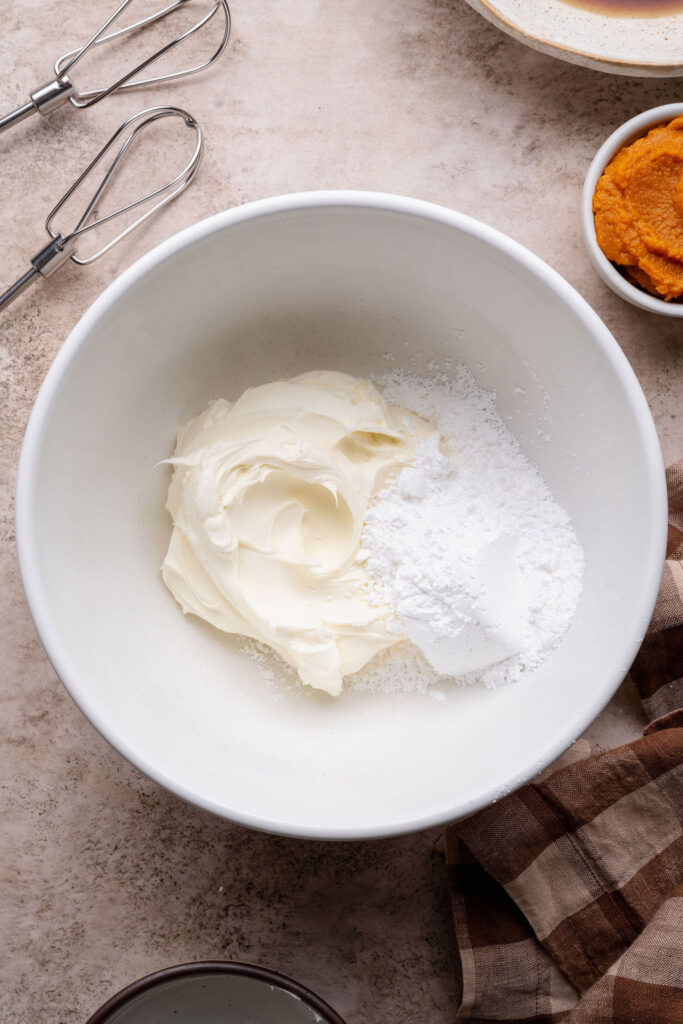
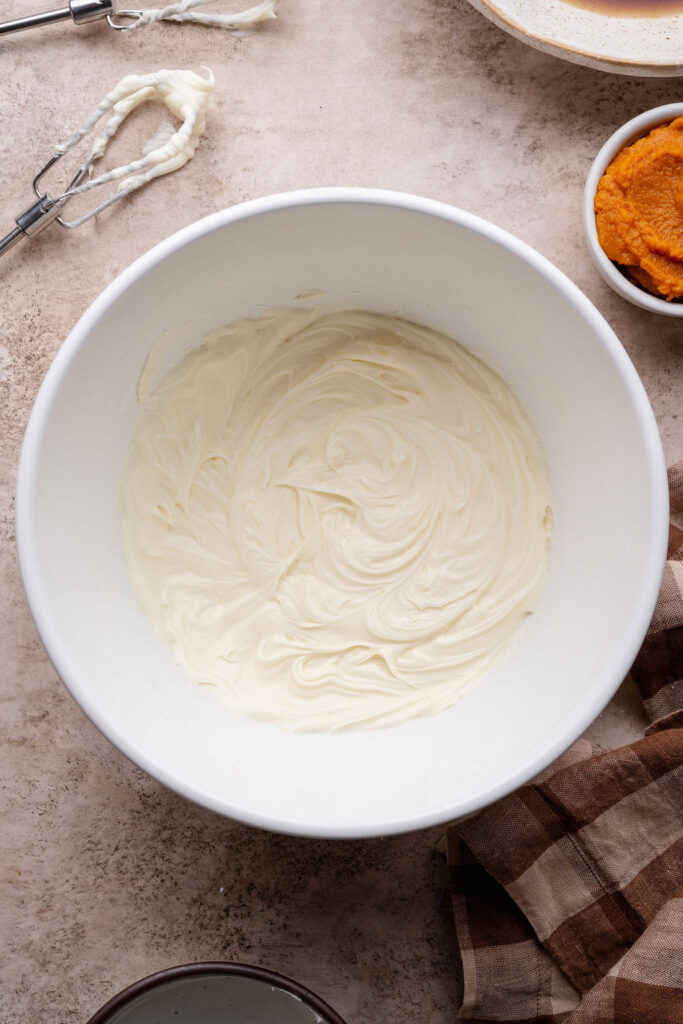
Step 2: Mix the mascarpone and powdered sugar
In a large mixing bowl, beat the mascarpone cheese and powdered sugar on low speed until smooth and creamy, scraping down the sides of the bowl as needed.
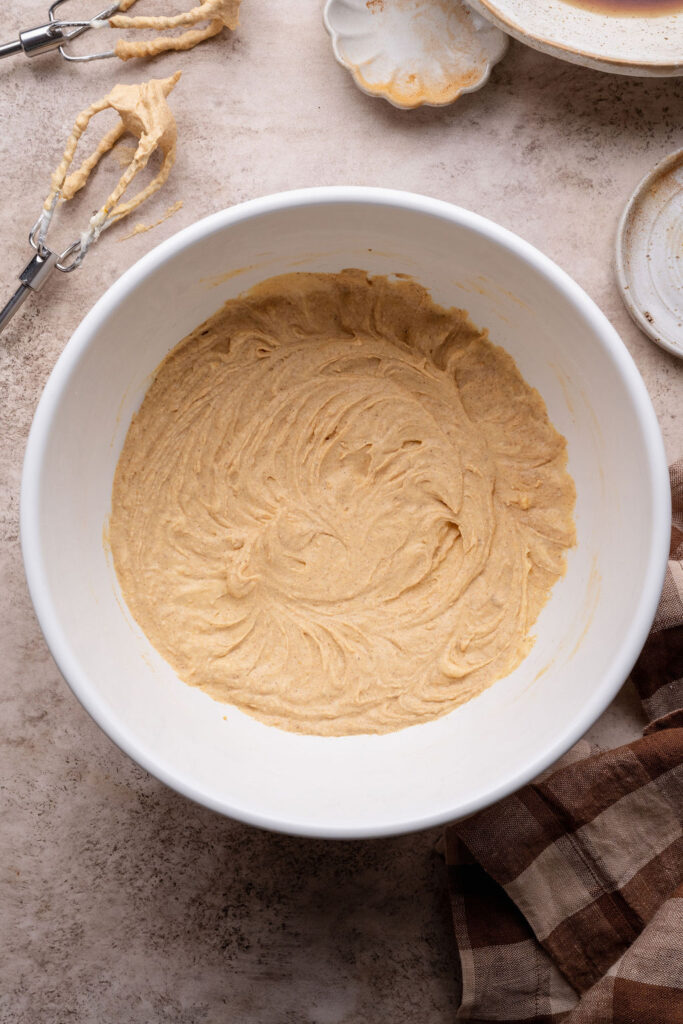
Step 3: Add the pumpkin and spices
Add the pumpkin puree in two additions, mixing on low speed just until incorporated. Add the cinnamon, ginger, nutmeg, cloves, salt, and vanilla bean paste, mixing briefly until smooth and combined.
Step 4: Whip the heavy cream
In a separate bowl, whip the cold heavy cream until medium-stiff peaks form.
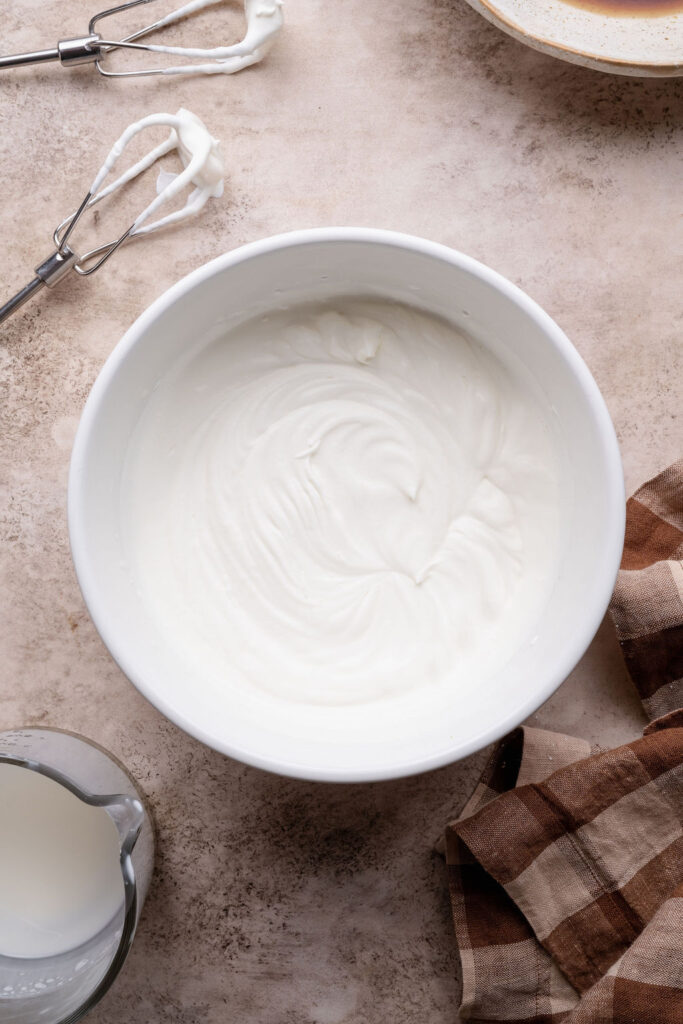
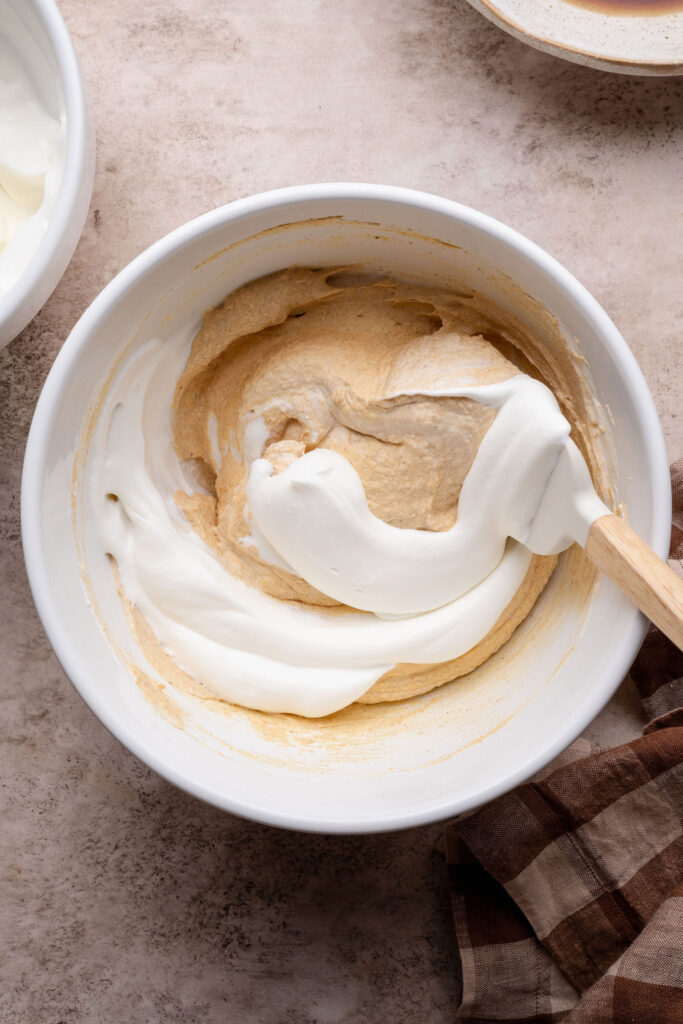
Step 5: Fold the cream into the pumpkin mascarpone
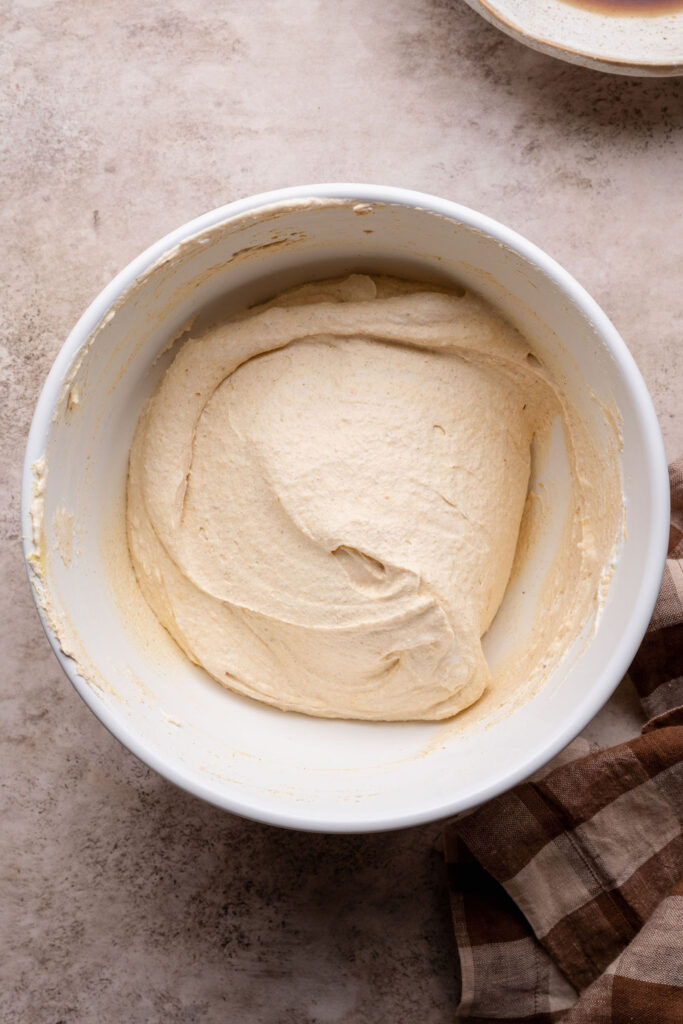
Gently fold one-third of the whipped cream into the pumpkin mascarpone mixture to lighten it, then fold in the remaining cream in two additions until fully incorporated.
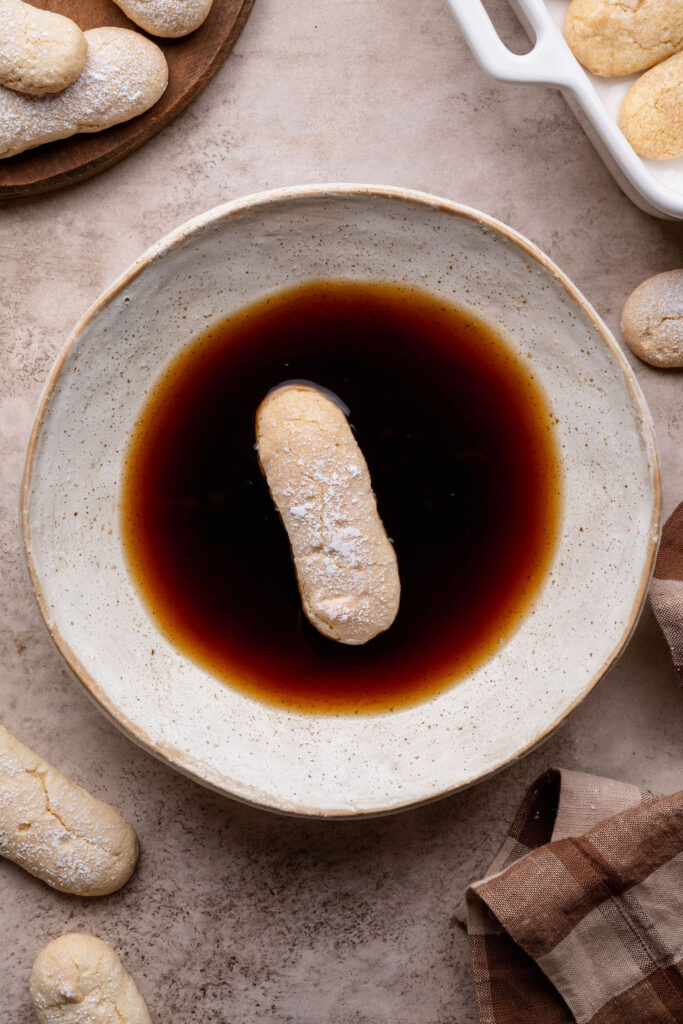
Step 6: Dip and arrange the ladyfingers
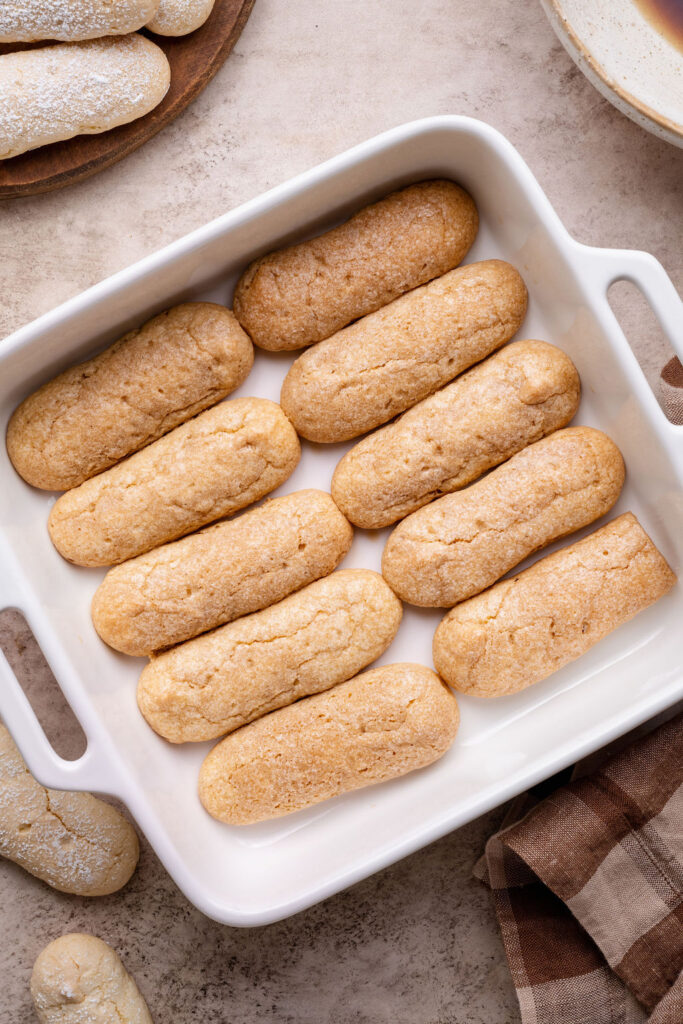
Working one at a time, dip the homemade gluten-free ladyfingers into the cooled espresso mixture for approximately 3–5 seconds per side, allowing them to absorb the liquid without becoming overly saturated. Arrange in a snug, even layer across the bottom of an 8×8-inch baking dish, trimming as needed to fit.
Step 7: Add the first layer of filling
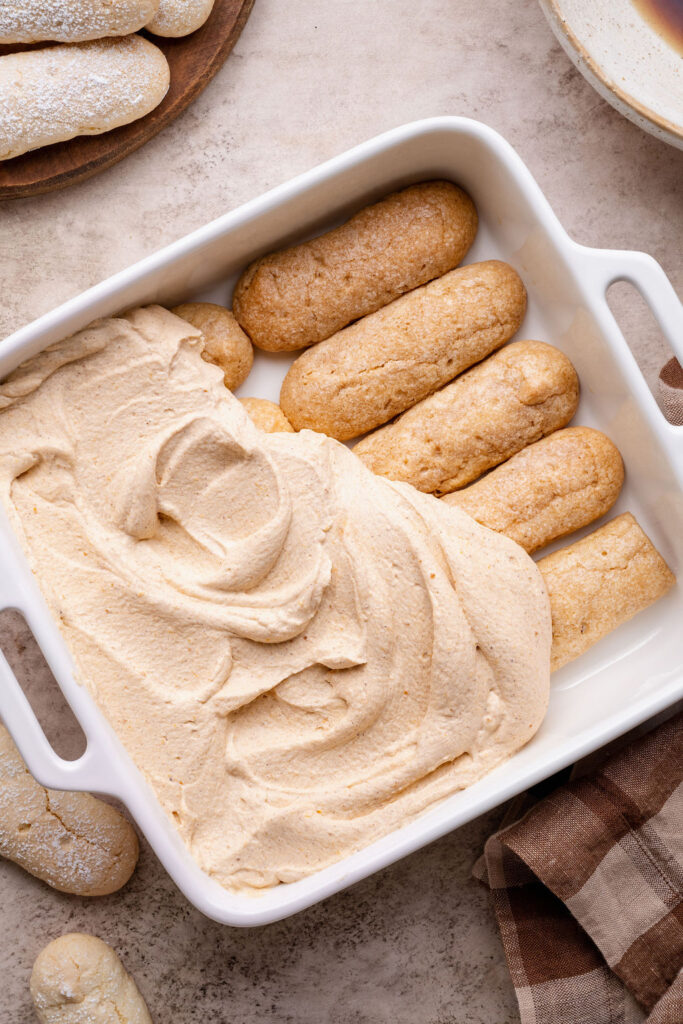
Spoon half of the pumpkin mascarpone filling over the ladyfingers. Using an offset spatula, gently spread the filling into an even layer, making sure it reaches the edges and corners of the dish.
Step 8: Finish layering the tiramisu
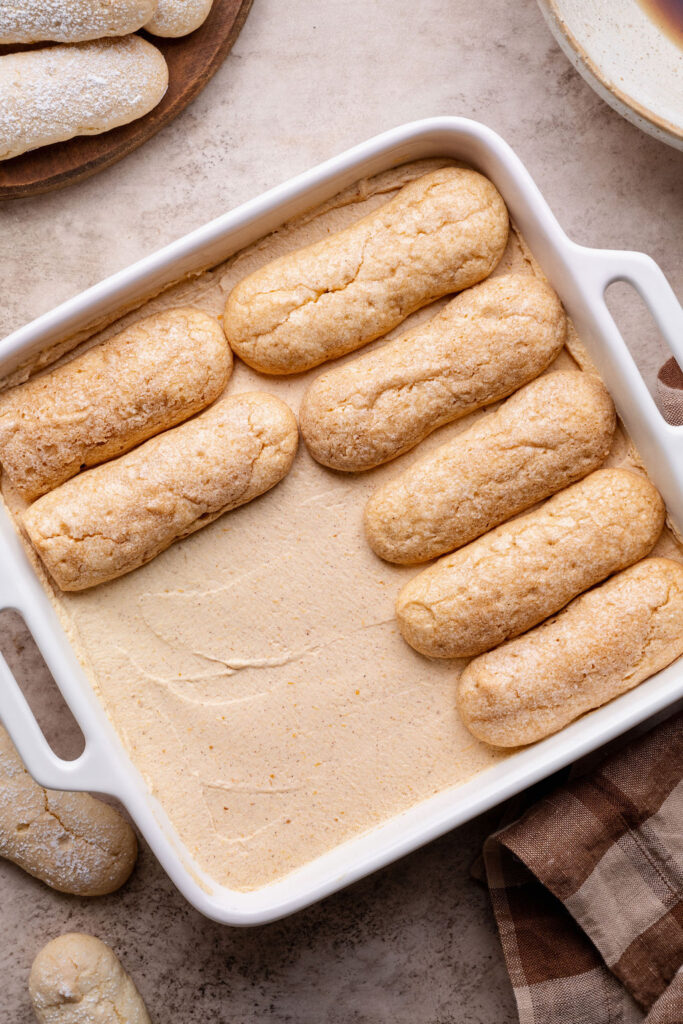
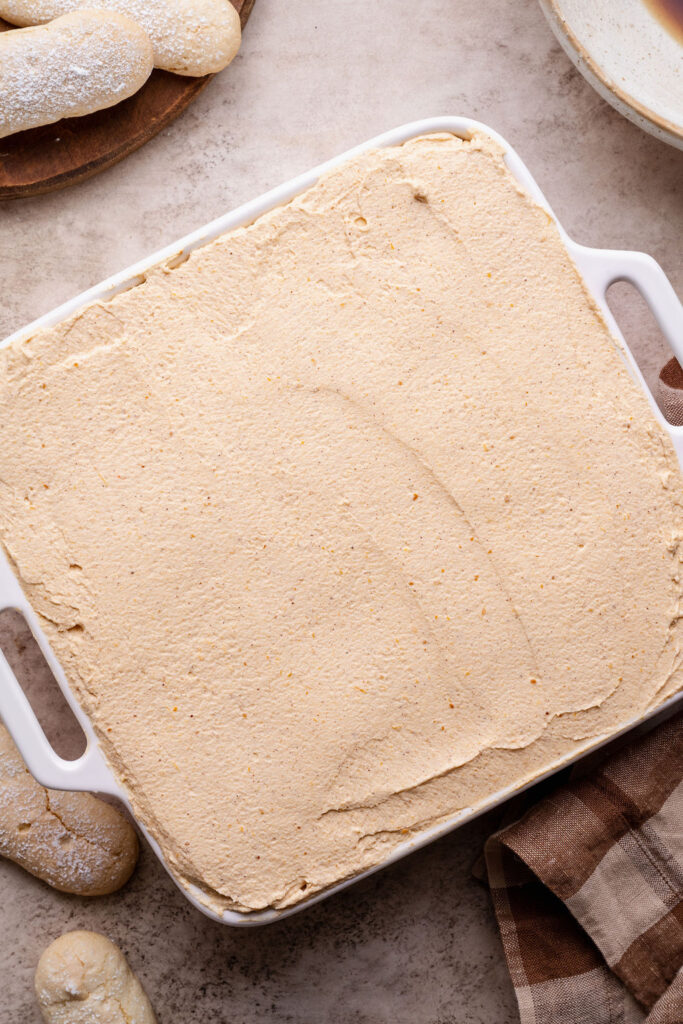
Arrange a second layer of espresso-dipped ladyfingers over the filling, then spoon the remaining pumpkin mascarpone filling over the top. Gently spread into an even layer, smoothing the surface with an offset spatula.
Step 9: Chill and serve
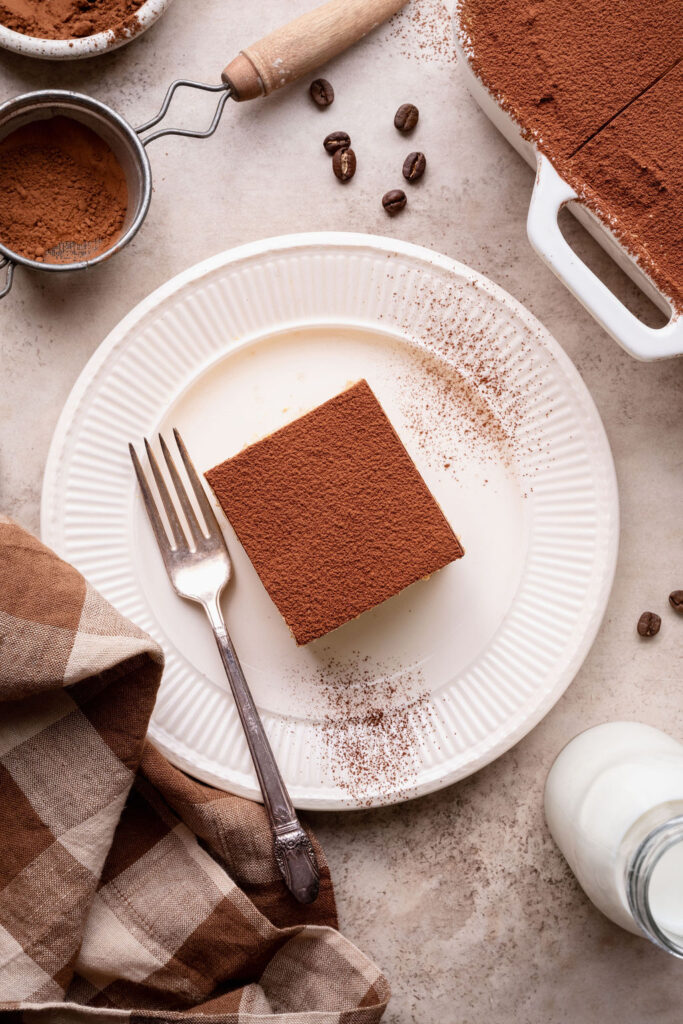
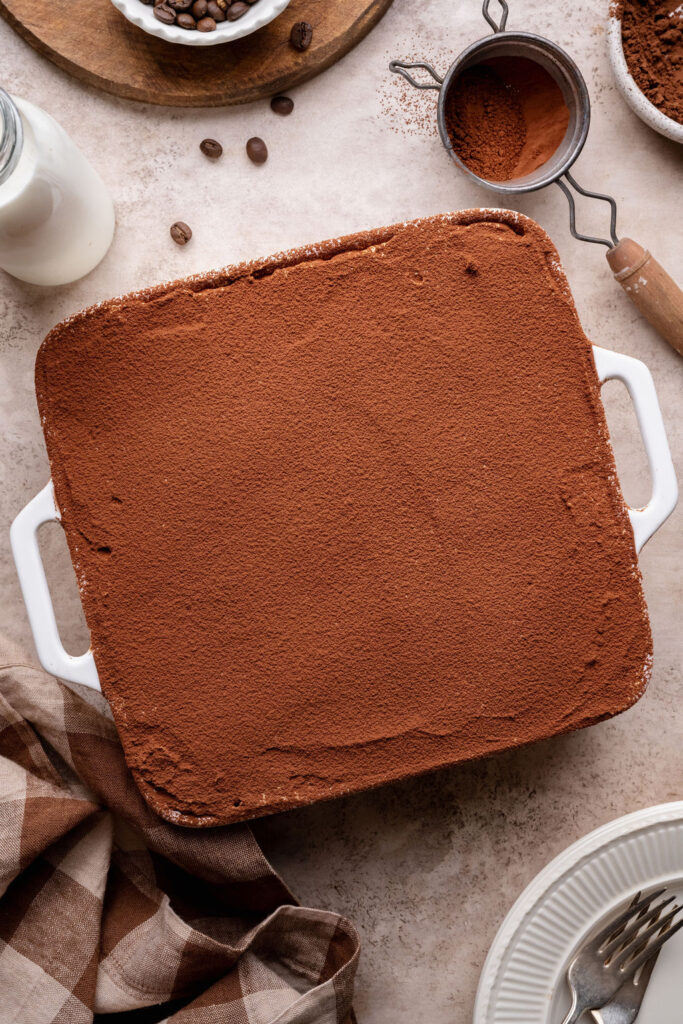
Cover and refrigerate the tiramisu for at least 8 hours, preferably overnight, until the ladyfingers have softened and the filling has set. Just before serving, dust evenly with Dutch-process cocoa powder and slice into squares. Serve chilled. (Process Photo 14)
Recipe Tips
Use cold mascarpone and heavy cream
Keep the mascarpone and heavy whipping cream refrigerated until ready to use. Mix the mascarpone gently on low speed, just until smooth and creamy, to prevent it from becoming overly soft or separating.
Don’t overwhip the cream
Whip the heavy cream until medium-stiff peaks form, then gently fold it into the pumpkin mascarpone mixture in batches. This creates a light, creamy filling that still has enough structure to hold its shape when sliced.
Adjust the soaking time for your ladyfingers
The ladyfingers should absorb enough espresso to soften without becoming overly saturated or falling apart. My homemade gluten-free ladyfingers typically need about 3–5 seconds per side, but store-bought varieties may absorb liquid differently. Adjust the dipping time as needed.
Spread the filling evenly
Use an offset spatula to gently spread the pumpkin mascarpone filling into even layers, making sure it reaches the edges and corners of the dish. This helps create beautiful, defined layers when sliced.
Don’t rush the chilling time
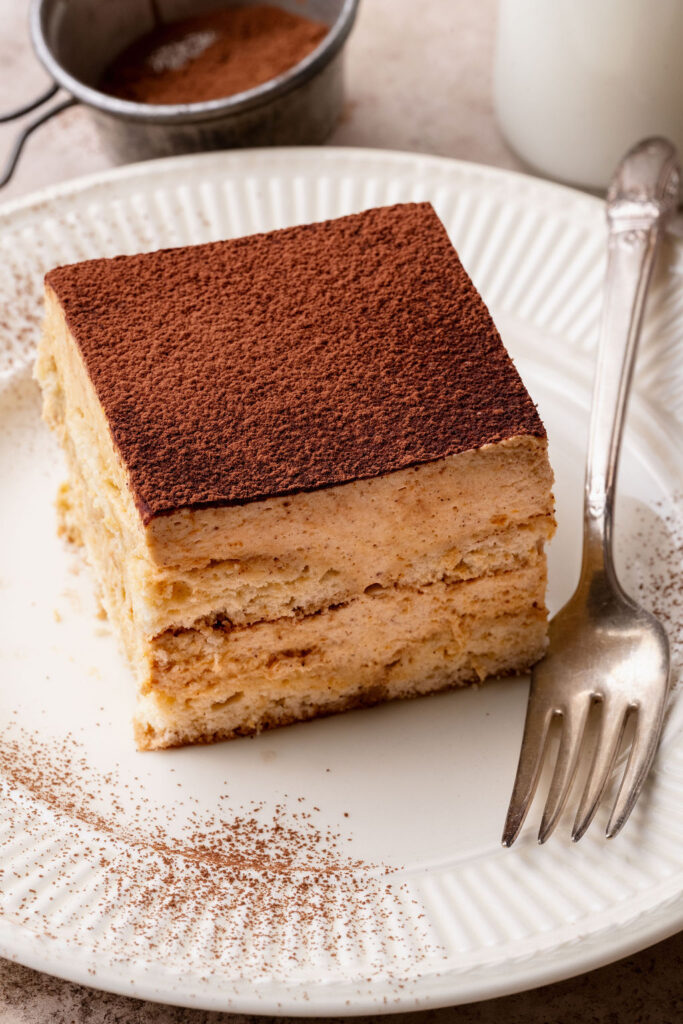
Refrigerate the assembled tiramisu for at least 8 hours, preferably overnight. This allows the ladyfingers to soften into delicate, cake-like layers while the filling sets and the flavors develop.
Dust with cocoa powder just before serving
Wait until you’re ready to serve before dusting the tiramisu with cocoa powder. Adding it too early can cause the cocoa to absorb moisture from the filling, creating a darker, damp appearance.
Storage
Refrigerator
Cover the tiramisu tightly with plastic wrap or transfer individual slices to an airtight container. Store in the refrigerator for up to 3 days. For the best appearance, dust with cocoa powder just before serving.
Freezer
For longer storage, the tiramisu can be frozen for up to 1 month. Wrap the dish tightly in plastic wrap followed by aluminum foil, or freeze individual portions in airtight containers. Thaw overnight in the refrigerator before serving. Keep in mind that freezing may slightly alter the texture of the mascarpone filling.
Frequently Asked Questions
Can I make pumpkin spice tiramisu ahead of time?
Absolutely! This tiramisu is actually better when made ahead because the ladyfingers need time to absorb the espresso and soften. For the best flavor and texture, assemble it the day before serving and refrigerate overnight. Add the cocoa powder just before serving.
Can I use store-bought gluten-free ladyfingers?
Yes! While I love using my homemade gluten-free ladyfingers, store-bought gluten-free ladyfingers are a convenient alternative. Just keep in mind that different brands may vary in texture and absorbency, so you may need to adjust how long you dip them in the espresso. (link “homemade gluten-free ladyfingers” to ladyfingers blog post)
Can I make this tiramisu without coffee?
Yes! For a coffee-free version, you can substitute the espresso with strongly brewed decaffeinated coffee if you’re avoiding caffeine, or use a lightly sweetened milk mixture with a splash of vanilla for a completely coffee-free alternative. The flavor will be different, but the pumpkin mascarpone filling will still be delicious.
Can I use pumpkin pie filling instead of pumpkin puree?
I don’t recommend it. Pumpkin pie filling contains added sugar and spices, which can make the tiramisu overly sweet and alter the balance of flavors. Use 100% pure pumpkin puree for the best results.
Why is my mascarpone filling too soft?
Overmixing the mascarpone, underwhipping the heavy cream, or not allowing enough chilling time can all contribute to a filling that’s too soft. For the best texture, mix the mascarpone gently, whip the cream to medium-stiff peaks, and refrigerate the assembled tiramisu for at least 8 hours before slicing.
Does pumpkin spice tiramisu contain raw eggs?
No! Unlike traditional tiramisu recipes that often contain raw eggs, this version uses a pumpkin mascarpone filling made with whipped cream instead of eggs. The homemade gluten-free ladyfingers are baked separately before assembling the dessert.
Gluten-Free Pumpkin Spice Tiramisu
- Total Time: 8 hours 35 minutes
- Yield: 9 servings
- Diet: Gluten-Free
Description
This gluten-free pumpkin spice tiramisu features layers of soft, espresso-soaked ladyfingers and a rich, creamy pumpkin mascarpone filling infused with warm fall spices. Finished with a delicate dusting of cocoa powder, this elegant, make-ahead dessert is perfect for Thanksgiving and fall gatherings!
Ingredients
ESPRESSO SOAK
1 cup (240mL) strongly brewed coffee or espresso
1 1/2 tablespoons (20g) light brown sugar
1/2 teaspoon pure vanilla extract
PUMPKIN MASCARPONE FILLING
12 oz (340g) mascarpone cheese, cold
3/4 cup (90g) powdered sugar
3/4 cup (180g) pumpkin puree
1 1/2 teaspoons ground cinnamon
1/2 teaspoon ground ginger
1/4 teaspoon ground nutmeg
1/8 teaspoon ground cloves
1/4 teaspoon fine sea salt
1 teaspoon vanilla bean paste
1 1/4 cups (300g) heavy whipping cream, cold
ASSEMBLY AND TOPPING
Approximately 24–28 gluten-free ladyfingers (homemade or store- bought)
Unsweetened Dutch process cocoa powder, for dusting
Instructions
PREPARE THE ESPRESSO SOAK
- In a shallow bowl or dish, combine the strongly brewed coffee or espresso, light brown sugar, and vanilla extract. Stir until the sugar is completely dissolved.
- Allow the coffee mixture to cool before dipping the ladyfingers.
MAKE THE PUMPKIN MASCARPONE FILLING
- In a large mixing bowl, combine the mascarpone cheese and powdered sugar. Using a hand mixer on low speed, beat just until smooth and creamy, scraping down the sides of the bowl as needed.
- Add the pumpkin puree in two additions, mixing on low speed just until incorporated after each addition. Add the cinnamon, ginger, nutmeg, cloves, salt, and vanilla bean paste. Mix briefly until smooth and fully combined, being careful not to overmix.
- In a separate large mixing bowl, using a hand mixer or a stand mixer with the whisk attachment, whip the cold heavy cream on medium-high speed until medium-stiff peaks form.
- Using a rubber spatula, gently fold approximately one-third of the whipped cream into the pumpkin mascarpone mixture to lighten it. Add the remaining whipped cream in two additions, folding gently until fully incorporated and no visible streaks remain.
ASSEMBLE THE TIRAMISU
- Working with one ladyfinger at a time, briefly dip each side into the cooled espresso mixture, allowing it to absorb some of the liquid without becoming overly saturated (about 3-5 seconds per side). Arrange the dipped ladyfingers in a single, snug layer across the bottom of an 8×8-inch baking dish (a slightly larger dish will work too!), trimming them as needed to fit.
- Spoon half of the pumpkin mascarpone filling over the ladyfingers. Using an offset spatula or the back of a spoon, gently spread the filling into an even layer, making sure it reaches the edges and corners of the dish.
- Repeat with a second layer of espresso-dipped ladyfingers, arranging them evenly over the filling. Spread the remaining pumpkin mascarpone filling over the top, smoothing the surface with an offset spatula.
CHILL & SERVE
- Cover the baking dish tightly with plastic wrap, taking care not to disturb the surface of the filling. Refrigerate for at least 8 hours, preferably overnight, to allow the ladyfingers to soften and the flavors to develop.
- Just before serving, use a fine-mesh sieve to dust the top of the tiramisu evenly with unsweetened Dutch-process cocoa powder.
- Slice into squares using a sharp knife, wiping the blade clean between cuts. Serve chilled.
Store covered in the refrigerator for up to three days.
Notes
Gluten-free ladyfingers: I recommend using my homemade gluten-free ladyfingers for the best flavor and texture, but store-bought gluten-free ladyfingers will also work. Depending on their texture and absorbency, you may need to adjust the dipping time in the espresso mixture.
- Prep Time: 35 minutes
- Chill: 8 hours
- Category: Dessert
Photography by Creating Kaitlin


Leave a Reply