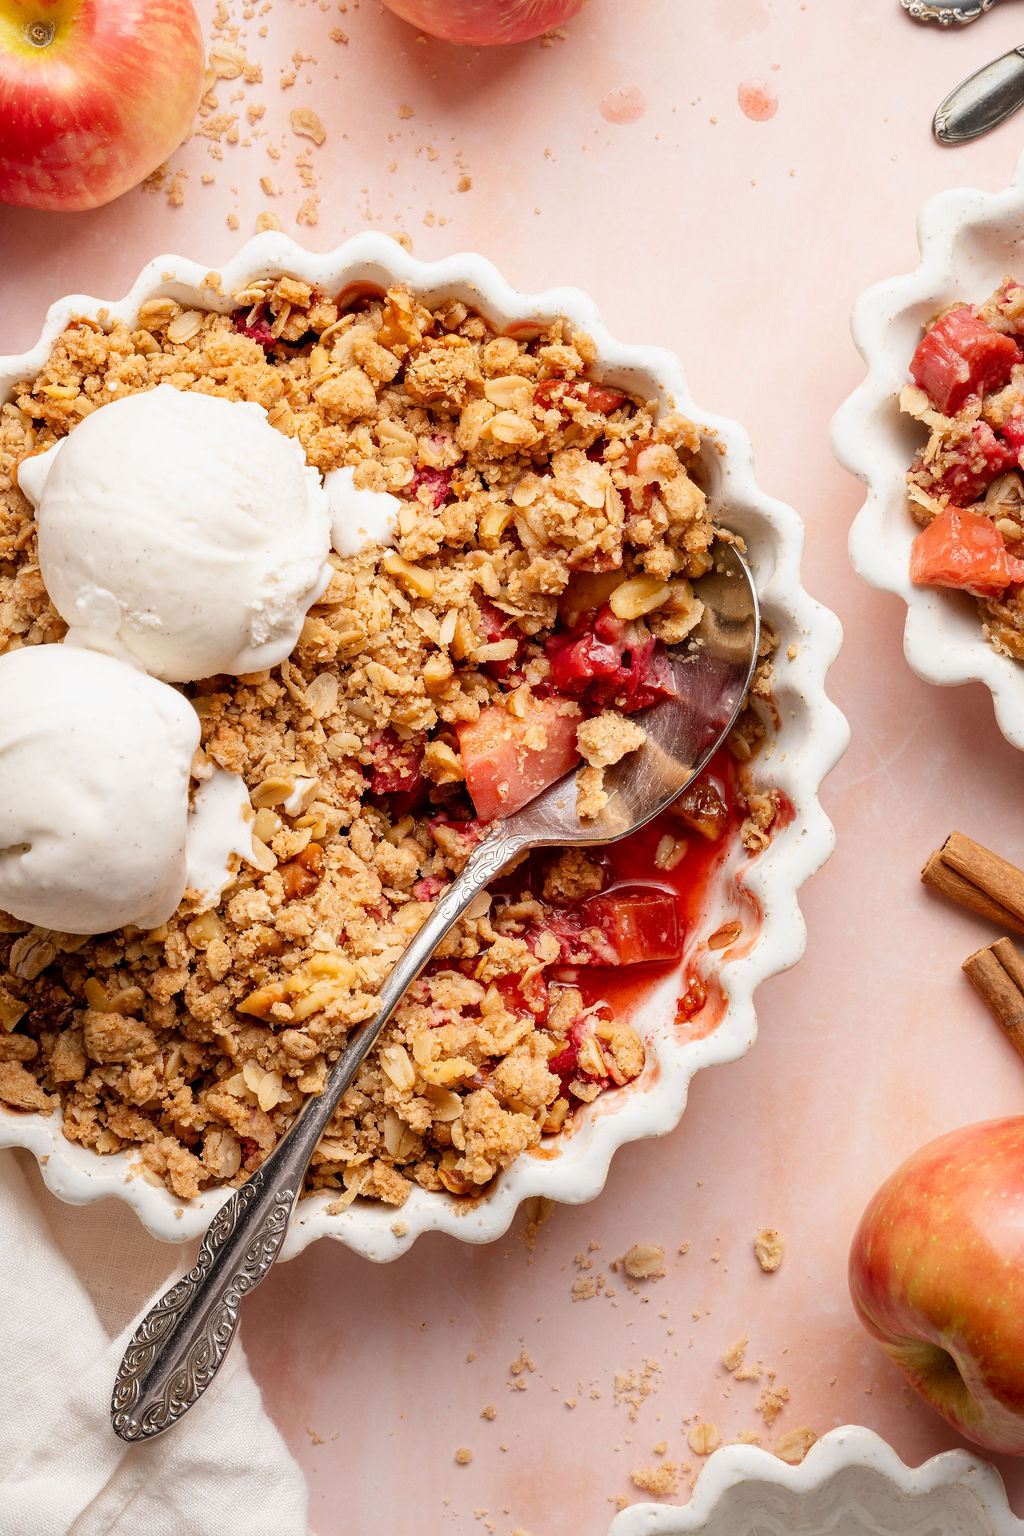


There’s something so comforting about a warm fruit crisp fresh from the oven—and this gluten-free apple rhubarb crisp strikes the perfect balance of cozy and bright. Tender chunks of apple and tart rhubarb bake together in a lightly spiced filling, creating a filling that’s layered in flavor without feeling overly heavy.
The crisp topping is just as special: a buttery blend of gluten-free oats, brown sugar, and warm cinnamon that bakes into a golden, crumbly layer with the perfect amount of crunch. It contrasts beautifully with the soft, jammy fruit underneath, giving you that classic crisp texture in every bite.
This is the kind of dessert that feels simple but elevated—easy enough to make on a weekend afternoon, yet special enough to serve for a spring gathering or early summer dinner. Serve it warm with a scoop of vanilla ice cream, and you have a dessert that’s both nostalgic and a little bit refined.
Why You’ll Love This Recipe
Perfect balance of sweet and tart
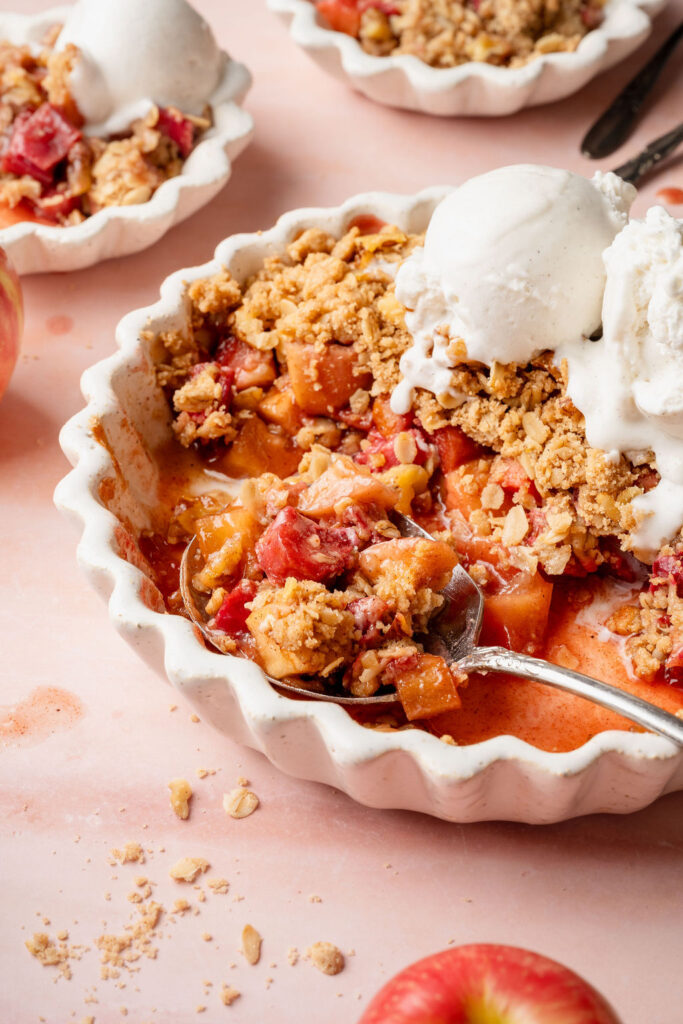
The combination of tender apples and bright, tangy rhubarb creates a filling that’s layered in flavor—never too sweet, with just the right amount of freshness.
Buttery, crisp oat topping
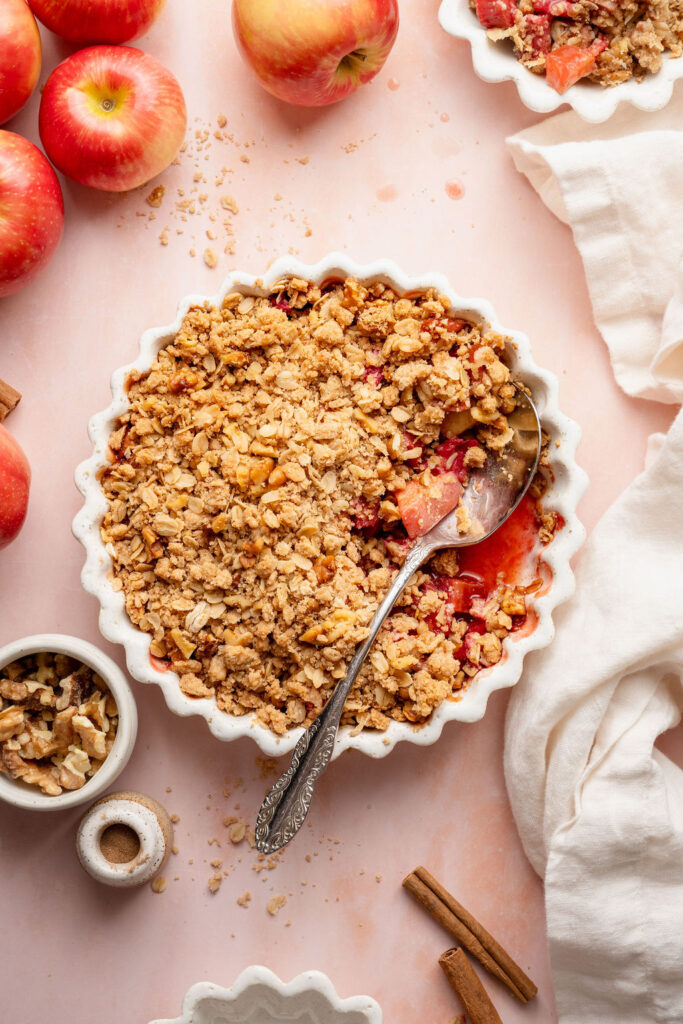
The gluten-free oat streusel bakes into a golden, crumbly topping with the perfect contrast to the soft, jammy fruit underneath.
Gluten-free with no compromise in texture
Made with gluten-free 1:1 flour and rolled oats, this crisp has the same classic texture you’d expect—crisp on top, tender in the center.
Simple, approachable ingredients
No complicated steps or hard-to-find ingredients—just pantry staples and fresh fruit.
A cozy, crowd-pleasing dessert
Easy enough for a casual weekend bake, but special enough to serve for spring and summer gatherings.
Even better with ice cream
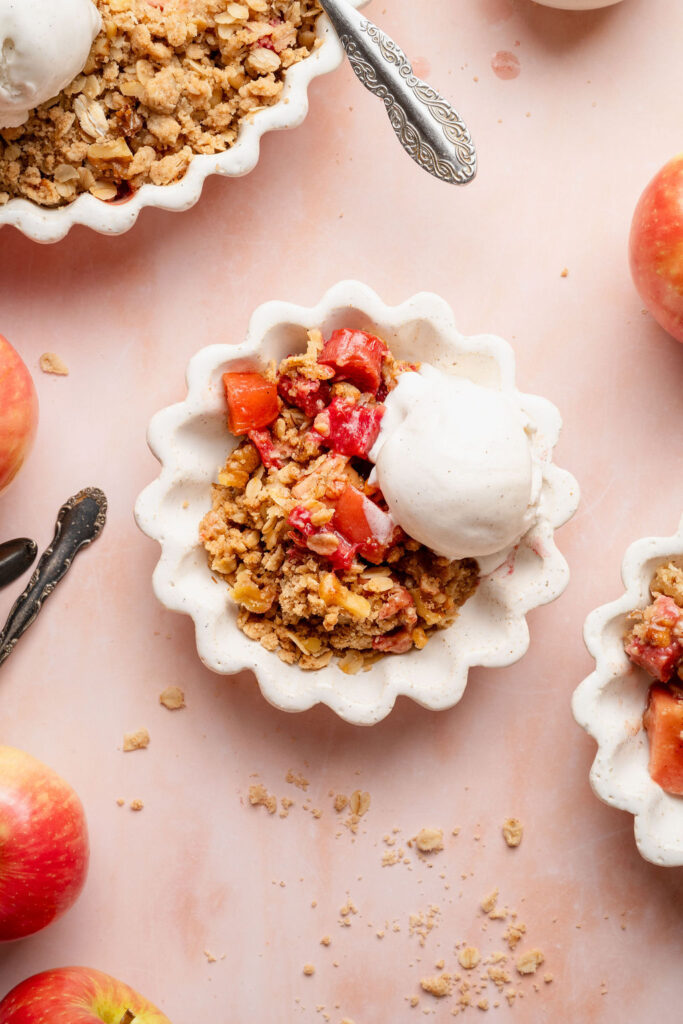
Serve it warm with a scoop of vanilla ice cream for the ultimate sweet-tart, creamy-crunchy combination.
Ingredient Notes
Apples
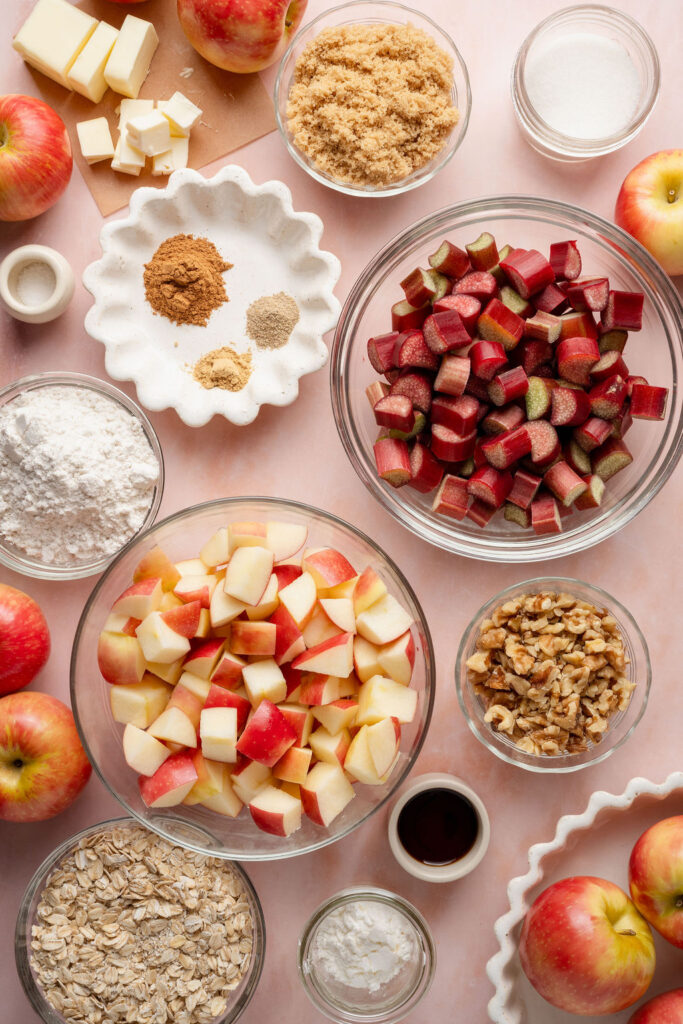
Use firm, crisp apples that hold their shape while baking. Varieties like Fuji, Honeycrisp, or Cosmic Crisp work especially well and provide a naturally sweet balance to the tart rhubarb.
Rhubarb
Fresh rhubarb adds a bright, tangy flavor that makes this crisp feel lighter and more seasonal. Slice it into evenly sized pieces so it bakes at the same rate as the apples.
Gluten-free 1:1 flour
A high-quality gluten-free all-purpose flour blend, such as Bob’s Red Mill 1:1 Baking Flour, ensures the topping has structure while still staying tender and crumbly.
Rolled oats
Old-fashioned rolled oats give the topping its signature texture. Be sure to use certified gluten-free oats if needed.
Brown sugar and granulated sugar
A combination of both sugars adds depth and balance—brown sugar brings warmth and richness, while granulated sugar keeps the filling bright and not overly heavy.
Butter
Cold, cubed butter is key for creating that crumbly, streusel-like topping. As it bakes, it melts into the dry ingredients to create a crisp, golden texture.
Cornstarch
Helps thicken the fruit filling so it sets up nicely without becoming watery.
Warm spices
Cinnamon, cardamom, and ginger add subtle warmth and complexity without overpowering the fruit.
Walnuts (optional)
Add a slight crunch and nutty depth to the topping. You can omit them or substitute with pecans if preferred.
How to Make Apple Rhubarb Crisp
See the recipe card below for the full ingredient list, measurements, and instructions.
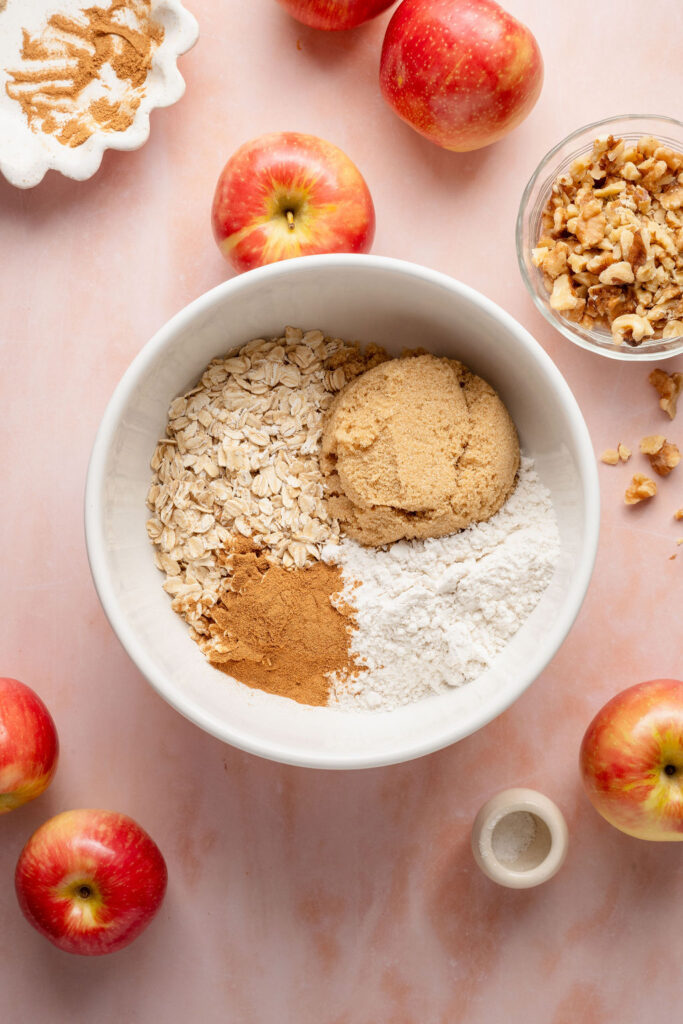
Step 1: In a medium mixing bowl, stir together the rolled oats, gluten-free 1:1 flour, brown sugar, cinnamon, and salt for the topping.
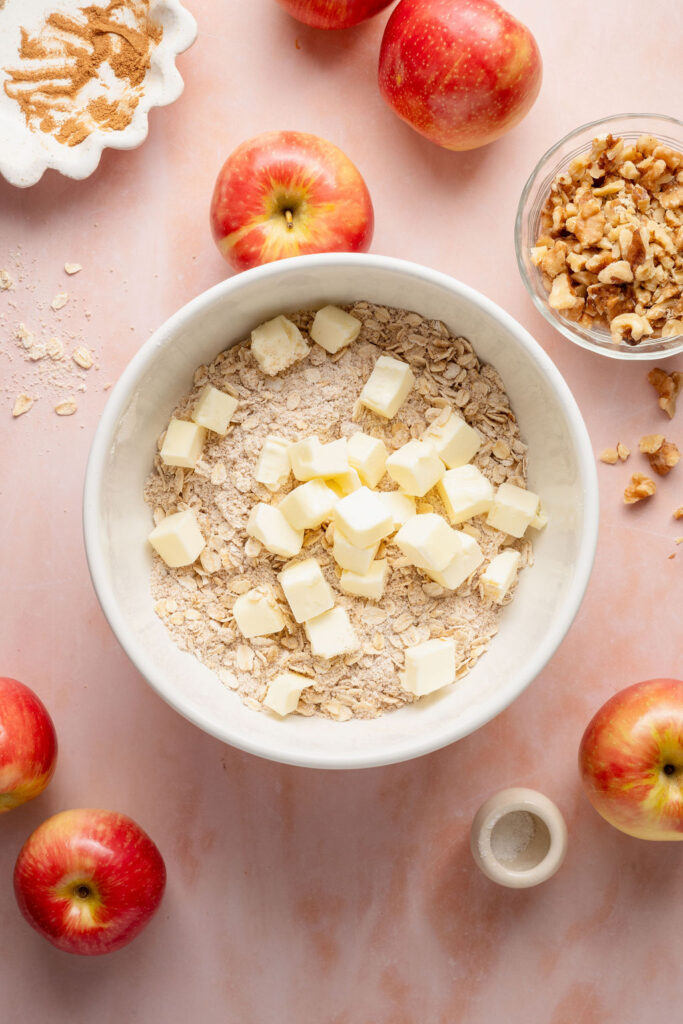
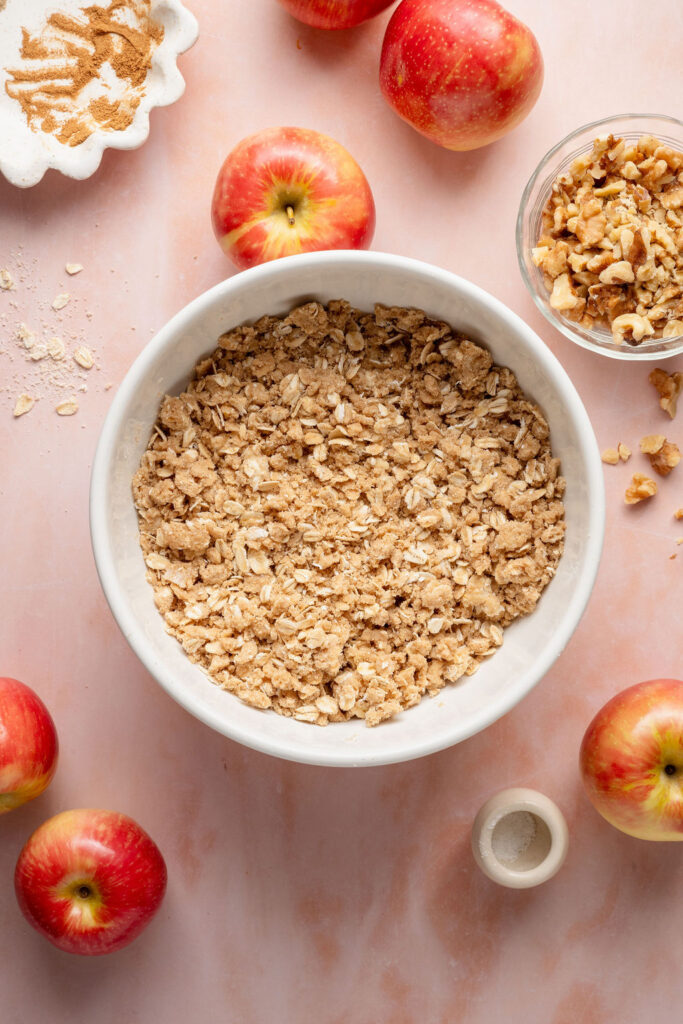
Step 2: Add the cold, cubed butter and use your fingers to work the butter into the dry ingredients until the mixture is crumbly and resembles wet sand with pea-sized pieces of butter remaining.
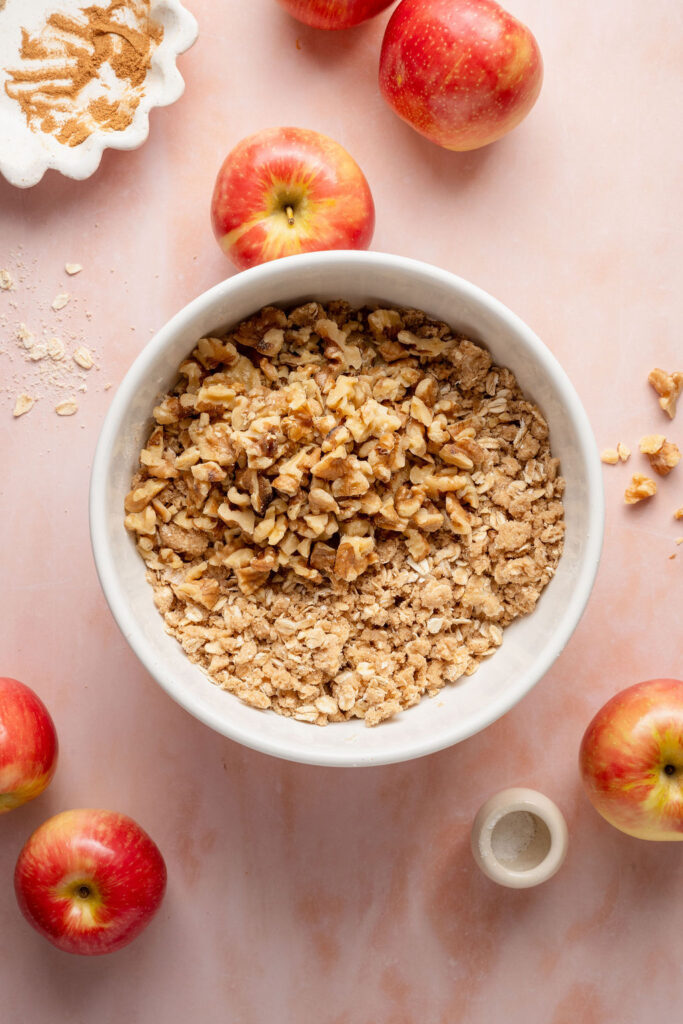
Step 3: Stir in the chopped walnuts and set aside.
Step 4: Prepare the filling by combining the apples, rhubarb, granulated sugar, light brown sugar, vanilla, cornstarch, cinnamon, cardamom, and ginger in a large mixing bowl. Toss until the fruit is evenly coated.
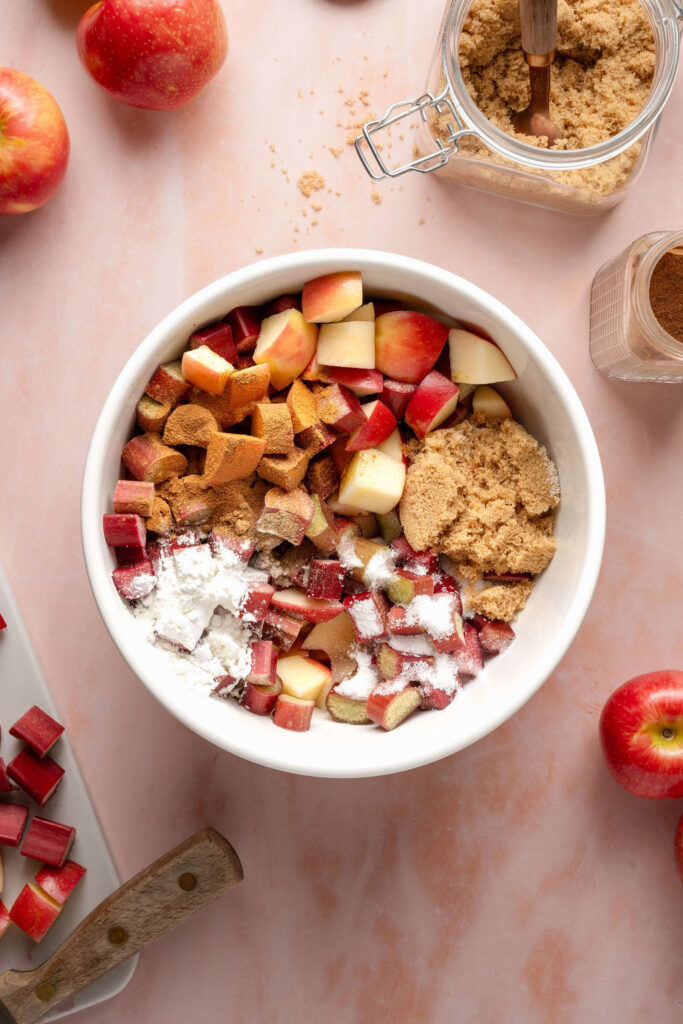
Step 5: Transfer the fruit to a 9-inch ceramic baking dish and sprinkle the crisp topping evenly over the fruit.
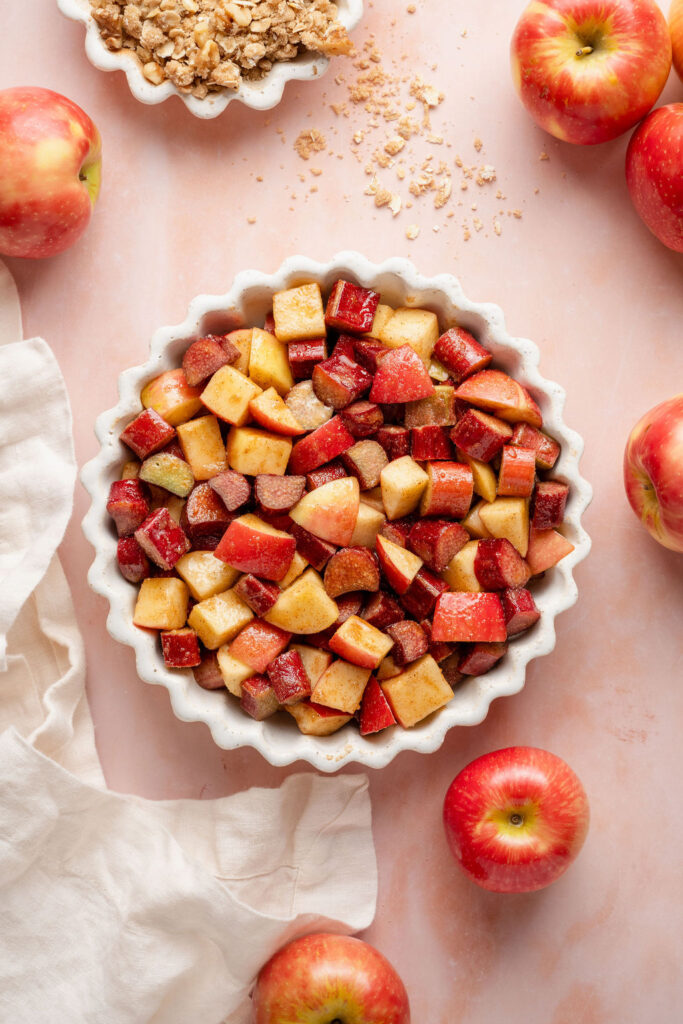
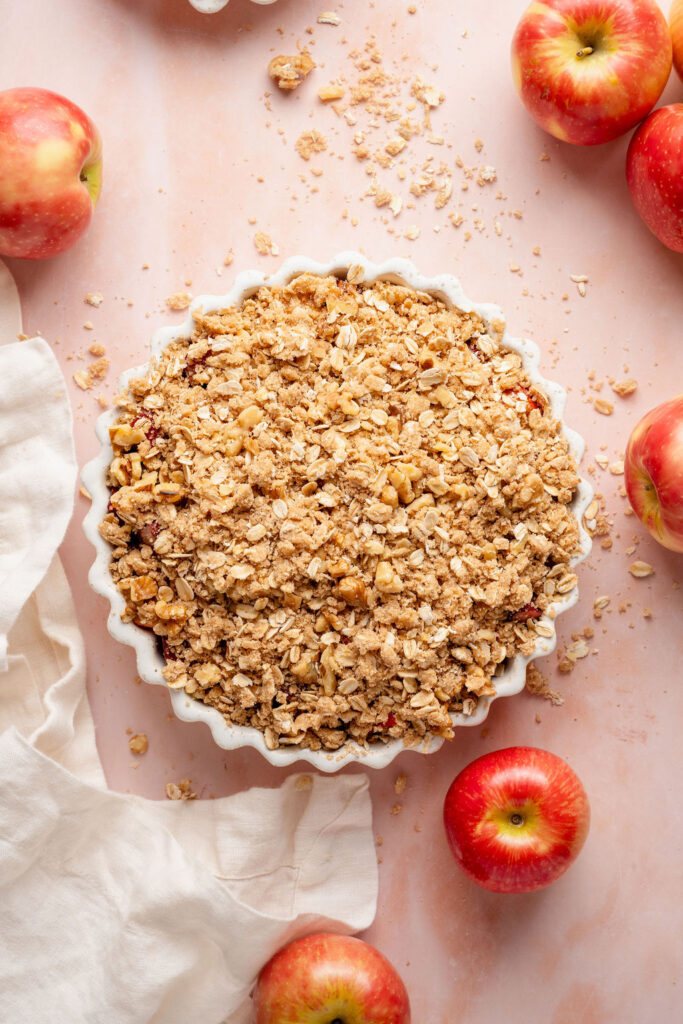
Step 6: Bake at 350°F for 40–50 minutes until the topping is golden and the fruit is bubbling around the edges.
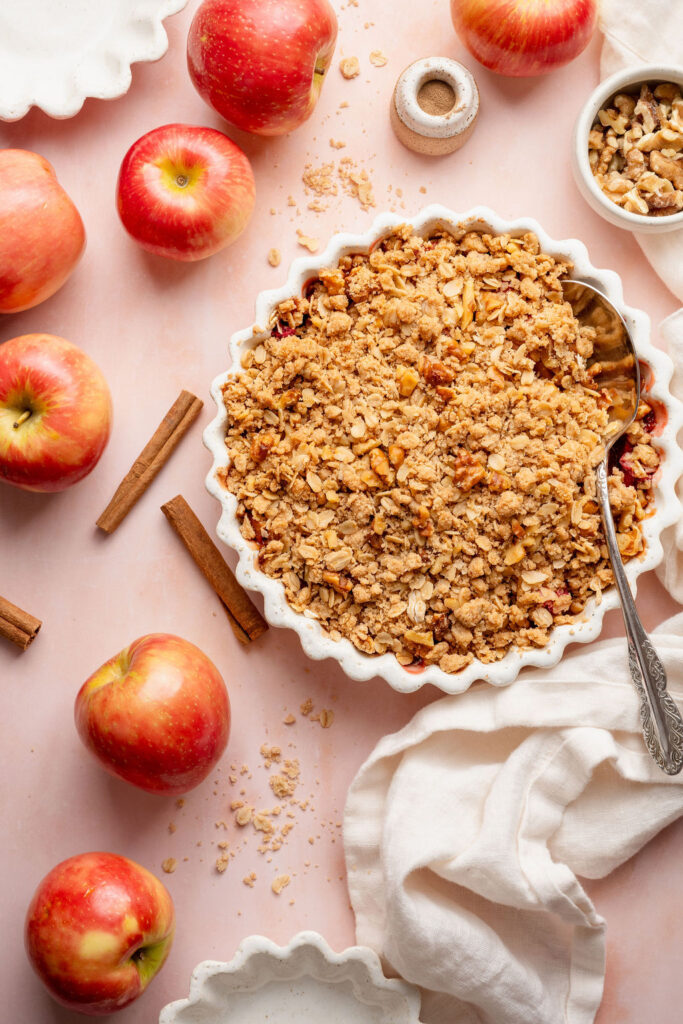
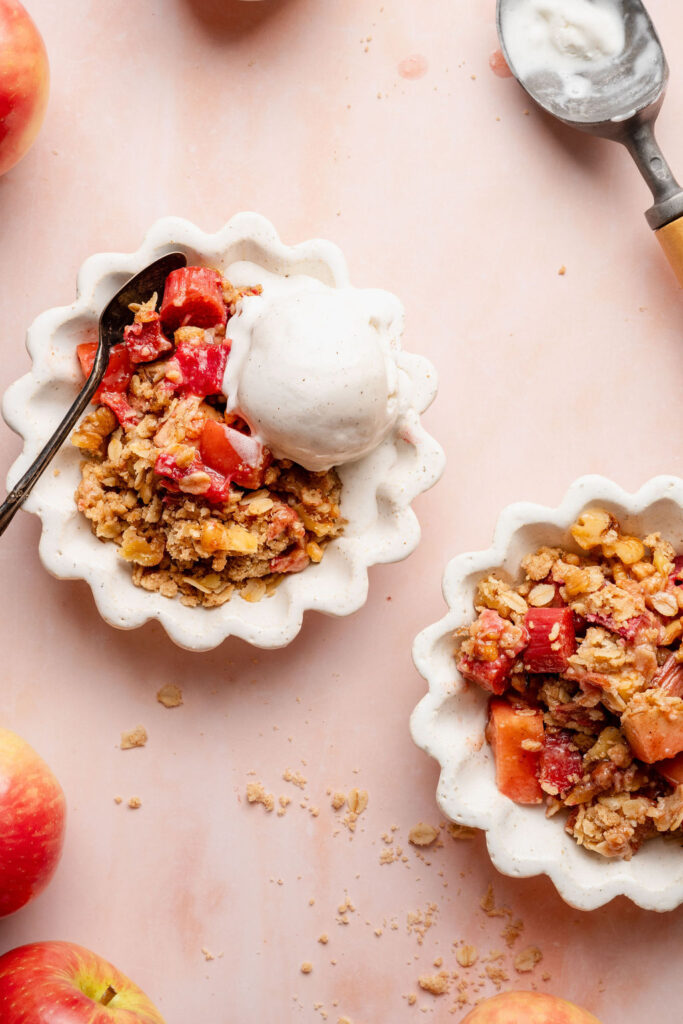
Step 7: Allow the crisp to cool for 30 minutes and then serve warm with a scoop of vanilla ice cream.
Recipe Tips
Use firm, crisp apples
Softer apples can break down too quickly and become mushy. Stick with varieties like Fuji, Honeycrisp, or Cosmic Crisp for the best texture.
Cut the fruit into even pieces
Aim for roughly 3/4- to 1-inch pieces so the apples and rhubarb cook evenly and finish at the same time.
Don’t skip the cornstarch
Rhubarb releases a lot of moisture as it bakes. The cornstarch helps thicken the juices so the filling sets up instead of becoming watery.
Work the butter in thoroughly
You’re looking for a crumbly mixture that resembles wet sand. Small, pea-sized bits of butter are perfect and will melt into a crisp, golden topping as it bakes.
Bake until the filling is bubbling
The topping may look done before the filling is fully cooked. Look for bubbling juices around the edges—this is the best indicator that the crisp is ready.
Tent with foil if needed
If the topping starts to brown too quickly, loosely tent the dish with foil during the last part of baking.
Let it cool before serving
Allow the crisp to rest for about 30 minutes. This helps the filling thicken and makes serving much easier.
Storage, Freezing & Reheating
Refrigerator storage
Cover and store the crisp in the refrigerator for up to 4 days.
Reheating
Reheat in a 350°F oven until warmed through, or microwave individual portions. For the best texture, the oven is recommended to help re-crisp the topping.
Freezing (baked)
Let the crisp cool completely, then cover tightly and freeze for up to 2 months. Thaw overnight in the refrigerator and reheat in the oven before serving.
Freezing (unbaked)
Assemble the crisp in a freezer-safe dish, then wrap tightly and freeze for up to 2 months. Bake directly from frozen at 350°F, adding additional time as needed until the topping is golden and the filling is bubbling.
Make-ahead tips
You can prepare the topping and filling separately and refrigerate them for up to 1 day before assembling and baking.
Frequently Asked Questions
Can I use frozen rhubarb?
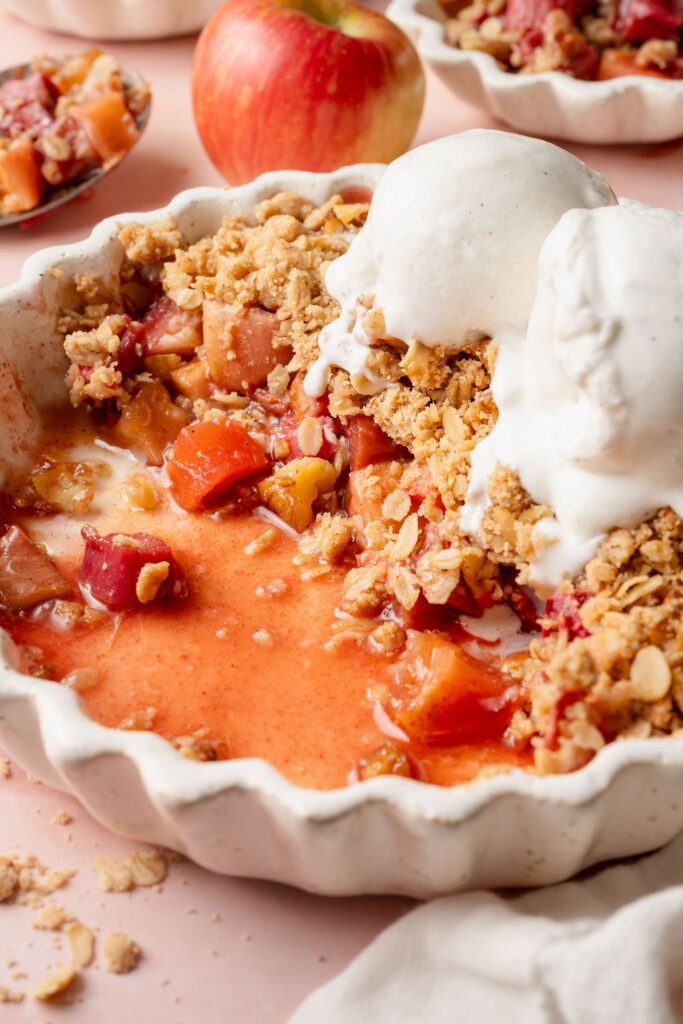
Yes, you can use frozen rhubarb. There’s no need to thaw it first—just add it directly to the filling. Keep in mind that frozen rhubarb releases more moisture, so the filling may be slightly looser. If needed, you can add an extra 1–2 teaspoons of cornstarch to help thicken it.
Can I use all apples instead of rhubarb?
You can, but the flavor will be much sweeter and less bright. Rhubarb adds a signature tartness that balances the apples. If using only apples, consider reducing the sugar slightly or adding a splash of lemon juice for acidity.
Why is my crisp watery?
A watery crisp is usually caused by excess moisture from the fruit or underbaking. Make sure to:
- Use the full amount of cornstarch
- Bake until the filling is bubbling around the edges
- Let the crisp cool for at least 30 minutes before serving
This resting time allows the filling to set properly.
How do I know when the crisp is done baking?
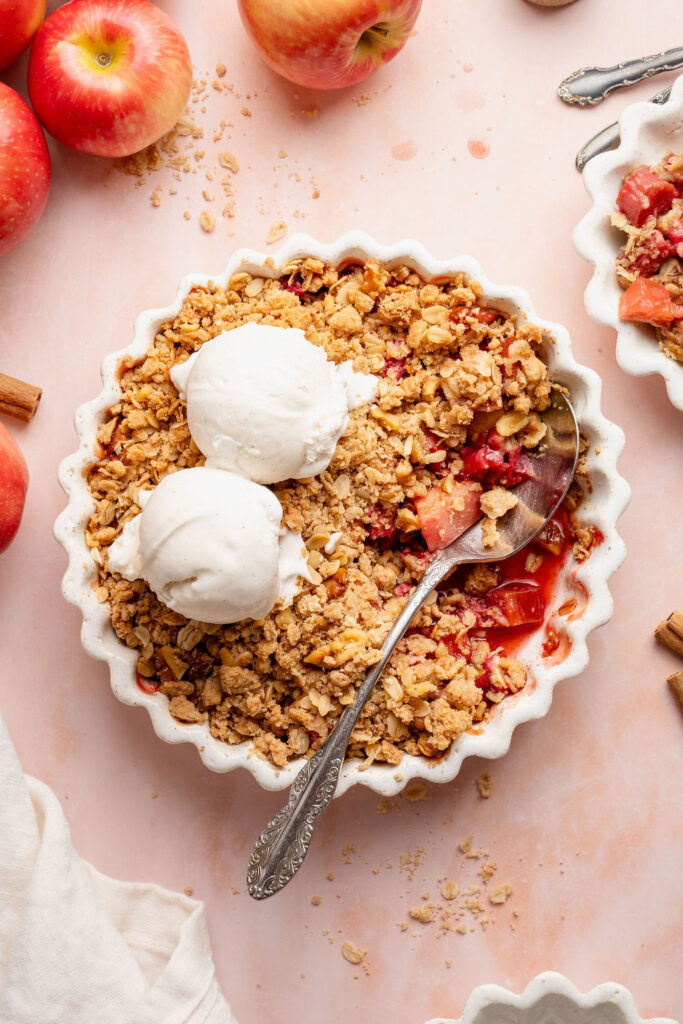
The topping should be golden brown, and the fruit filling should be visibly bubbling around the edges of the dish. If the topping is done but the filling isn’t bubbling yet, continue baking and tent loosely with foil if needed.
Can I make this recipe ahead of time?
Yes. You can assemble the crisp and refrigerate it (unbaked) for up to 1 day before baking. You can also bake it in advance and reheat it in the oven before serving.
Can I make this dairy-free?
Yes, you can substitute the butter with a dairy-free alternative. The topping may be slightly softer, but it will still be delicious and crisp.
Do I have to use nuts in the topping?
No—the walnuts are optional. You can leave them out entirely or substitute with pecans for a slightly different flavor.
What’s the best way to serve apple rhubarb crisp?
This crisp is best served warm, with a scoop of vanilla ice cream or a dollop of whipped cream. The contrast between the warm fruit and the cold, creamy topping is what makes it so special.
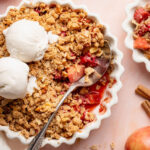
Gluten-Free Apple Rhubarb Crisp
- Total Time: 1 hour 5 minutes
- Yield: 8 servings
- Diet: Gluten-Free
Description
Tender apples and tart rhubarb bake beneath a golden oat topping in this cozy gluten-free crisp. Simple to make, warmly spiced, and perfect served warm with vanilla ice cream.
Ingredients
CRISP TOPPING
1 cup (90g) old-fashioned rolled oats
1/2 cup (75g) gluten-free 1:1 baking flour
1/2 cup (100g) light brown sugar, lightly packed
1 teaspoon ground cinnamon
1/4 teaspoon fine kosher salt
6 tablespoons (85g) unsalted butter, cold and cubed
1/2 cup (75g) chopped walnuts (optional)
APPLE RHUBARB FILLING
4 1/2 cups (540g) apples, cut into 1-inch chunks*
2 1/2 cups (280g) rhubarb, cut into 1-inch pieces
1/4 cup (50g) granulated sugar
1/4 cup (50g) light brown sugar, lightly packed
1 teaspoon pure vanilla extract
1 tablespoon cornstarch
1 teaspoon ground cinnamon
1/4 teaspoon ground cardamom
1/4 teaspoon ground ginger
Instructions
PREPARE THE CRISP TOPPING
- Preheat the oven to 350°F.
- In a medium mixing bowl, combine the rolled oats, gluten-free 1:1 flour, light brown sugar, cinnamon, and salt. Stir together until well mixed.
- Add the cold, cubed butter and toss to coat. Using your fingers, work the butter into the dry ingredients until the mixture is crumbly and resembles wet sand. Small, pea-sized pieces of butter are fine, but there should be no large chunks remaining.
- Stir in the chopped walnuts. Set aside.
PREPARE THE FILLING
- Trim the rhubarb and slice into 1-inch pieces.
- Core the apples and cut them into 3/4- to 1-inch chunks.
- In a large mixing bowl, combine the apples, rhubarb, granulated sugar, light brown sugar, vanilla, cornstarch, cinnamon, cardamom, and ginger. Toss until the fruit is evenly coated.
ASSEMBLE AND BAKE
- Transfer the fruit mixture to a 9-inch square or round ceramic baking dish. (An 8-inch dish will also work—fill it as full as possible; you may have a small amount of leftover filling.)
- Sprinkle the crisp topping evenly over the fruit.
- Bake on the middle rack for 40–50 minutes. Check at 30 minutes and loosely tent with foil if the topping is browning too quickly. The crisp is done when the topping is golden brown and the fruit juices are bubbling around the edges.
- Remove from the oven and place on a wire rack to cool for about 30 minutes before serving.
- Serve warm with a scoop of vanilla ice cream.
Store the crisp covered in the refrigerator for up to 4 days. Reheat in a 350°F oven until warmed through before serving.
Notes
*Use a firm, slightly tart apple variety such as Honeycrisp, Cosmic Crisp, or Fuji. Avoid softer apples, which can break down too much during baking.
- Prep Time: 20 minutes
- Cook Time: 45 minutes
- Category: Dessert
- Method: Baking
Photography by Creating Kaitlin


Leave a Reply