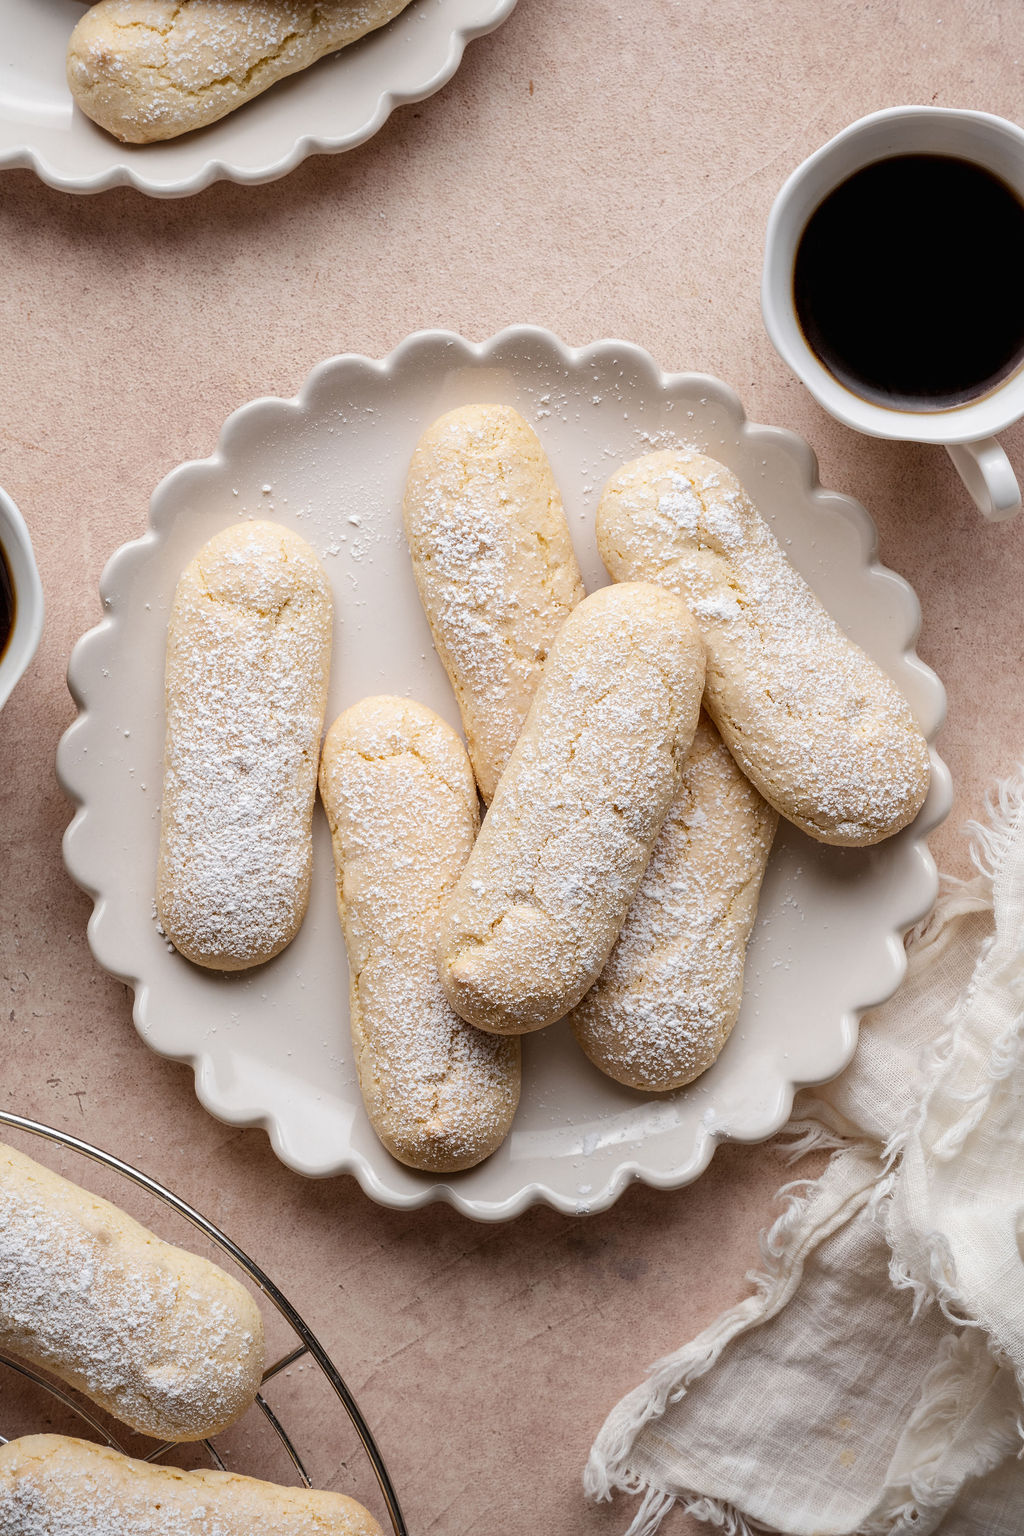


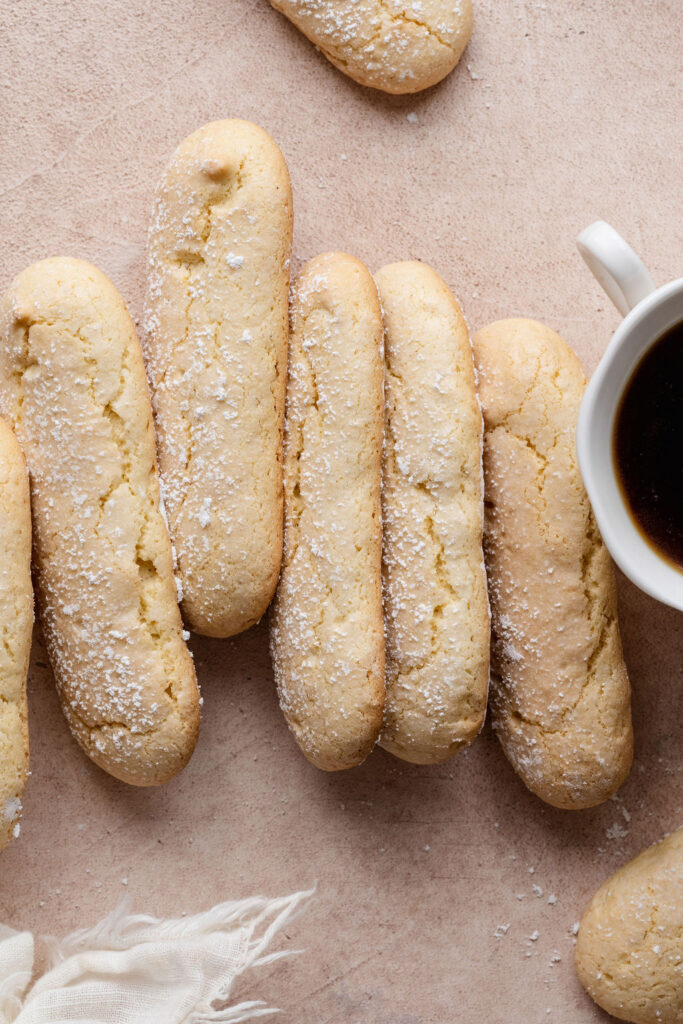
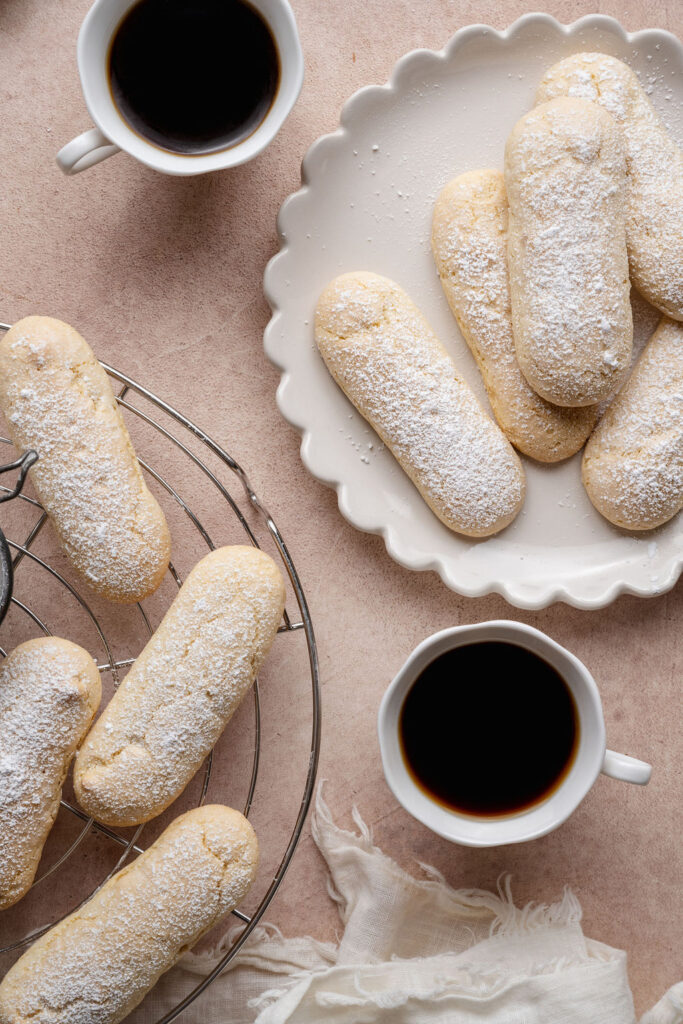
These homemade gluten-free ladyfingers are light, airy, and delicately crisp with a subtle sweetness and a beautiful dusting of powdered sugar. Also known as savoiardi, these classic Italian sponge cookies are made with just a handful of simple ingredients and baked until lightly golden.
Perfect for making homemade tiramisu, trifles, and other layered desserts, these gluten-free ladyfingers have a delicate sponge-like texture that absorbs coffee and other flavorful liquids while maintaining their structure. They’re surprisingly easy to make from scratch and so much better than relying on store-bought gluten-free alternatives!
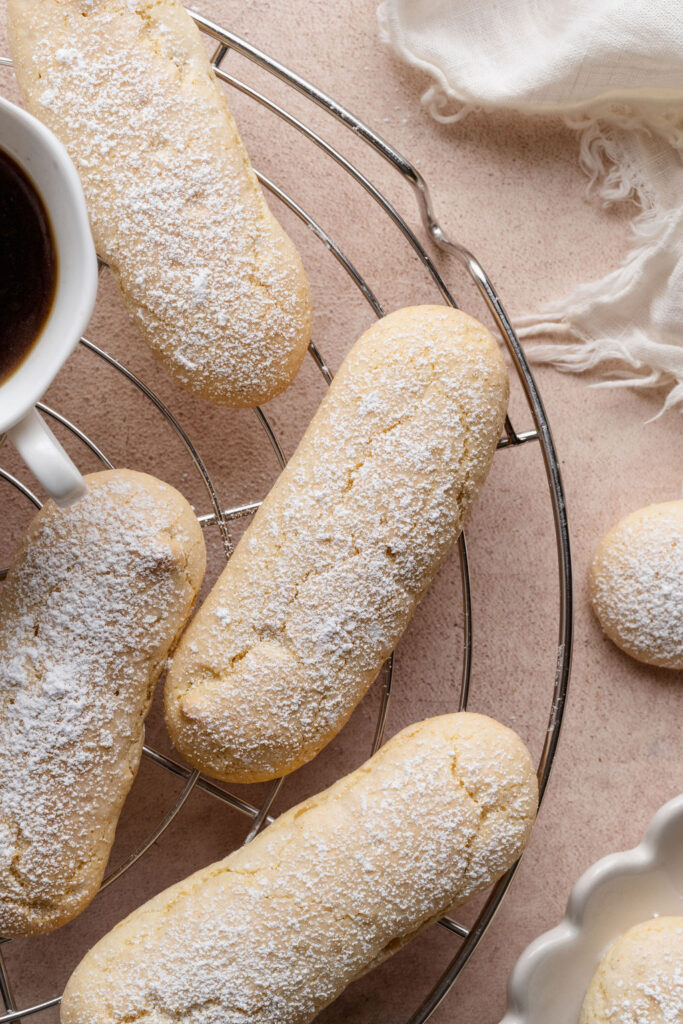
Why You’ll Love This Recipe
Light and airy texture
These homemade ladyfingers have a delicate, sponge-like interior with lightly crisp edges and a beautiful dusting of powdered sugar.
Perfect for tiramisu
Their airy texture allows them to absorb espresso, coffee, and other flavorful liquids while maintaining enough structure for layered desserts.
Made with simple ingredients
You only need a handful of pantry staples, including eggs, sugar, vanilla, and gluten-free flour, to make these classic Italian sponge cookies from scratch.
Better than store-bought
Homemade gluten-free ladyfingers have a fresh, delicate texture and can be piped to your preferred size, making them perfect for all your favorite desserts.
Naturally dairy-free
Made without butter, milk, or cream, these ladyfingers are naturally dairy-free when prepared with a dairy-free gluten-free flour blend.
Ingredient Notes
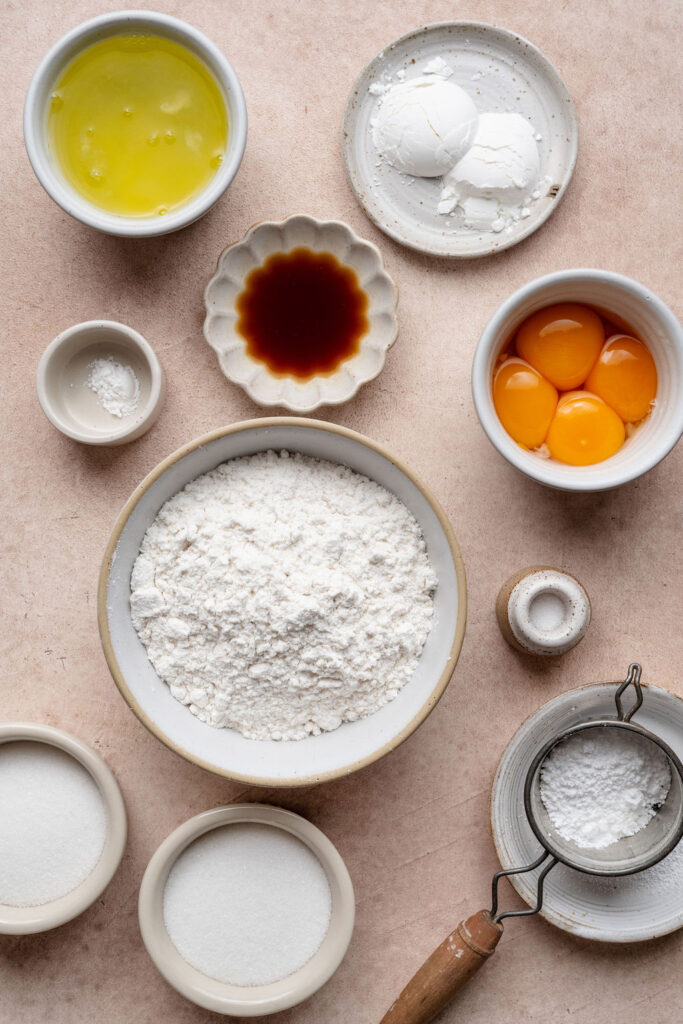
Gluten-free flour
Use a high-quality gluten-free 1:1 baking flour blend. I recommend Bob’s Red Mill Gluten Free 1-to-1 Baking Flour, which is what I used to develop this recipe.
Eggs
Eggs provide the structure and signature light, airy texture of traditional ladyfingers. The yolks and whites are whipped separately to incorporate air into the batter. For best results, use room-temperature eggs.
Granulated sugar
Sweetens the ladyfingers while helping stabilize the whipped egg whites and create a delicate sponge-like texture. The sugar is divided between the egg yolks and egg whites.
Cornstarch
Helps create a lighter, more delicate texture by reducing the overall protein content of the flour mixture.
Cream of tartar
Helps stabilize the whipped egg whites so they hold their volume as they’re folded into the batter.
Vanilla extract
Adds a subtle, warm vanilla flavor that complements the delicate sweetness of the cookies. Use pure vanilla extract for the best flavor.
Powdered sugar
A generous dusting of powdered sugar before baking creates the classic lightly crisp, delicate exterior of traditional Italian ladyfingers.
How to Make Homemade Gluten-Free Ladyfingers
See the recipe card below for the full ingredient list, measurements, and instructions.
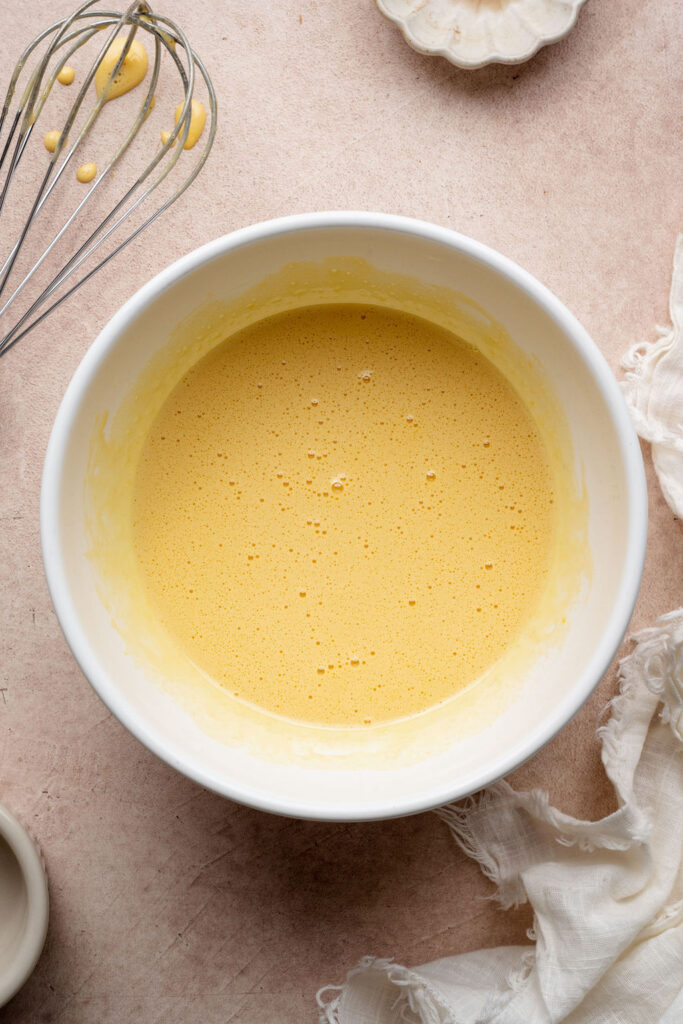
Step 1: Whisk the egg yolks
In a medium bowl, whisk together the egg yolks and half of the granulated sugar for 2–3 minutes, until pale, thick, and creamy. Whisk in the vanilla extract.
Step 2: Whip the egg whites
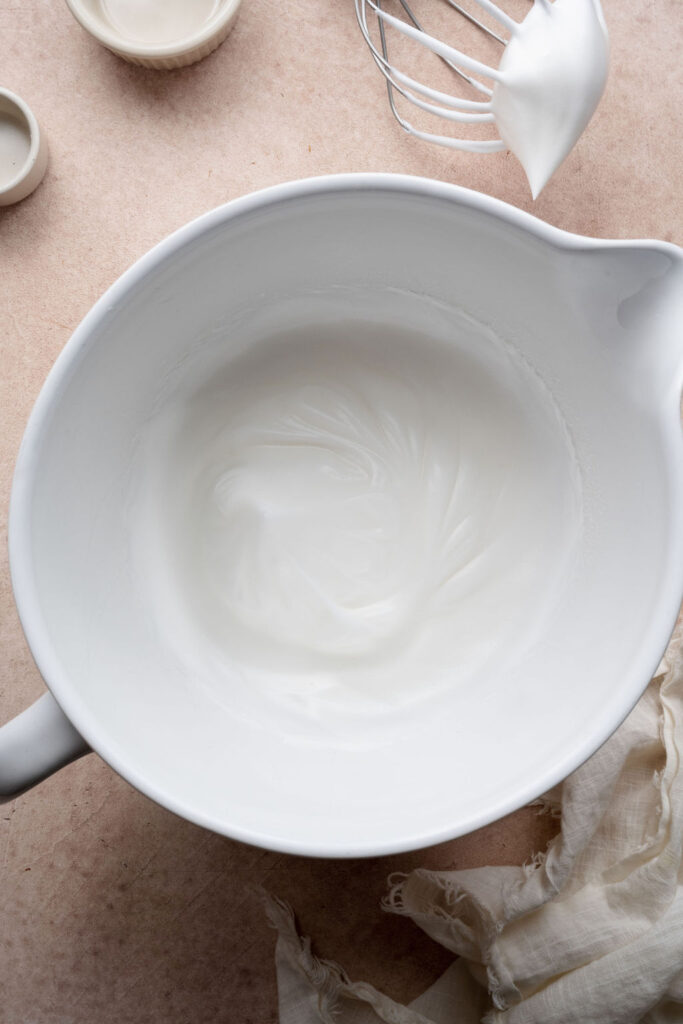
In a stand mixer fitted with the whisk attachment, beat the egg whites until foamy. Add the cream of tartar, then gradually add the remaining sugar. Increase the speed to medium-high and beat until stiff, glossy peaks form.
Step 3: Combine the egg mixtures
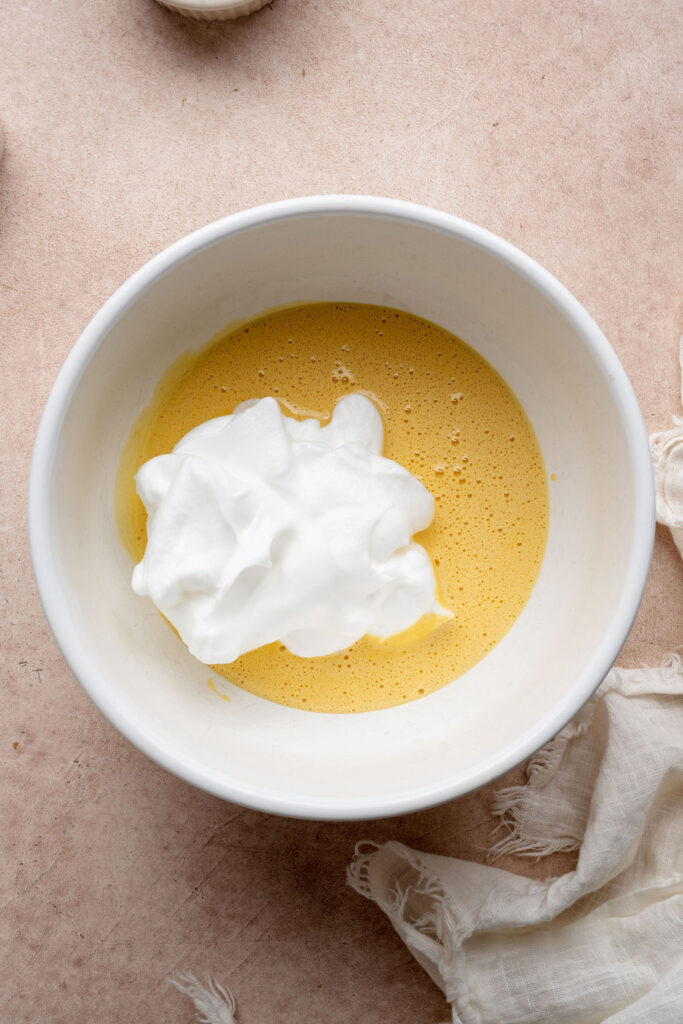
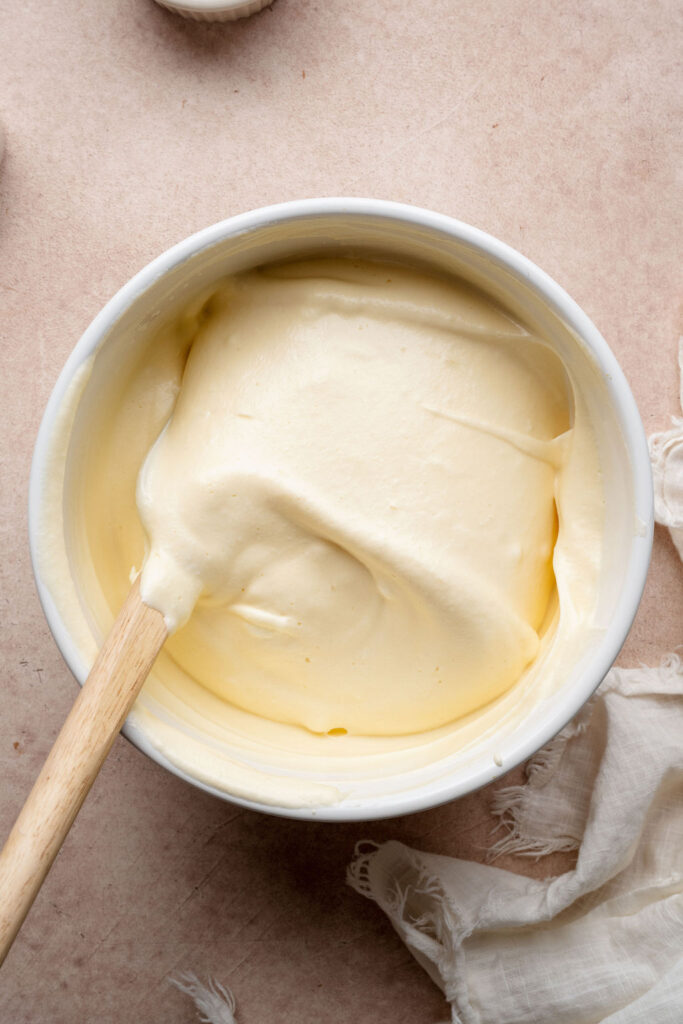
Gently fold one-third of the whipped egg whites into the yolk mixture to lighten it. Add the remaining egg whites in two additions, folding gently until mostly incorporated.
Step 4: Fold in the dry ingredients
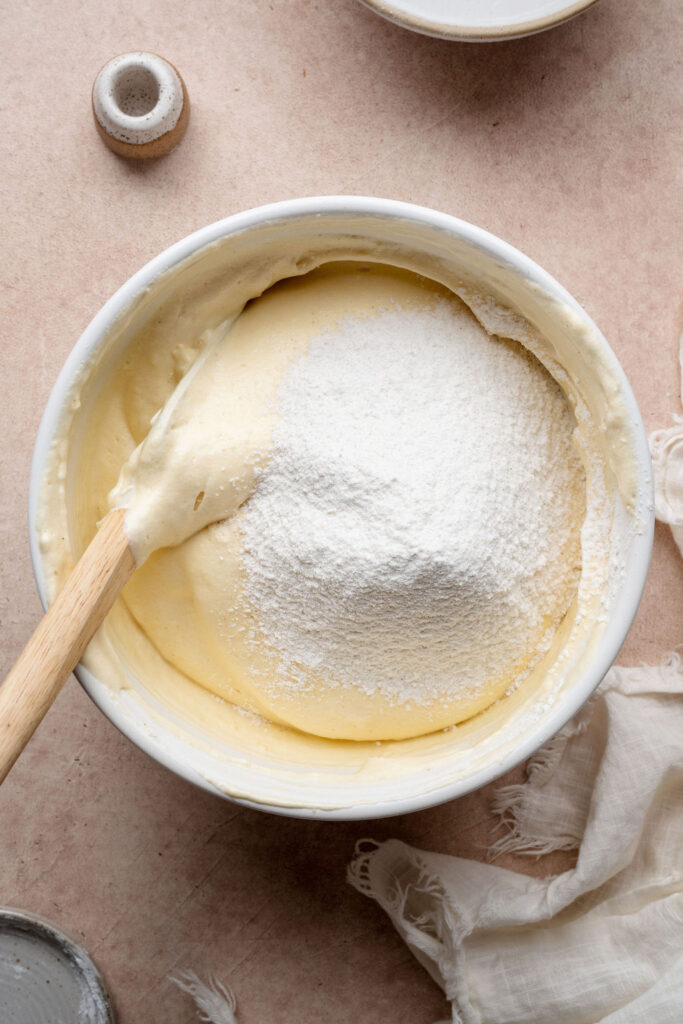
Whisk together the gluten-free flour, cornstarch, and salt. Sift the dry ingredients over the egg mixture in three additions, gently folding after each addition until no visible streaks of flour remain. Avoid overmixing or deflating the batter.
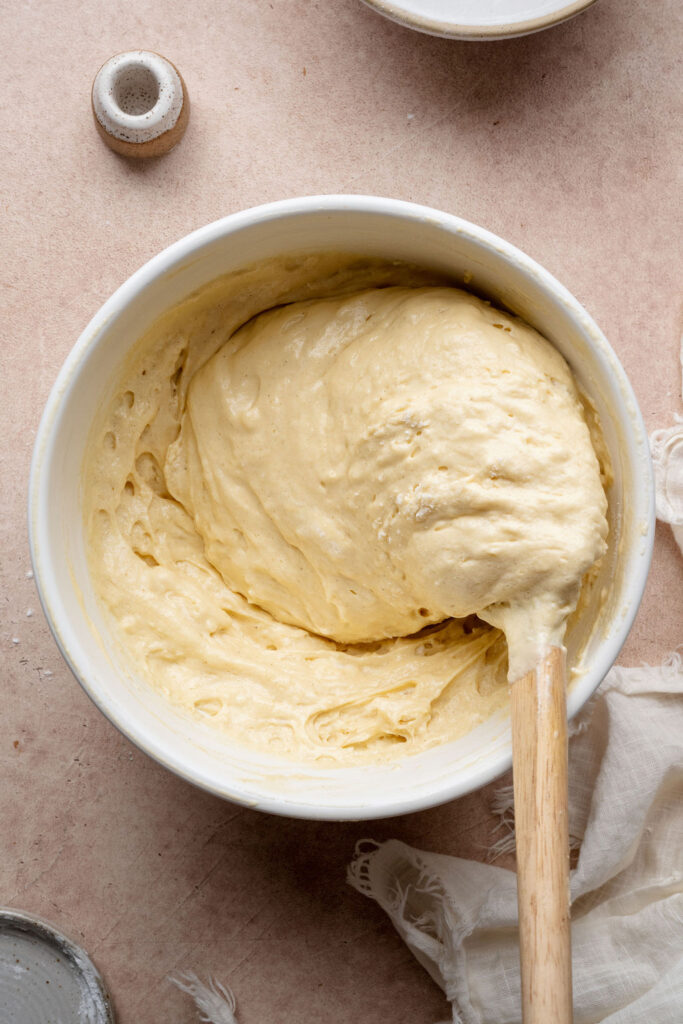
Step 5: Pipe the ladyfingers
Transfer the batter to the prepared piping bag. Pipe strips approximately 3¼–3½ inches long and ½–¾ inch wide onto the prepared baking sheets, spacing them about 1 inch apart.
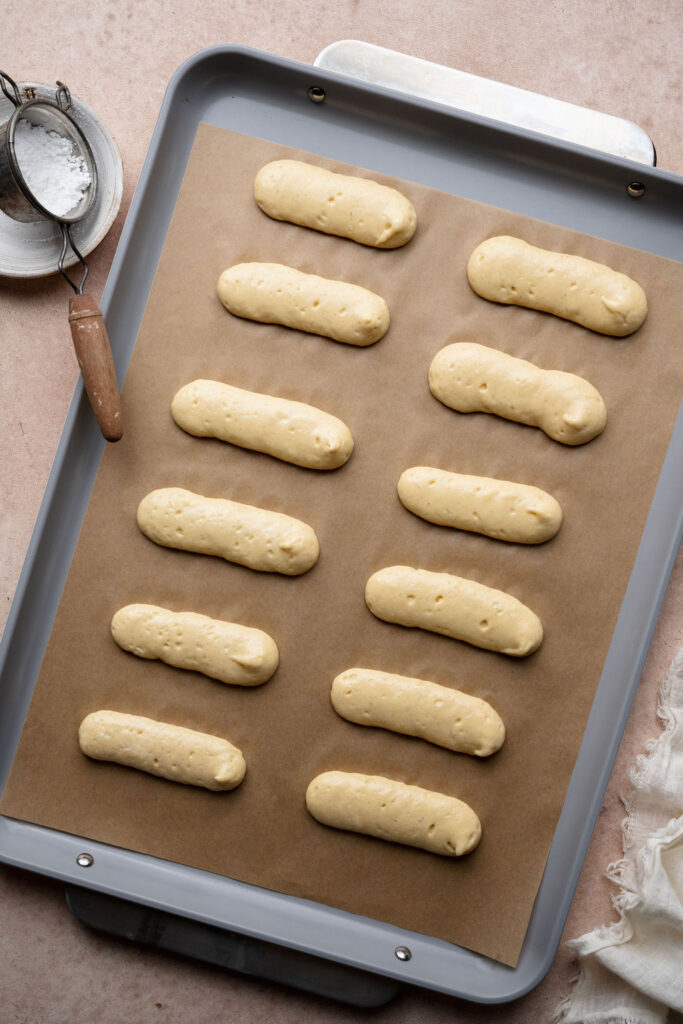
Step 6: Dust and bake
Generously dust the piped ladyfingers with powdered sugar. Let sit for 2 minutes, then dust again. Bake for 12–15 minutes, until lightly golden, puffed, and dry to the touch.
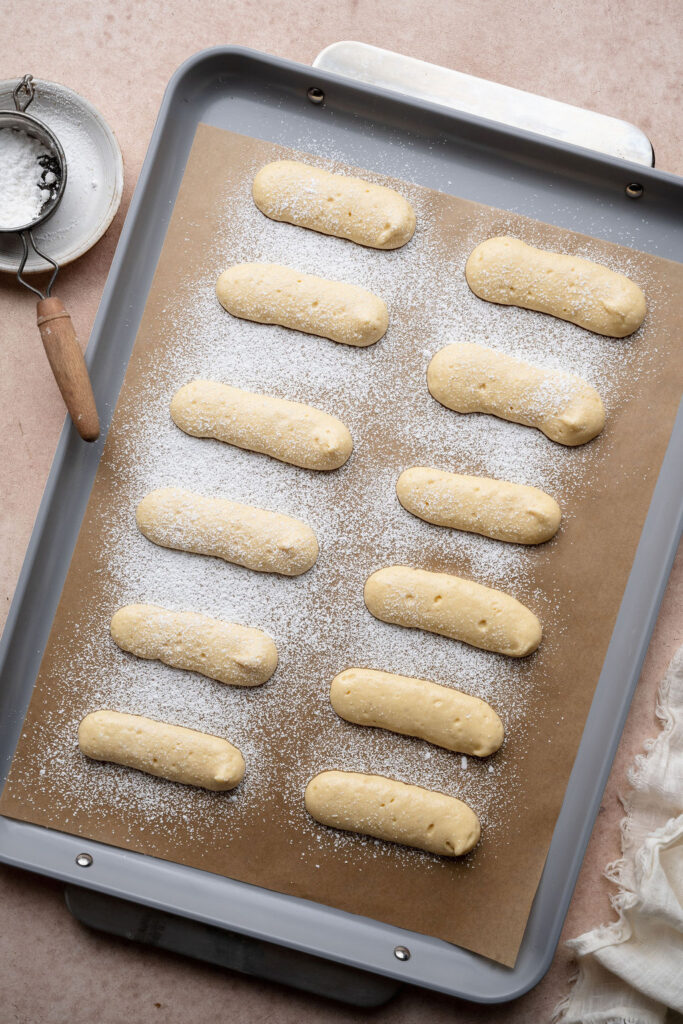
Step 7: Cool the ladyfingers
Allow the ladyfingers to cool on the baking sheets for approximately 10 minutes before transferring them to a wire rack to cool completely. (Process Photo 10)
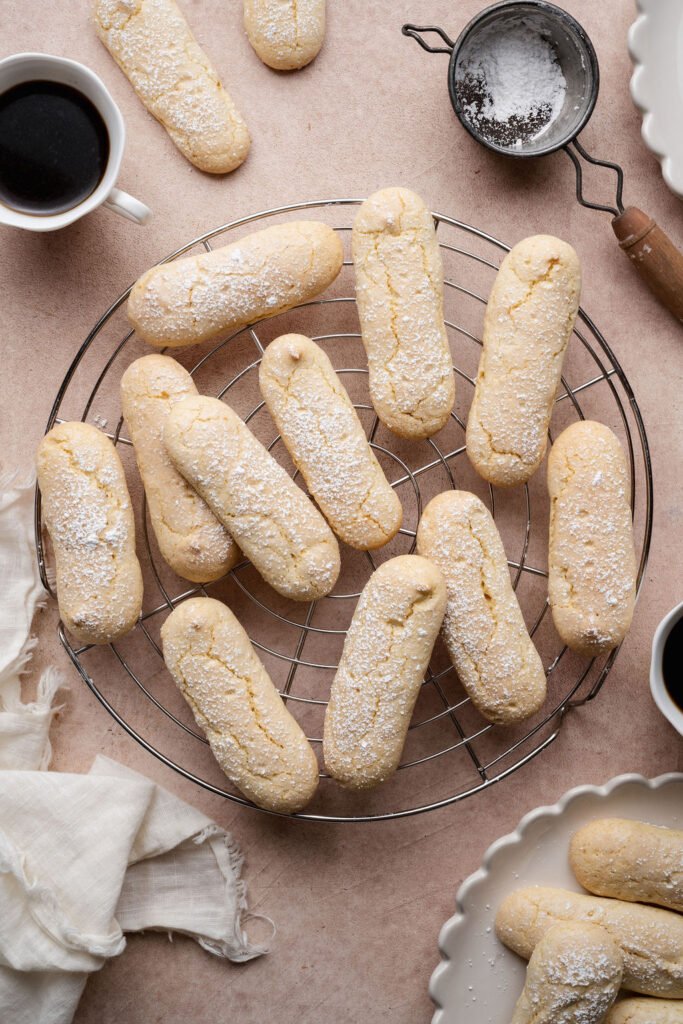
Recipe Tips
Use room-temperature eggs
Room-temperature eggs whip more easily and incorporate more air, helping create the light, airy texture that gives ladyfingers their signature structure.
Whip the egg whites to stiff, glossy peaks
Gradually add the sugar to the egg whites and continue whipping until stiff, glossy peaks form. The peaks should hold their shape when the whisk is lifted without appearing dry or grainy. Avoid overwhipping, which can make the egg whites difficult to incorporate.
Fold the batter gently
Use a rubber spatula to gently fold the whipped egg whites into the yolk mixture, followed by the sifted dry ingredients. Work carefully to preserve as much air as possible, as this is what gives ladyfingers their delicate, sponge-like texture.
Don’t overmix the batter
Fold the ingredients just until no visible streaks of flour remain. The finished batter should be light and airy, and a slightly uneven appearance is perfectly fine. Overmixing can deflate the batter and cause the ladyfingers to spread rather than hold their shape.
Use parchment guidelines for even piping
For evenly sized ladyfingers, draw 3¼–3½-inch guidelines on the underside of your parchment paper before piping. This helps create uniform cookies that bake evenly and fit neatly into layered desserts.
Dust with powdered sugar twice
Generously dust the piped ladyfingers with powdered sugar, let them rest for approximately 2 minutes, then dust them again just before baking. This helps create their signature delicate, lightly crisp exterior.
Avoid underbaking
Bake the ladyfingers until they’re lightly golden, puffed, and dry to the touch. Properly baked ladyfingers will hold their shape better when dipped into coffee or other liquids for tiramisu and layered desserts.
Storage
Room temperature
Store completely cooled ladyfingers in an airtight container at room temperature for up to 3 days. Allow them to cool completely before storing to prevent condensation from softening their exterior.
Freezer
For longer storage, arrange the cooled ladyfingers in a single layer in a freezer-safe airtight container, separating layers with parchment paper. Freeze for up to 2 months. Thaw at room temperature before using.
Make ahead
Ladyfingers are a great make-ahead option for tiramisu and other layered desserts. Prepare them a day or two in advance and store them in an airtight container until you’re ready to assemble your dessert.
Frequently Asked Questions
Are ladyfingers the same as savoiardi?
Yes! Ladyfingers, also known as savoiardi, are traditional Italian sponge cookies made with whipped eggs, sugar, and flour. They’re known for their elongated shape, light and airy texture, and delicate sweetness. They’re most commonly used in tiramisu, trifles, and other layered desserts.
Are traditional ladyfingers gluten-free?
No. Traditional ladyfingers are typically made with wheat flour and therefore contain gluten. This homemade version uses gluten-free 1:1 baking flour to create a similar light, sponge-like texture without gluten.
Why did my ladyfingers turn out flat?
Flat ladyfingers are usually caused by deflated egg whites or overmixed batter. Be sure to whip the egg whites to stiff, glossy peaks and gently fold the ingredients together to preserve as much air as possible. Pipe the batter promptly after mixing to help the cookies maintain their shape.
Why are my ladyfingers soft instead of crisp?
Freshly baked ladyfingers have a delicate, sponge-like interior with a lightly crisp exterior. If they’re overly soft or sticky, they may need additional baking time. For a drier texture, you can return them to a low oven briefly to help remove excess moisture.
Can I make gluten-free ladyfingers without a piping bag?
Yes! Although a piping bag fitted with a round tip produces the most consistent shape, you can use a large zip-top bag with one corner snipped off. Pipe the batter into strips approximately 3¼–3½ inches long.
Can I use these gluten-free ladyfingers for tiramisu?
Absolutely! These homemade ladyfingers are perfect for tiramisu because their airy, sponge-like texture allows them to absorb espresso or coffee while maintaining their structure. Dip them long enough to absorb some liquid and soften, but avoid oversaturating them, which can cause them to fall apart.
Can I make gluten-free ladyfingers ahead of time?
Yes! You can bake the ladyfingers 1–2 days before assembling your dessert. Once completely cooled, store them in an airtight container at room temperature, or freeze them for longer storage.
Gluten-Free Ladyfingers
- Total Time: 37 minutes
- Yield: 35 cookies
- Diet: Gluten-Free
Description
These homemade gluten-free ladyfingers (savoiardi) are light, airy Italian sponge cookies with a delicate sweetness and a lightly crisp exterior. Made with simple ingredients, they’re perfect for tiramisu, trifles, and other layered desserts!
Ingredients
4 large eggs, separated, at room temperature
2/3 cup (135g) granulated sugar, divided
1/8 teaspoon cream of tartar
1 teaspoon pure vanilla extract
1 1/4 cups (185g) gluten-free 1:1 flour
2 tablespoons cornstarch
1/4 teaspoon fine sea salt
Powdered sugar, for dusting
Instructions
PREPARE THE BAKING SHEETS
- Preheat the oven to 350°F (177°C). Line two large baking sheets with parchment paper. Fit a large piping bag with a 1⁄2-inch round piping tip (or a similarly sized round tip) and set aside. OPTIONAL: For evenly sized ladyfingers, use a pencil to draw guidelines approximately 31⁄4–31⁄2 inches long on the parchment paper. Flip the parchment over before placing it on the baking sheet so the markings are on the underside.
PREPARE THE EGG MIXTURES
- In a medium mixing bowl, whisk together the egg yolks and half of the granulated sugar (1/3 c/approximately 67g) for 2-3 minutes until the mixture is pale, thick, and creamy. Add the vanilla extract and whisk until combined.
- In the bowl of a stand mixer fitted with the whisk attachment, beat the egg whites on medium speed until foamy. Add the cream of tartar and mix to combine.
- With the mixer running, gradually add the remaining 1/3 cup granulated sugar, about 1 tablespoon at a time. Wait 20 seconds between each addition.
- Increase the speed to medium-high and continue beating until stiff, glossy peaks form. The peaks should hold their shape when the whisk is lifted, without appearing dry or grainy.
PREPARE THE LADYFINGER BATTER
- Gently fold approximately one-third of the whipped egg whites into the yolk mixture using a rubber spatula to lighten it. Add the remaining egg whites in two additions, folding gently until mostly incorporated.
- In a separate bowl, whisk together the gluten-free flour, cornstarch, and salt. Sift one-third of the dry ingredients over the egg mixture and gently fold until almost incorporated. Repeat with the remaining dry ingredients in two more additions, folding just until no visible streaks of flour remain. Avoid overmixing or deflating the batter.
PIPE AND BAKE THE LADYFINGERS
- Transfer the batter to the prepared piping bag. Pipe strips approximately 31⁄4–31⁄2 inches long and 1⁄2–3⁄4 inch wide onto the prepared baking sheets, leaving approximately 1 inch between each ladyfinger to allow for expansion during baking.
- Using a fine-mesh sieve, generously dust the ladyfingers with powdered sugar. Allow them to sit for approximately 2 minutes, then dust them a second time right before placing them in the oven.
- Bake for approximately 12–15 minutes, or until the ladyfingers are lightly golden, puffed, and dry to the touch. Allow them to cool on the baking sheets for 10 minutes before transferring them to a wire rack to cool completely.
Store the ladyfingers in an airtight container for up to 3 days.
- Prep Time: 25 minutes
- Cook Time: 12 minutes
- Category: Dessert
- Method: Baking
Photography by Creating Kaitlin


Leave a Reply