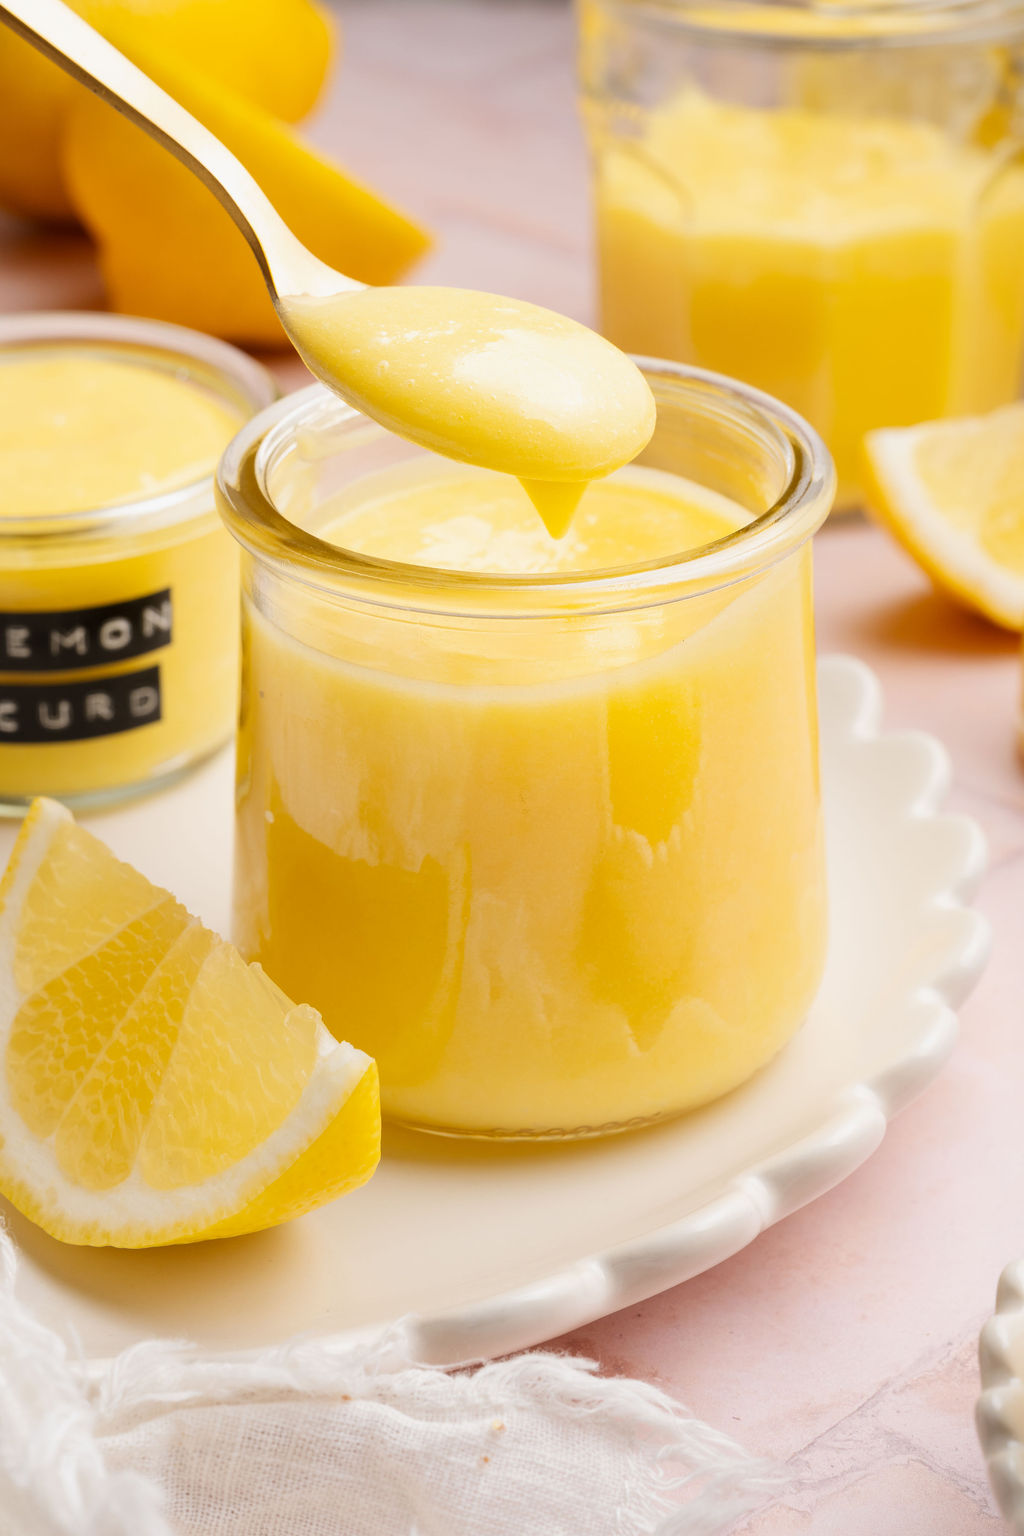


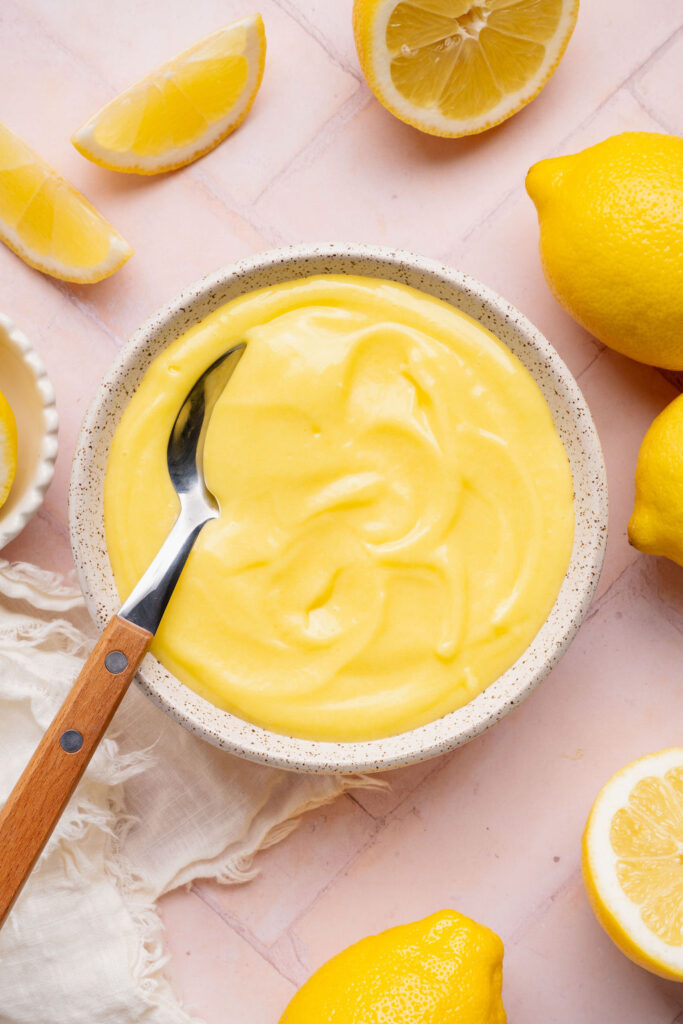
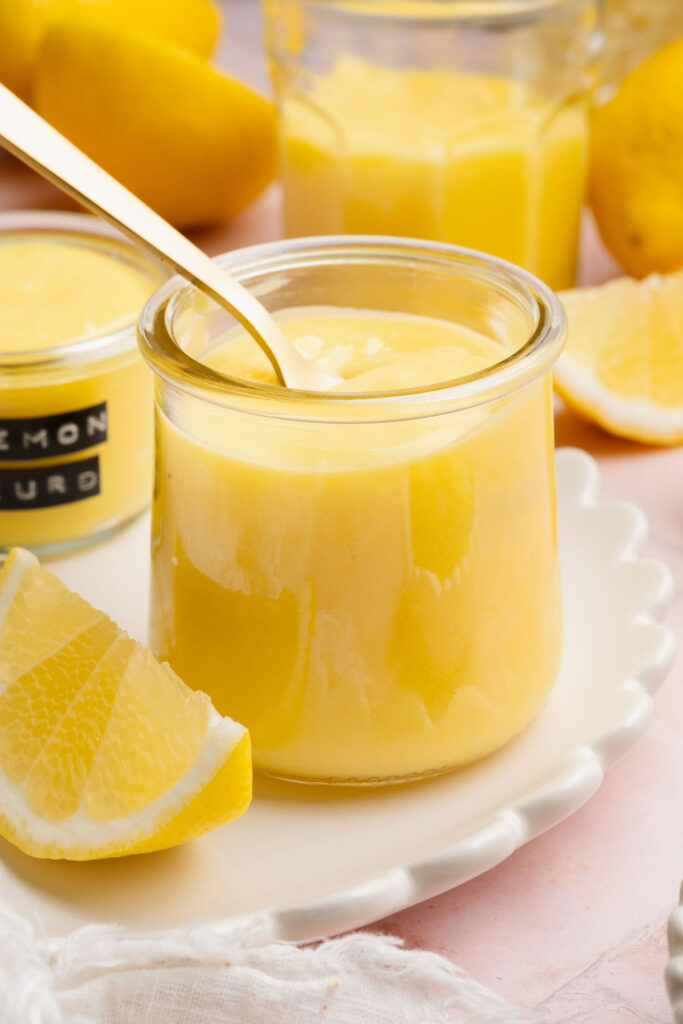
If there’s one recipe that instantly elevates just about any dessert, it’s homemade lemon curd. Smooth, vibrant, and bursting with fresh citrus flavor, this version strikes the perfect balance between sweet and tangy with a luxuriously silky texture.
Made with fresh lemon juice, plenty of zest, and rich egg yolks, this lemon curd comes together gently on the stovetop before being finished with butter for a rich, glossy finish. The extra step of straining ensures a perfectly smooth result every time—no lumps, just pure lemon goodness.
Whether you’re using it to fill cakes, layer into cookies, or simply spoon it over yogurt or scones, this homemade lemon curd is a simple yet elevated staple every baker should have in their repertoire.
Why You’ll Love This Lemon Curd
Silky-smooth, bakery-quality texture
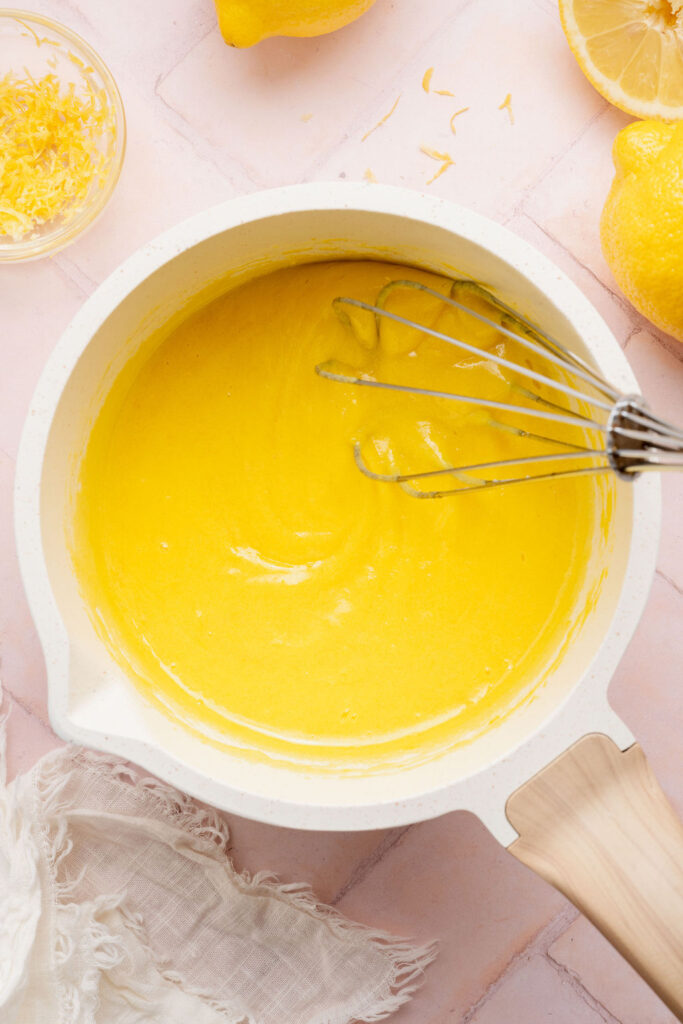
Straining the curd and finishing it with butter creates an ultra-smooth, glossy consistency that feels truly luxurious.
Perfectly balanced sweet and tangy flavor
Fresh lemon juice and zest bring brightness, while just the right amount of sugar keeps it balanced—not overly sharp or overly sweet.
Intensely flavorful from a simple technique
Massaging the lemon zest into the sugar helps release the natural oils, giving this curd a deeper, more vibrant citrus flavor.
Rich and luscious without being heavy
Made with egg yolks for richness and butter for a silky finish, this curd has a full-bodied texture that still feels light and fresh.
No complicated steps—just reliable results
A gentle stovetop method and cooking to the proper temperature ensure your curd thickens perfectly every time.
Incredibly versatile
Use it as a cake filling, swirl it into yogurt, spread it on scones, or layer it into cookies—this is one of those staple recipes you’ll reach for again and again.
Ingredient Notes
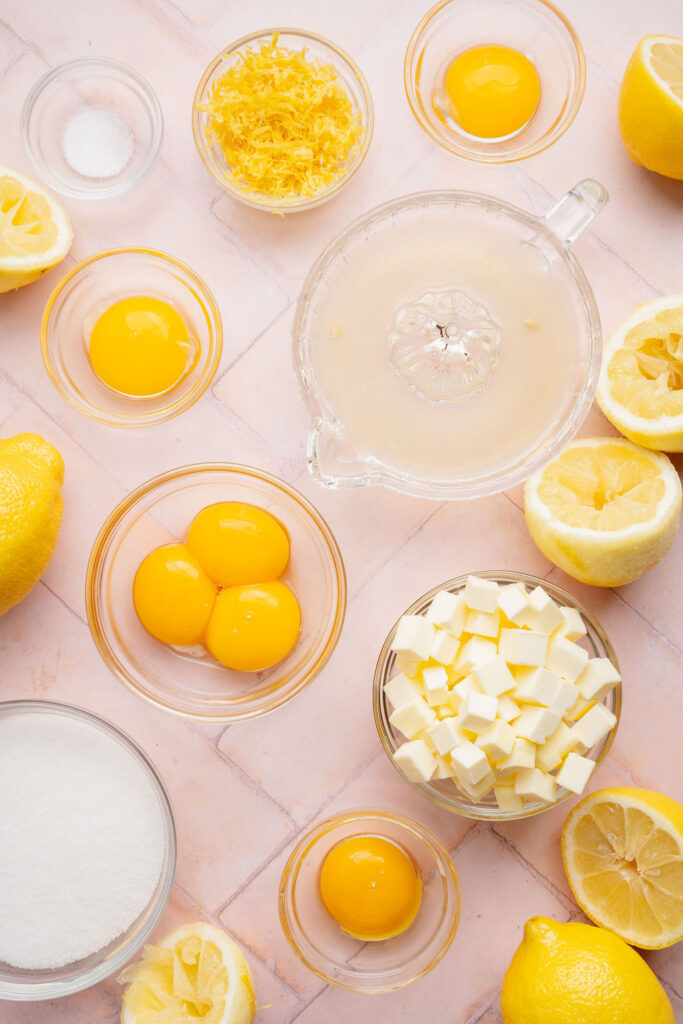
Unsalted Butter
Use high-quality unsalted butter for the best flavor and control over salt levels. Adding it at the end gives the lemon curd its signature silky texture and glossy finish.
Granulated Sugar
Standard granulated sugar provides clean sweetness and allows the bright lemon flavor to shine without overpowering it.
Fresh Lemon Zest
Don’t skip this—it’s essential for bold, vibrant flavor. Massaging the zest into the sugar helps release the natural oils, giving the curd a deeper citrus aroma and taste.
Fresh Lemon Juice
Freshly squeezed lemon juice is key here. Bottled juice won’t give you the same brightness or complexity.
Egg Yolks
Egg yolks create a rich, smooth, and creamy texture. Using only yolks (instead of whole eggs) results in a more luxurious, custard-like consistency.
Fine Kosher Salt
Just a small pinch enhances the overall flavor and balances the sweetness.
How to Make Homemade Lemon Curd
See the recipe card below for the full ingredient list, measurements, and instructions.
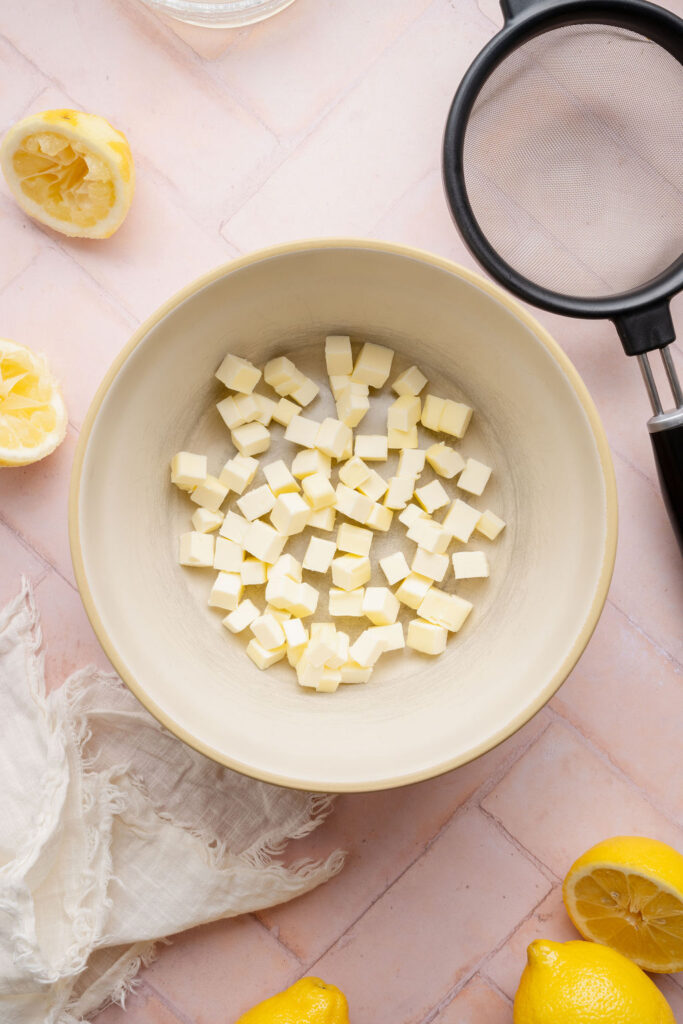
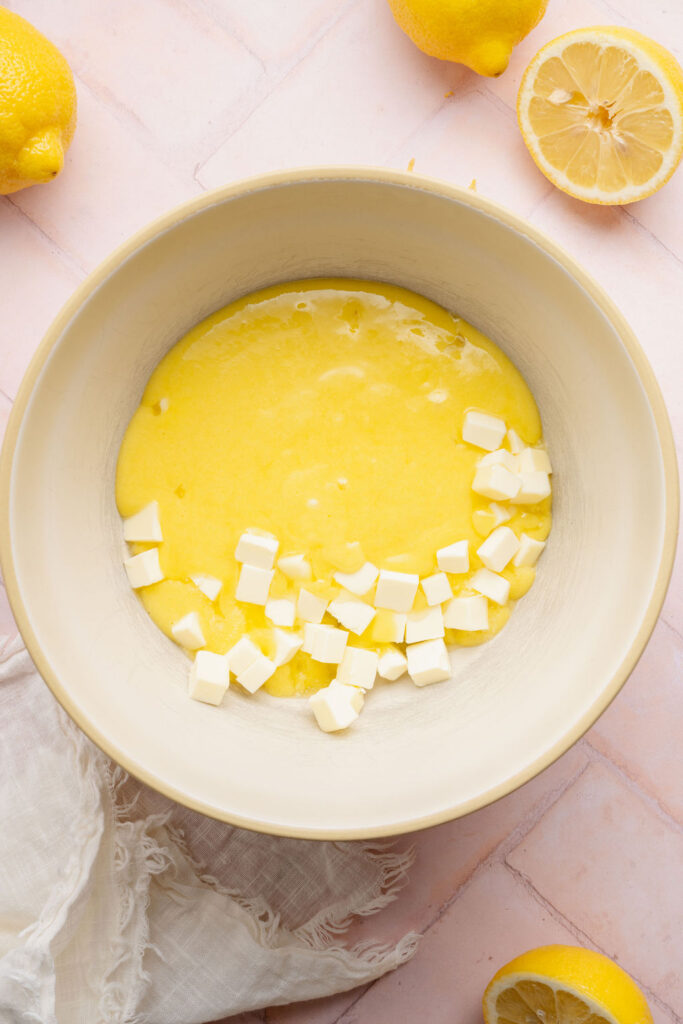
Step 1: Cut the butter into small cubes and place in a heat-safe bowl. Set a fine mesh strainer over the bowl and set aside.
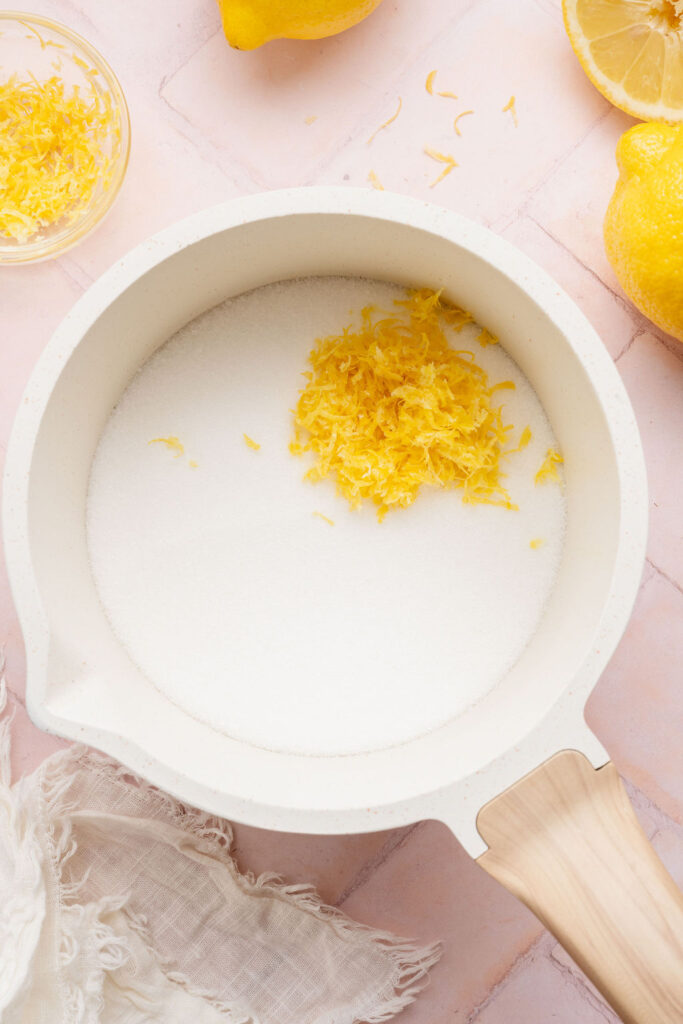
Step 2: Place the sugar and lemon zest in a saucepan and massage the zest into the sugar.
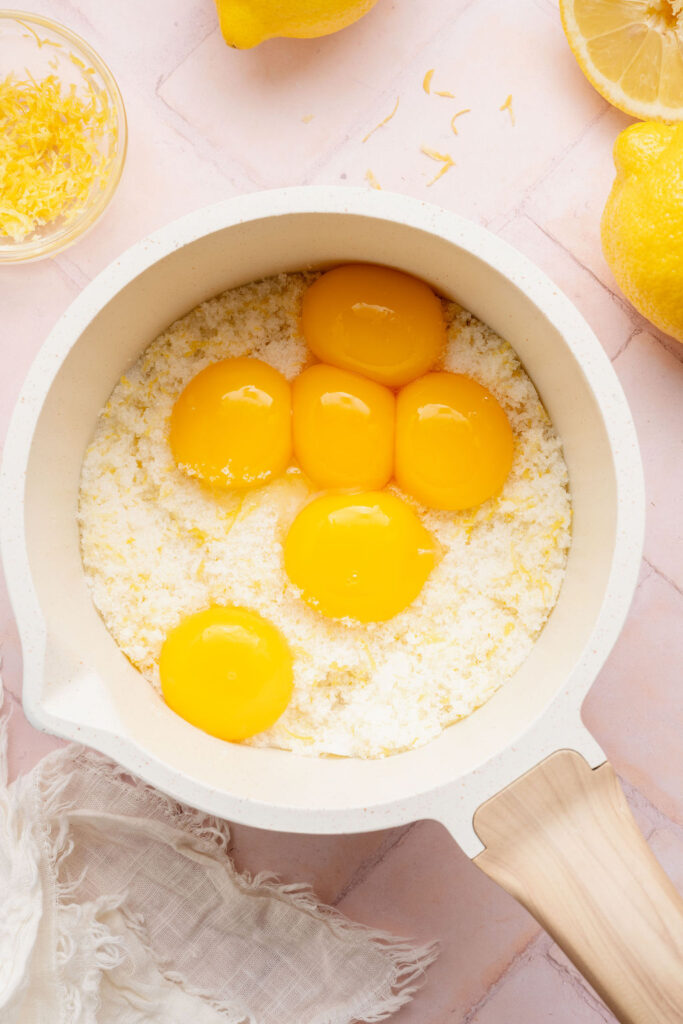
Step 3: Add the egg yolks and salt and whisk to combine.
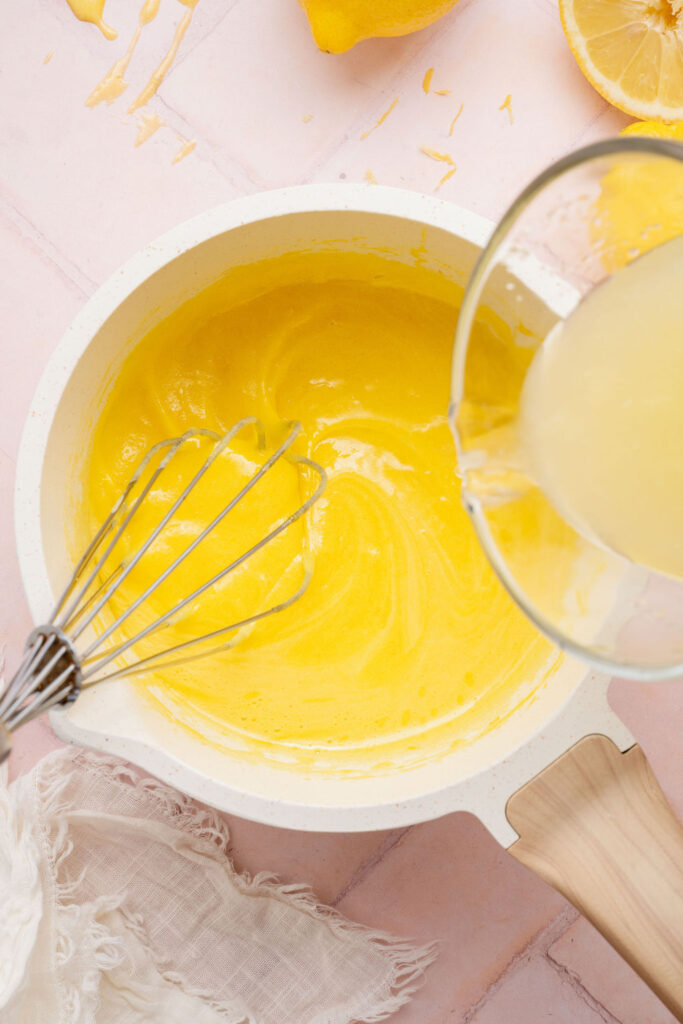
Step 4: Slowly pour the lemon juice into the saucepan while continuing to whisk.
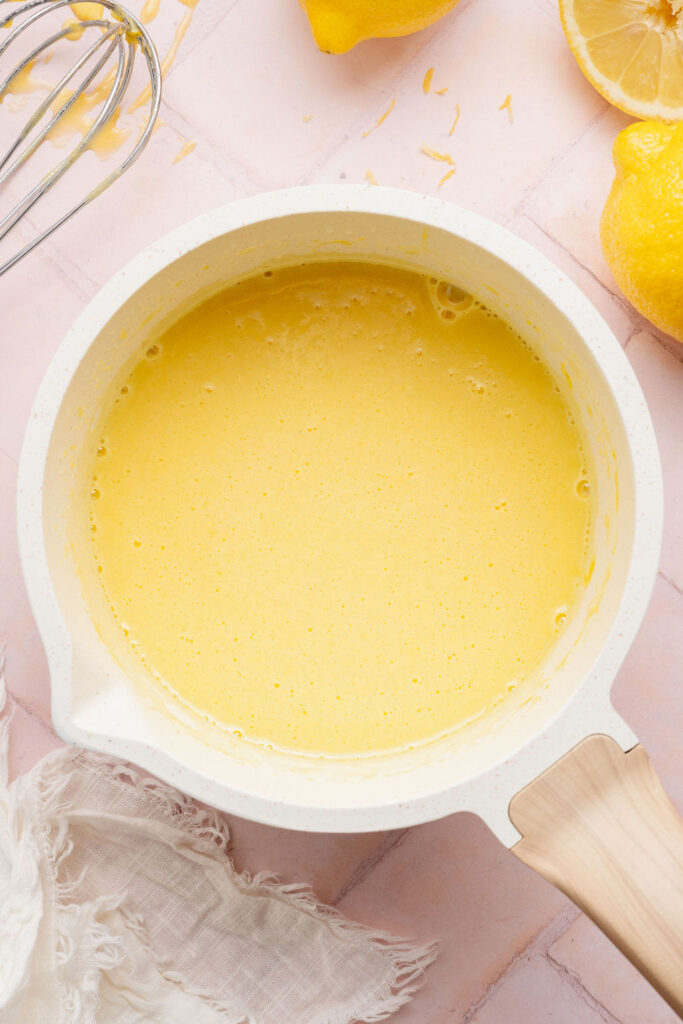
Step 5: Place the saucepan over low-medium heat and whisk constantly until it thickens and reaches a temperature of 170°F on a digital instant-read or candy thermometer. It should be thick enough to coat the back of a spoon, and a swipe will leave a clean line.
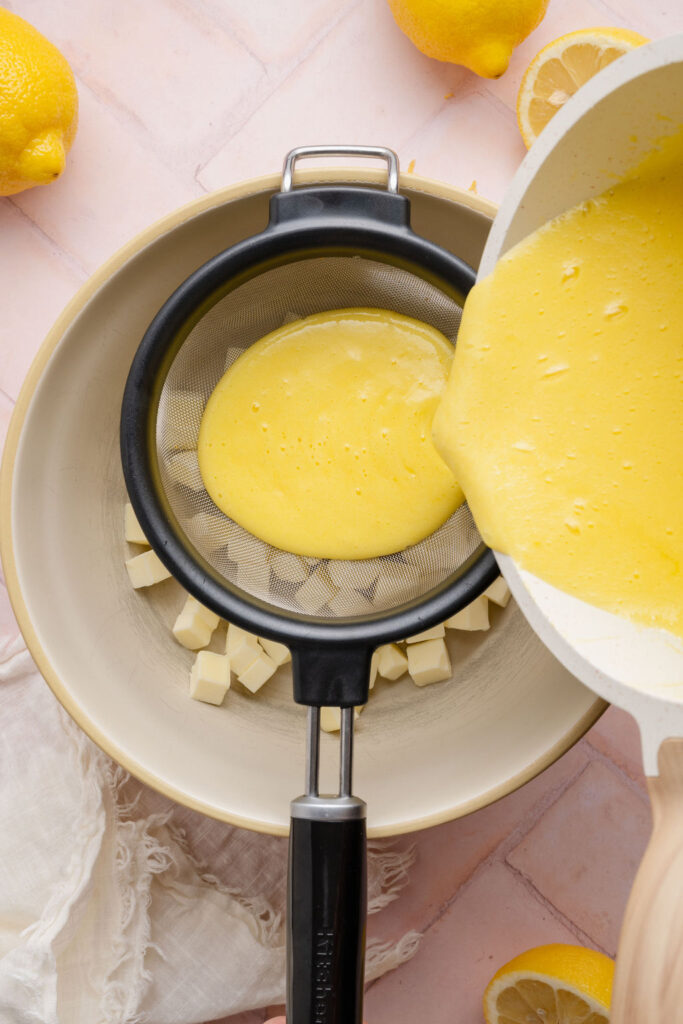
Step 6: Remove from the heat and immediately pour the mixture through the fine mesh strainer into the bowl of butter.
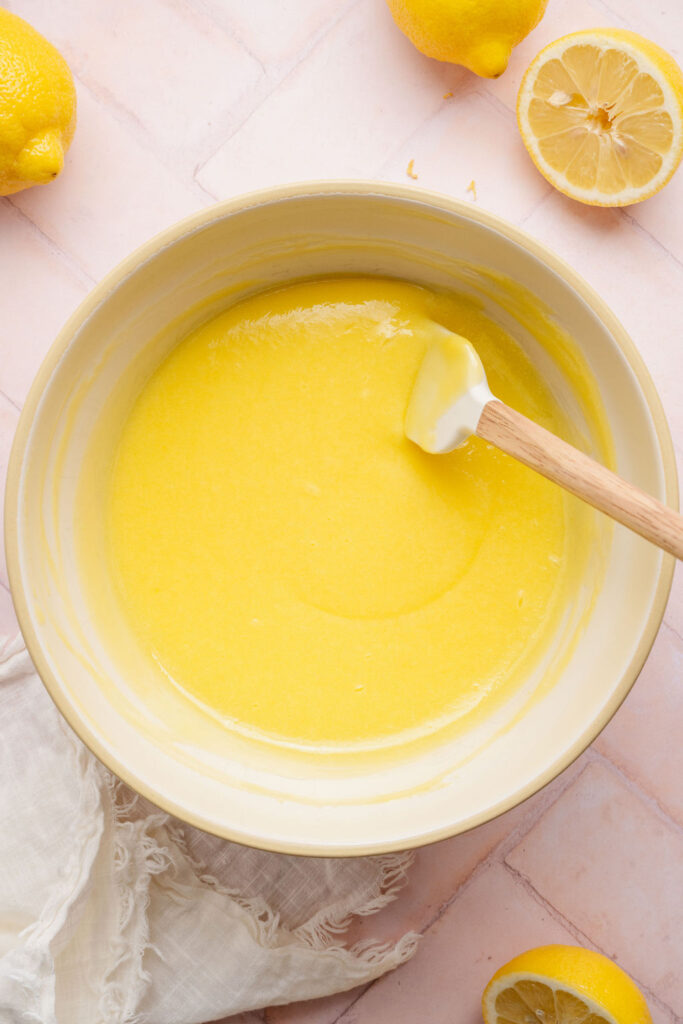
Step 7: Stir the lemon curd and butter together until the butter is completely melted and the mixture is glossy and smooth.
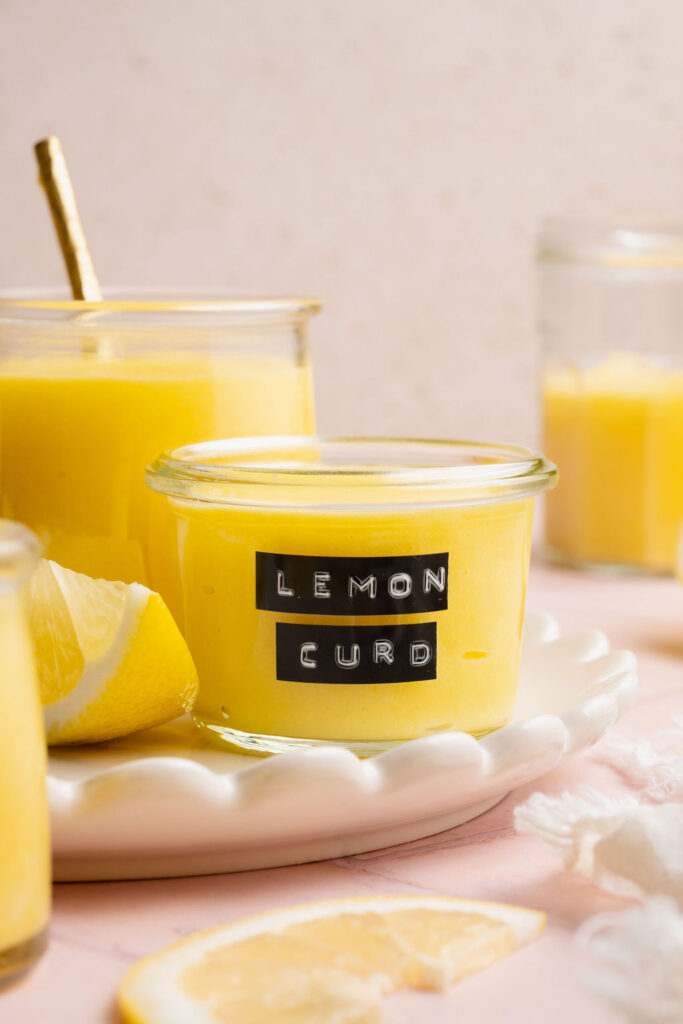
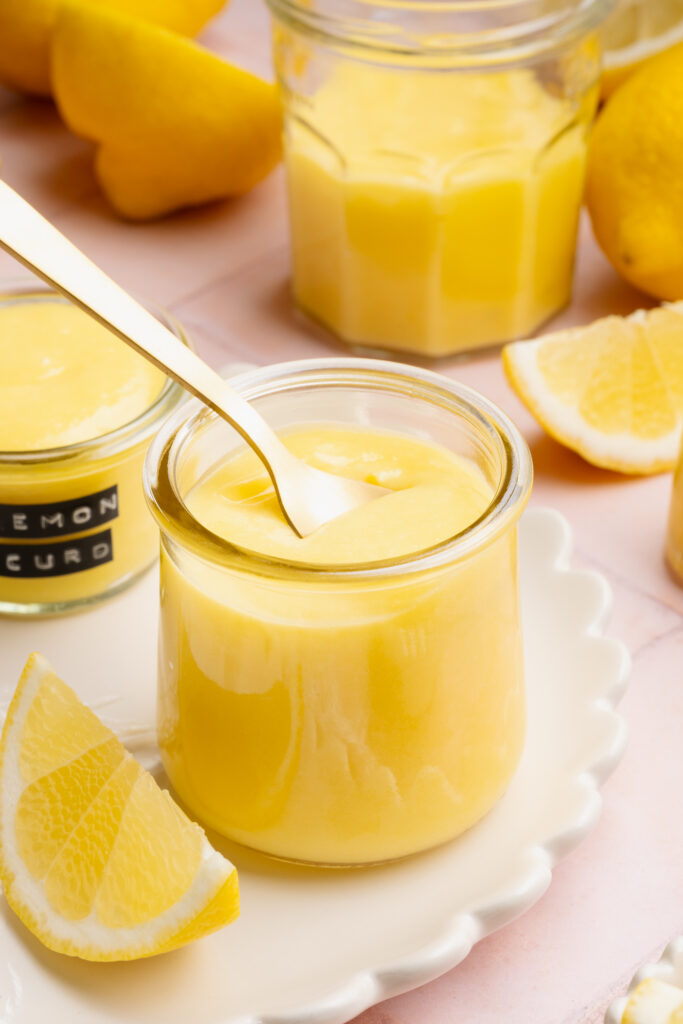
Step 8: Press plastic wrap directly onto the surface and refrigerate for 2–3 hours, or until fully set. Transfer to an airtight container or jar and store in the refrigerator for up to 7 days.
Recipe Tips
Use low to medium heat and be patient
Cooking the curd too quickly can cause the eggs to scramble. Gentle, steady heat ensures a smooth, creamy texture.
Whisk constantly while cooking
Continuous whisking helps prevent lumps and ensures the curd thickens evenly.
Cook to temperature for perfect consistency
The curd is ready at 170°F, when it’s thick enough to coat the back of a spoon and a swipe leaves a clean line. This guarantees a properly set curd every time.
Don’t let it boil
You may see small bubbles around the edges, but a full boil can cause the mixture to break or become grainy.
Strain for a perfectly smooth finish
Pouring the curd through a fine mesh strainer removes any bits of cooked egg or zest, giving you that silky, professional-quality texture.
Add the butter while the curd is hot
Straining the curd directly into the butter while it’s still hot allows it to melt seamlessly into the mixture, creating a glossy, emulsified finish.
Press plastic wrap directly onto the surface
This prevents a skin from forming as the curd cools.
Chill completely before using
The curd will continue to thicken as it sets in the refrigerator, resulting in the ideal spreadable consistency.
Troubleshooting Lemon Curd
Even with a simple recipe like lemon curd, small variations can affect the final texture and flavor. Here are a few common issues and how to fix them:
Too thin
The curd likely wasn’t cooked long enough. It should reach 170°F and be thick enough to coat the back of a spoon before removing from the heat. Keep in mind that it will continue to thicken as it chills.
Too thick
This can happen if the curd is slightly overcooked. Gently whisk in a small amount of fresh lemon juice, 1–2 teaspoons at a time, until the desired consistency is reached.
Lumpy or grainy texture
This usually means the eggs cooked too quickly. Be sure to use low to medium heat and whisk constantly. Straining the curd will remove any small bits and create a smooth, silky texture.
Too tart
The flavor can vary depending on the lemons used. If needed, whisk in a small amount of sugar while the curd is still warm to balance the acidity.
Too sweet
Add a small splash of fresh lemon juice to brighten and rebalance the flavor.
Skin forming on top
This happens when the surface is exposed to air. Press plastic wrap directly onto the surface of the curd while it cools to prevent a skin from forming.
Ways to Use Lemon Curd
Lemon curd is one of those versatile staples that instantly elevates both simple and more elaborate desserts. Its bright, citrusy flavor pairs beautifully with everything from soft cakes to buttery pastries.
Cake fillings
Use it between cake layers for a bright, citrusy contrast—especially in vanilla, almond, or lemon cakes.
Cupcakes
Fill the centers of cupcakes with lemon curd for a surprise burst of flavor.
Cookies & Sandwich Cookies
Spread it between shortbread cookies or use it as a filling for thumbprint cookies.
Breakfast & Brunch
Spoon it over yogurt, oatmeal, pancakes, or waffles, or spread it on toast, scones, or biscuits.
Parfaits & Layered Desserts
Layer lemon curd with whipped cream and berries for an easy, elegant dessert.
Tarts & Pastries
Use it as a filling for tart shells, mini tartlets, or pastries for a bakery-style finish.
Swirled into Frosting or Whipped Cream
Fold it into mascarpone or whipped cream for a light, citrusy topping.


Storage & Make-Ahead Notes
Lemon curd can be stored in an airtight container in the refrigerator for up to 1 week. For longer storage, it can be frozen for up to 2–3 months—simply thaw overnight in the refrigerator and stir well before using. This is also a great make-ahead recipe, as the curd will continue to thicken as it chills. If it feels too firm after refrigerating, give it a quick stir to loosen before serving.
Ways to Customize Lemon Curd
Meyer lemon curd
Swap regular lemons for Meyer lemons for a slightly sweeter, more floral flavor. The curd may taste less tangy and a bit more mellow.
Make it extra tangy
Add an additional tablespoon or two of lemon juice for a brighter, sharper citrus flavor.
Adjust the sweetness
Reduce the sugar slightly for a more tart curd, or increase it a bit if you prefer a sweeter, dessert-style spread.
Try other citrus
This method works beautifully with other citrus fruits like lime, orange, or grapefruit. You can even do a blend (like lemon + orange) for a more complex flavor.
Infuse additional flavor
Add a touch of vanilla extract for warmth or a pinch of ginger for subtle spice.
Make it dairy-free
Substitute the butter with a dairy-free alternative. The texture may be slightly less rich, but it will still be smooth and flavorful.

Gluten-Free Homemade Lemon Curd
- Total Time: 3 hours 50 minutes
- Yield: 1 1/2 cups
- Diet: Gluten Free
Description
This homemade lemon curd is silky, smooth, and bursting with bright citrus flavor. Perfectly balanced between sweet and tart, it’s a versatile staple for filling cakes, cookies, or spreading on your favorite breakfast treats.
Ingredients
1/2 cup (113g) unsalted butter, cold
3/4 cup (150g) granulated sugar
1 1/2 tablespoons lemon zest (the zest of ~2 small lemons)
6 large egg yolks, room temperature
pinch of fine kosher salt
1/2 cup (120g) fresh lemon juice
Instructions
- Cut the butter into small cubes and place in a heat-safe bowl. Set a fine mesh strainer over the bowl and set aside.
- In a heavy-bottomed saucepan, combine the granulated sugar and lemon zest. Massage the zest into the sugar until fragrant.
- Add the egg yolks and salt, then whisk until smooth and fully combined.
- Slowly pour in the lemon juice, whisking continuously until fully incorporated.
- Place the saucepan on the stove over low to medium heat. Cook, whisking constantly, until the mixture reaches 170°F on a digital instant-read thermometer or candy thermometer, about 8–10 minutes. The mixture may bubble slightly around the edges but should not come to a boil. It should be thick enough to coat the back of a spoon, and a finger swipe will create a clean line.
- Remove from the heat and immediately pour through the fine mesh strainer into the bowl of butter. Use a rubber spatula to press the mixture through the strainer, then stir until the butter is fully melted and the curd is smooth and glossy.
- Let the lemon curd cool slightly, until no longer hot to the touch, then press plastic wrap directly onto the surface to prevent a skin from forming.
- Refrigerate for 2–3 hours, or until fully set. Transfer to an airtight container or jar and store in the refrigerator for up to 7 days.
- Prep Time: 40 minutes
- Chill: 3 hours
- Cook Time: 10 minutes
- Category: No Bake Desserts
Photography by Creating Kaitlin


Leave a Reply