


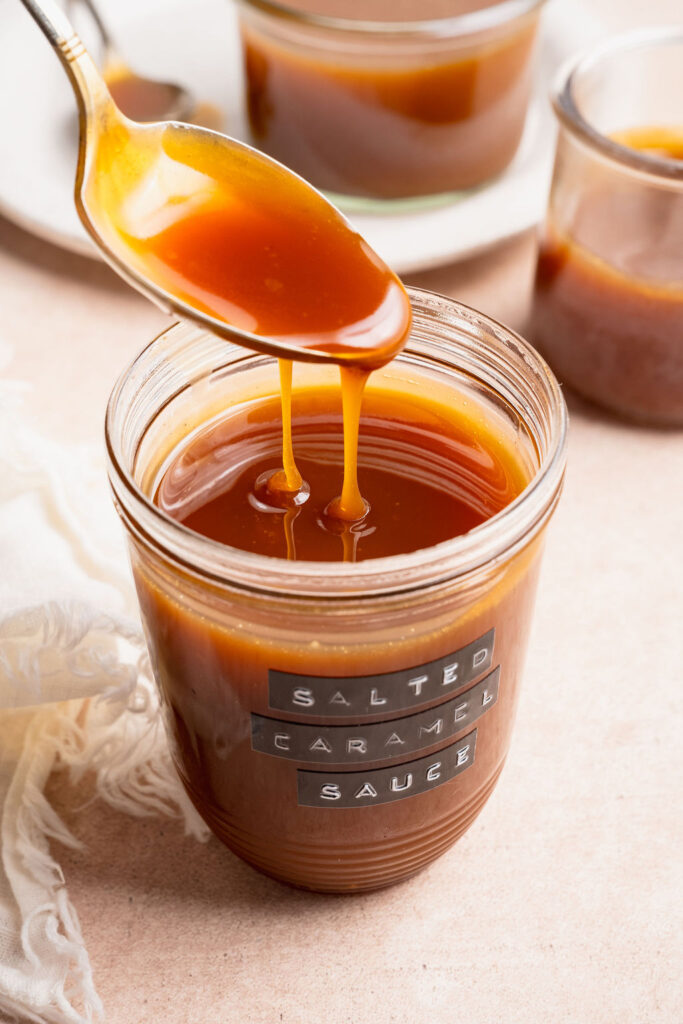
A good salted caramel sauce is all about balance—deep, caramelized sugar, rich butter, and just enough salt to enhance every note. When done right, it’s smooth, glossy, and endlessly versatile.
This recipe is designed to take the guesswork out of caramel. With just a few pantry staples, you can create a smooth, luscious caramel sauce that’s perfect for drizzling, dipping, or layering into your favorite desserts for a polished, bakery-style touch.

Why You’ll Love This Caramel Sauce
Foolproof and approachable
Even if you’ve never made caramel before, this method walks you through each stage so you can confidently achieve perfect results.
Made with just a handful of ingredients
You only need a few pantry staples to create a rich, bakery-quality caramel sauce at home.
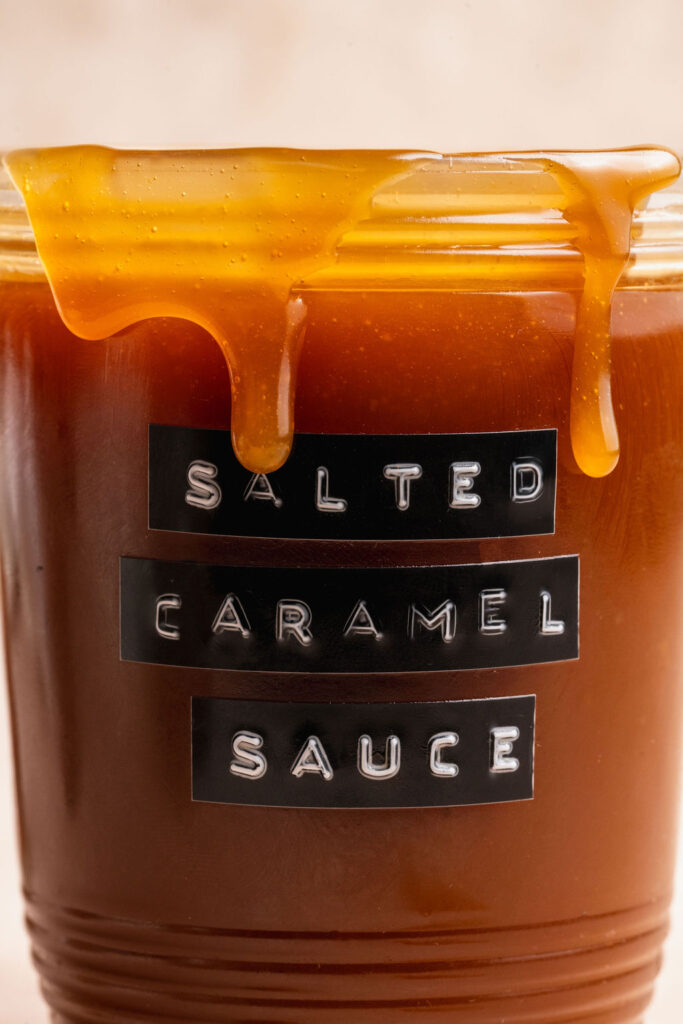
Smooth, glossy, and perfectly balanced
Butter, cream, and salt come together to create a silky texture with a signature sweet-salty finish.
Ready in minutes
From start to finish, this recipe comes together quickly, making it ideal for both last-minute desserts and planned bakes.
Endlessly versatile
Drizzle it over cakes, cookies, brownies, ice cream, or use it as a filling or swirl—it instantly elevates any dessert.
Better than store-bought
Freshly made caramel has a depth of flavor and texture that simply can’t be replicated.

Ingredient Notes
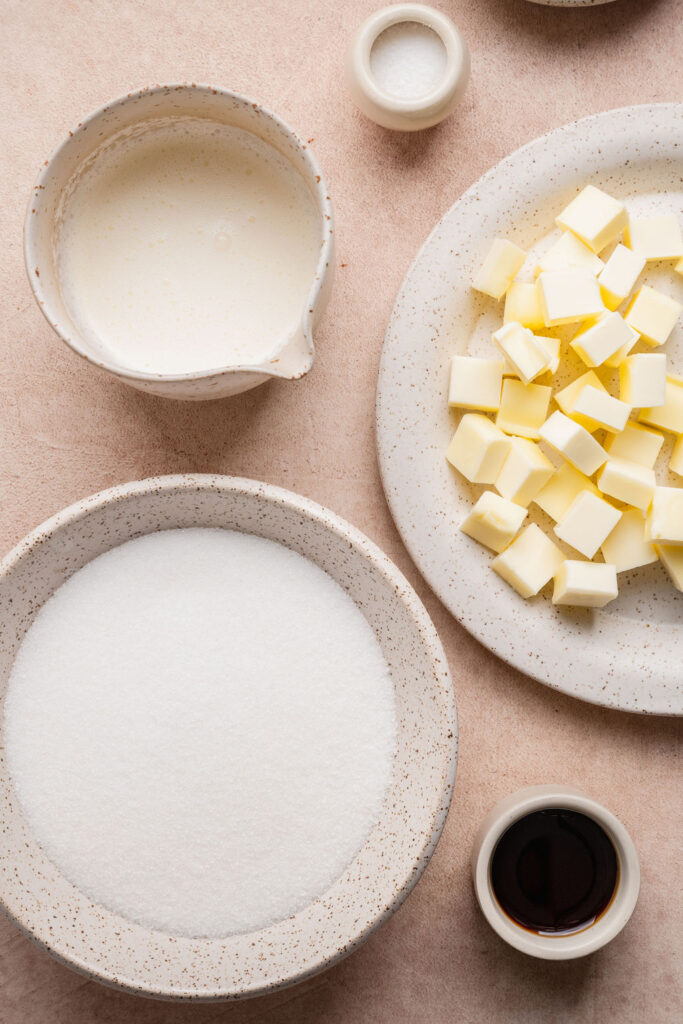
Granulated Sugar
The foundation of the caramel. As it melts, it transforms into a deep amber syrup that gives the sauce its signature flavor. Be sure to cook it until a rich amber color develops for the best depth.
Unsalted Butter
Adds richness and helps create a smooth, creamy texture. Using unsalted butter allows you to control the final salt level.
Heavy Cream
Warm heavy cream is essential for creating a silky, pourable consistency. Adding it slowly helps prevent the caramel from seizing.
Vanilla Extract
Enhances the overall flavor and adds a subtle warmth that complements the caramel.
Fine Kosher Salt
Balances the sweetness and brings out the complexity of the caramel. Adjust slightly to taste depending on how salty you prefer your caramel.
How to Make Salted Caramel Sauce
See the recipe card below for the full ingredient list, measurements, and instructions.
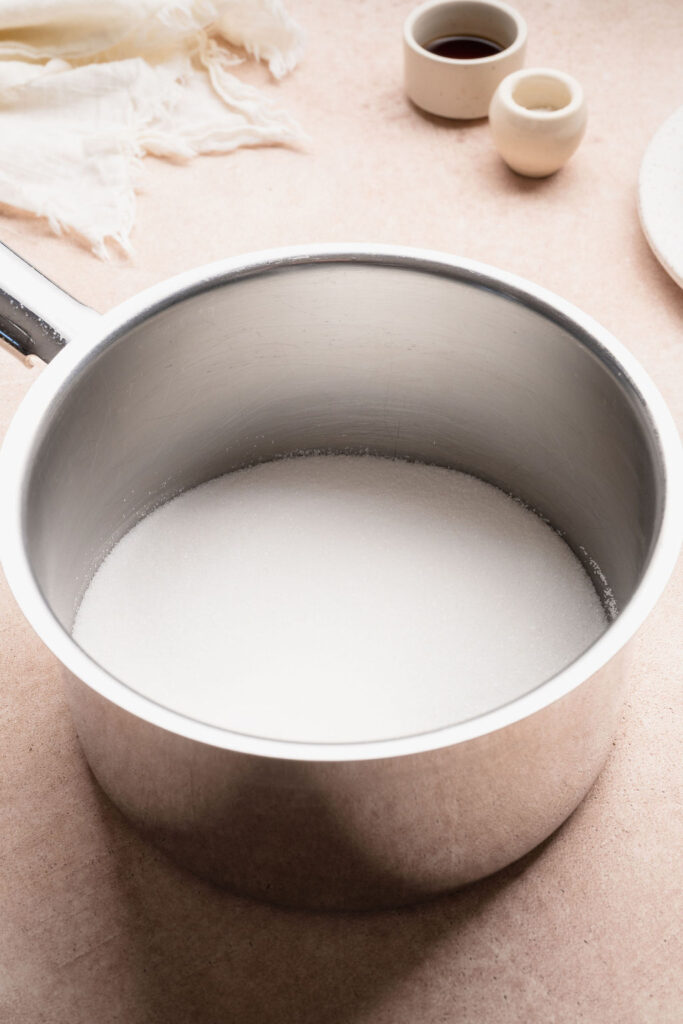
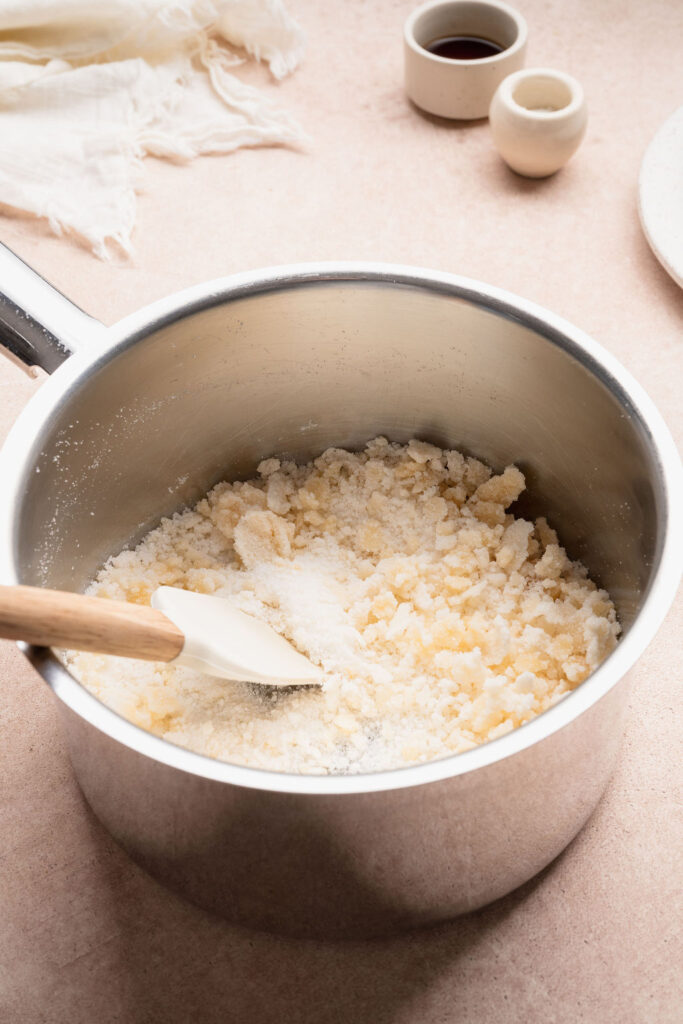
Step 1: Add the granulated sugar to a medium stainless steel saucepan and place it over medium heat. Stir occasionally with a heat-safe rubber spatula as the sugar begins to warm and clump. Once clumps form, stir constantly until the sugar starts to melt.
Step 2: When most of the sugar has liquefied, switch to a wire whisk and continue stirring until the sugar is fully melted.
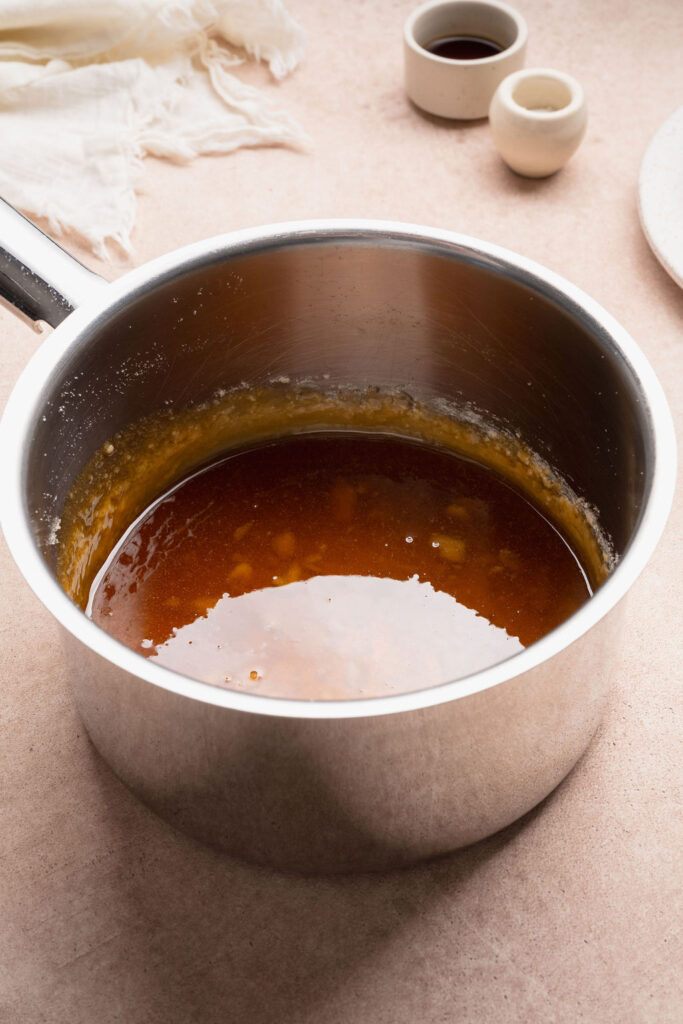
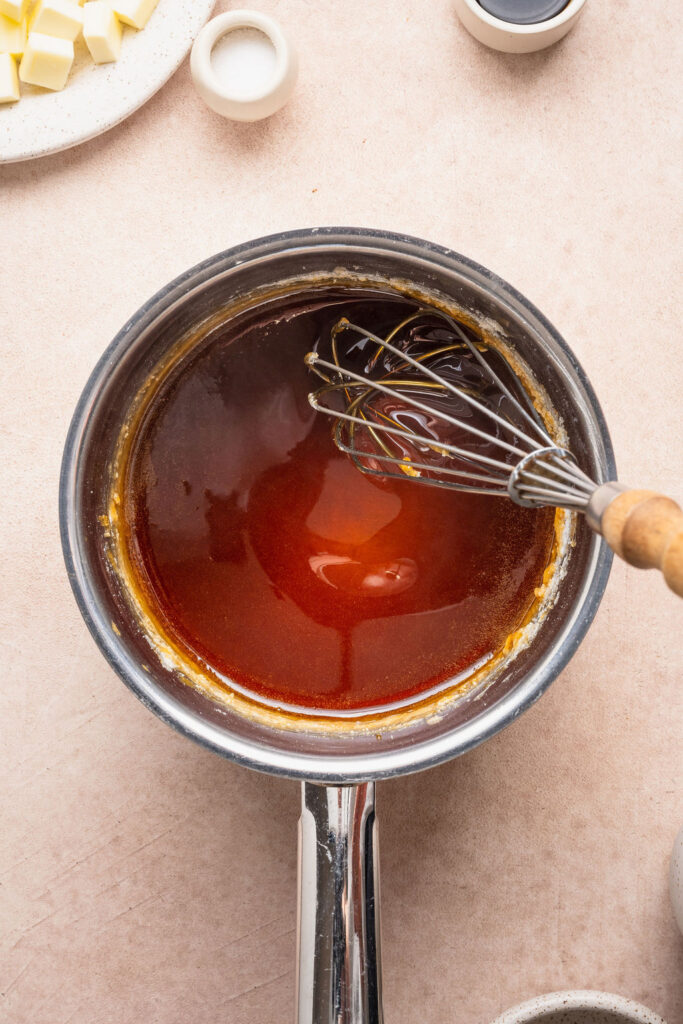
Step 3: Allow the melted sugar to cook until it reaches a deep amber color. This step is where the caramel develops its rich, complex flavor. Keep a close eye on it, as it can go from perfectly caramelized to burnt very quickly.
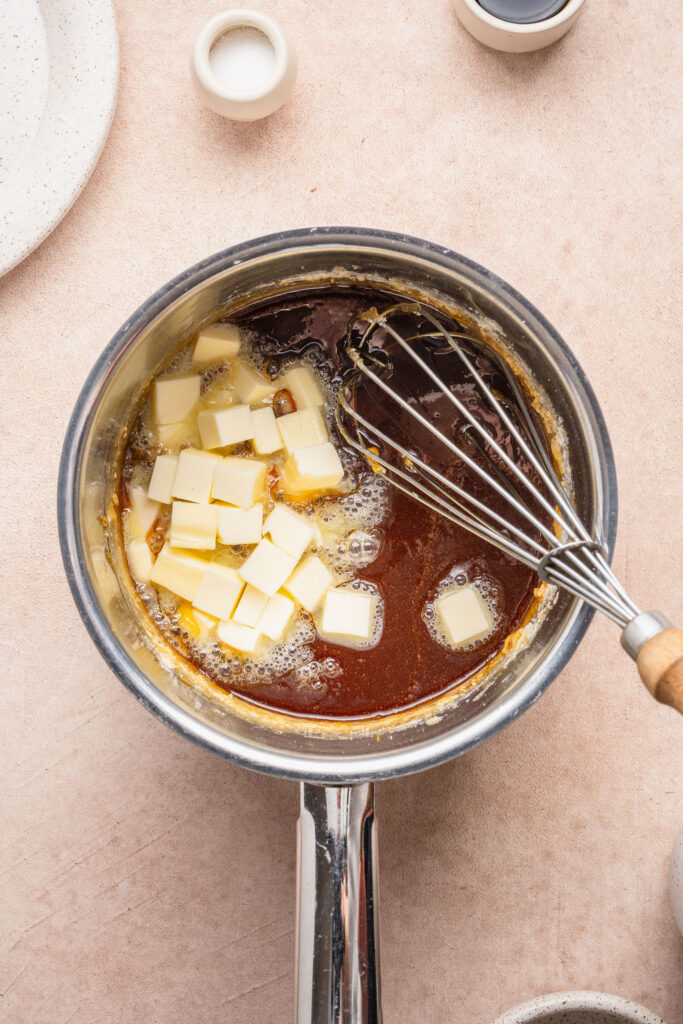
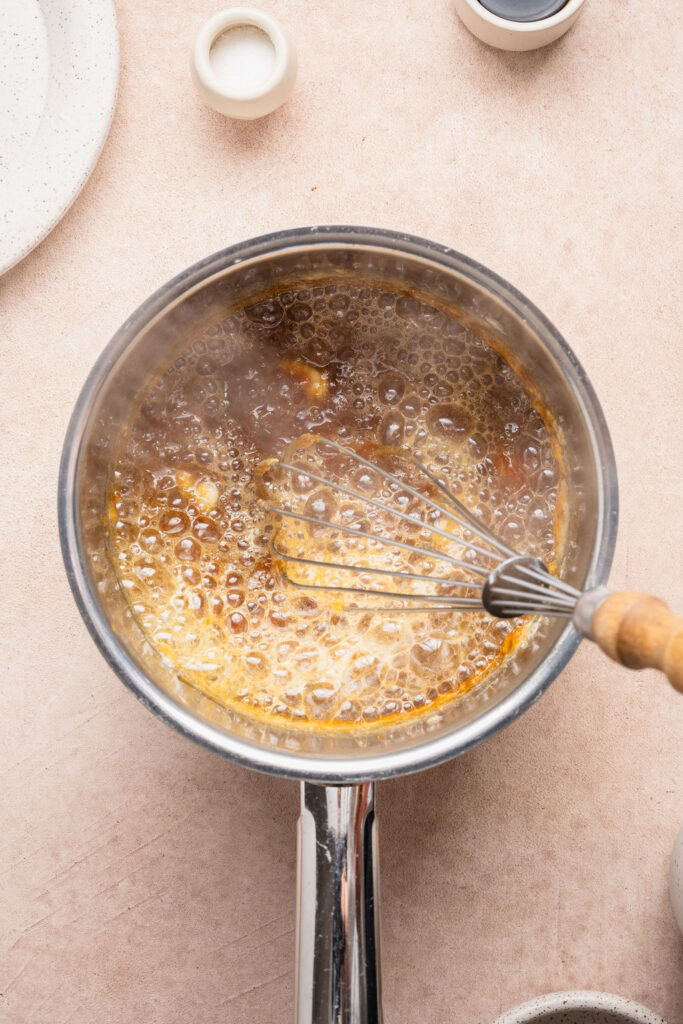
Step 4: Remove the saucepan from the heat and carefully add the cubed butter. Whisk continuously until the butter is fully melted and incorporated. The mixture will bubble vigorously at this stage, so take care.
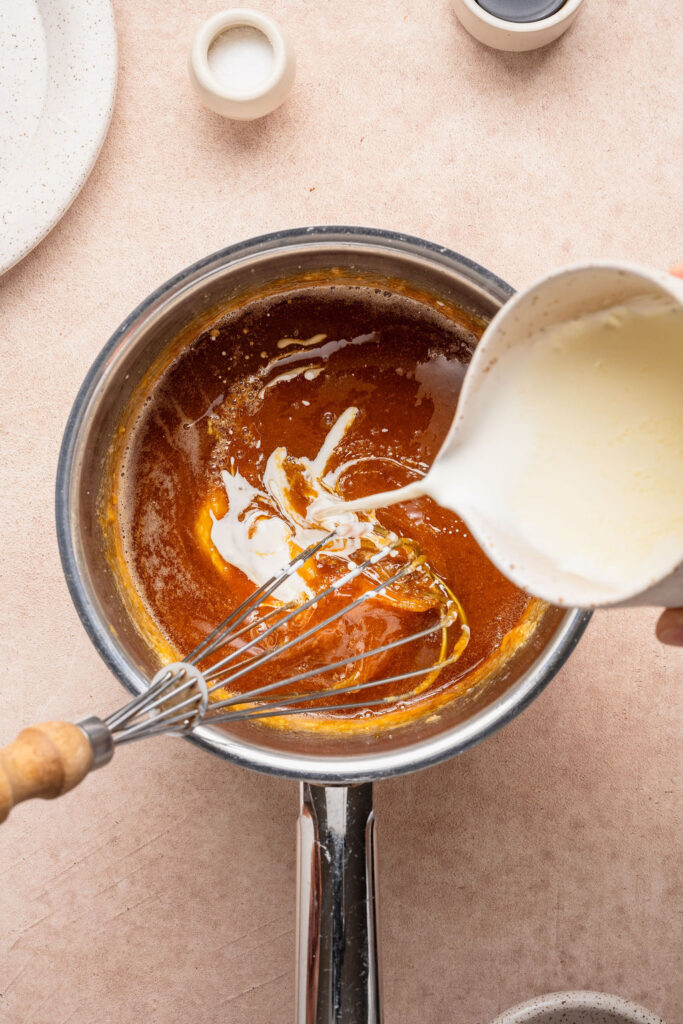
Step 5: Slowly pour in the warm heavy cream while whisking constantly. The caramel will bubble and steam again but will quickly become smooth and silky.

Step 6: Whisk in the vanilla extract and salt until fully combined. Let the caramel cool in the saucepan for a few minutes, then transfer to a heat-safe jar or container. Allow it to cool to room temperature, where it will thicken into a rich, pourable sauce.
Expert Tips for Perfect Caramel
Use a light-colored stainless steel saucepan
This makes it much easier to monitor the color of the caramel as it develops. Dark pans can make it difficult to tell when the sugar has reached the correct amber stage.
Be patient as the sugar melts
The sugar will clump before it fully melts—this is completely normal. Keep stirring and it will gradually dissolve into a smooth liquid.
Watch the color closely
The difference between perfectly caramelized and burnt happens quickly. Aim for a deep amber color for the best flavor without bitterness.
Have your ingredients measured and ready
Once the sugar has melted, the process moves quickly. Having the butter, warm cream, vanilla, and salt ready to go will make the process much smoother.
Warm the heavy cream
Adding cold cream can cause the caramel to seize or become lumpy. Warm cream helps it incorporate smoothly and keeps the texture silky.
Add ingredients slowly and carefully
Both the butter and cream will cause the caramel to bubble vigorously. Add them gradually while whisking to maintain control and prevent splattering.
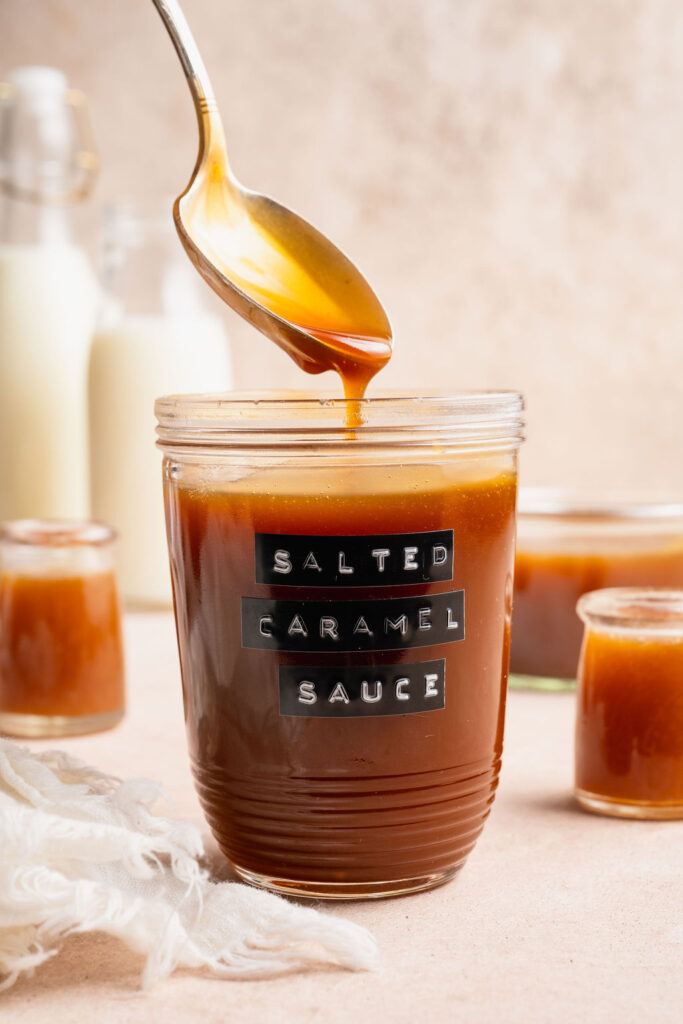
Don’t worry if it looks thin at first
The caramel will thicken as it cools. What looks like a thin sauce in the pan will set into a rich, pourable consistency.
Adjust the salt to taste
Start with the listed amount, then taste once the caramel has cooled slightly and add more if you prefer a stronger salted caramel flavor.
Ways to Use Salted Caramel Sauce
This salted caramel sauce is as versatile as it is indulgent. Its rich, buttery flavor and smooth texture make it the perfect finishing touch for everything from simple desserts to more elaborate bakes.
- Drizzle over ice cream or gelato for a classic, effortless dessert
- Spoon over brownies or blondies to add richness and depth
- Serve with cakes and cupcakes, especially chocolate, vanilla, or apple-based recipes
- Add to cheesecakes as a topping or swirl for an extra layer of flavor
- Pair with apple desserts like crisps, pies, or baked apples
- Stir into coffee or lattes for a homemade caramel drink
- Use as a dip for sliced apples, pears, or shortbread cookies
Storage & Reheating Recommendations
To store
Once the caramel has cooled completely, transfer it to an airtight container or glass jar and refrigerate for up to 2 weeks.
To reheat
The caramel will thicken as it chills. To bring it back to a smooth, pourable consistency, microwave in 10–15 second increments, stirring between each, until warmed through.
For best texture
Warm only the amount you plan to use, as repeated reheating can affect the consistency over time.
At room temperature
If using shortly after making, the caramel can be left at room temperature until it cools and thickens to your desired consistency.
Frequently Asked Questions
Why did my caramel turn grainy or seize?
This usually happens when the temperature changes too quickly—most often when the cream is added. To prevent this, make sure your cream is warm and add it slowly while stirring continuously. If your caramel does seize, keep stirring over low heat until it smooths out again.
How do I know when the caramel is ready?
The caramel should reach a deep amber color and smell slightly nutty. If it’s too light, the flavor will be mild; too dark, and it can taste bitter. Watching the color closely is key, as it can change quickly toward the end.
Can I reheat salted caramel sauce?
Yes. As the caramel cools, it will thicken. To reheat, warm it gently in the microwave in short intervals or on the stovetop over low heat, stirring until smooth and pourable.
Why is my caramel too thick or too thin?
Caramel thickens as it cools, so it may seem thinner when warm. If it becomes too thick, gently reheat and stir in a small amount of warm cream. If it’s too thin, it may not have cooked long enough—next time, allow the sugar to reach a slightly deeper amber color before adding the cream.
How long does homemade salted caramel sauce last?
Stored in an airtight container in the refrigerator, it will keep for up to 2 weeks. Be sure to reheat gently before using to restore its smooth, pourable consistency.
Gluten-Free Salted Caramel Sauce
- Total Time: 1 hour 20 minutes
- Yield: 1 1/4 cups
- Diet: Gluten Free
Description
This homemade salted caramel sauce is smooth, rich, and perfectly balanced with just the right touch of salt. With a simple, foolproof method, you’ll have a glossy, pourable caramel that’s perfect for drizzling, dipping, and layering into your favorite desserts.
Ingredients
1 cup (200g) granulated sugar
6 tablespoons (84g) unsalted butter, room temperature and cubed
1/2 cup (120g) heavy cream, warm*
1 teaspoon vanilla extract
1/2 teaspoon fine kosher salt
Instructions
PREPARE THE INGREDIENTS
- Place the granulated sugar in a medium-sized stainless steel saucepan (avoid using a dark-colored or nonstick pan).
- Measure out the butter, heavy cream, vanilla extract, and salt and set aside. Have a heat-safe rubber spatula and a wire whisk ready.
MAKE THE CARAMEL SAUCE
- Place the saucepan over medium heat. Stir the sugar occasionally with a rubber spatula as it begins to heat and clump. Once clumps form, stir constantly until the sugar starts to melt. When most of the sugar has liquefied, switch to a wire whisk and continue stirring until the sugar is fully melted and reaches a deep amber color.
- Remove the saucepan from the heat and carefully add the cubed butter. Whisk until the butter is fully melted and incorporated, about 30 seconds. The mixture will bubble vigorously, so use caution.
- Slowly pour in the warm heavy cream while whisking constantly. The caramel will bubble and steam again as the cream is added.
- Whisk in the vanilla extract and salt until fully combined. Let the caramel cool in the saucepan for a few minutes, then transfer to a heat-safe jar or container and allow it to cool to room temperature.
- Cover and refrigerate for up to 2 weeks. To reheat, microwave in 10-second increments, stirring between each, until smooth and pourable.
Notes
*Heavy Cream: Warm the heavy cream in the microwave until it is just warm to the touch (about 30 seconds).
- Prep Time: 5 minutes
- Chill: 1 hour
- Cook Time: 15 minutes
- Category: No Bake Desserts
Photography by Creating Kaitlin


Leave a Reply