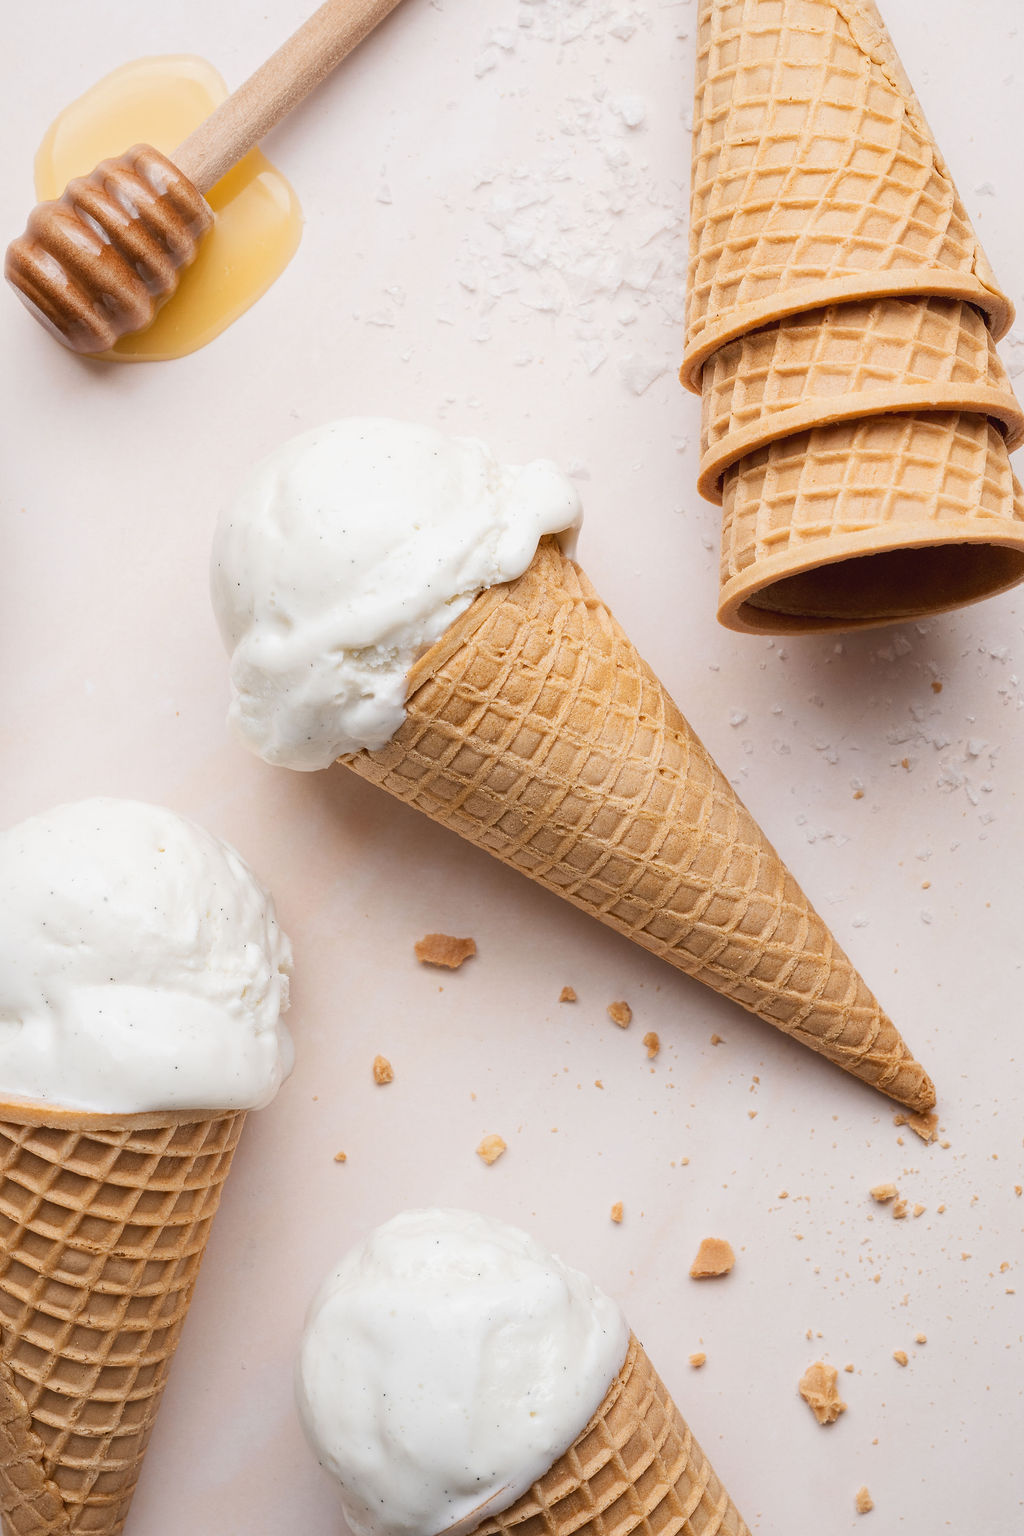


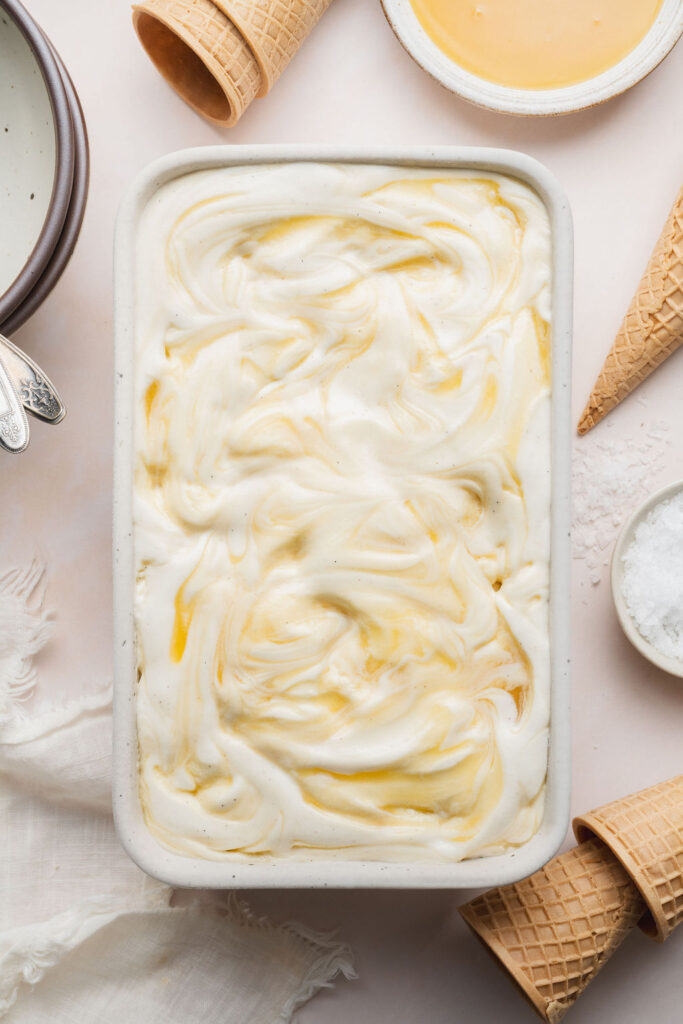
This no-churn vanilla bean ice cream is rich, creamy, and layered with ribbons of buttery salted honey. Vanilla bean paste gives the ice cream a warm, fragrant flavor, while the honey swirl adds the perfect touch of sweet-and-salty richness. Best of all, it comes together without an ice cream maker using just a handful of simple ingredients.
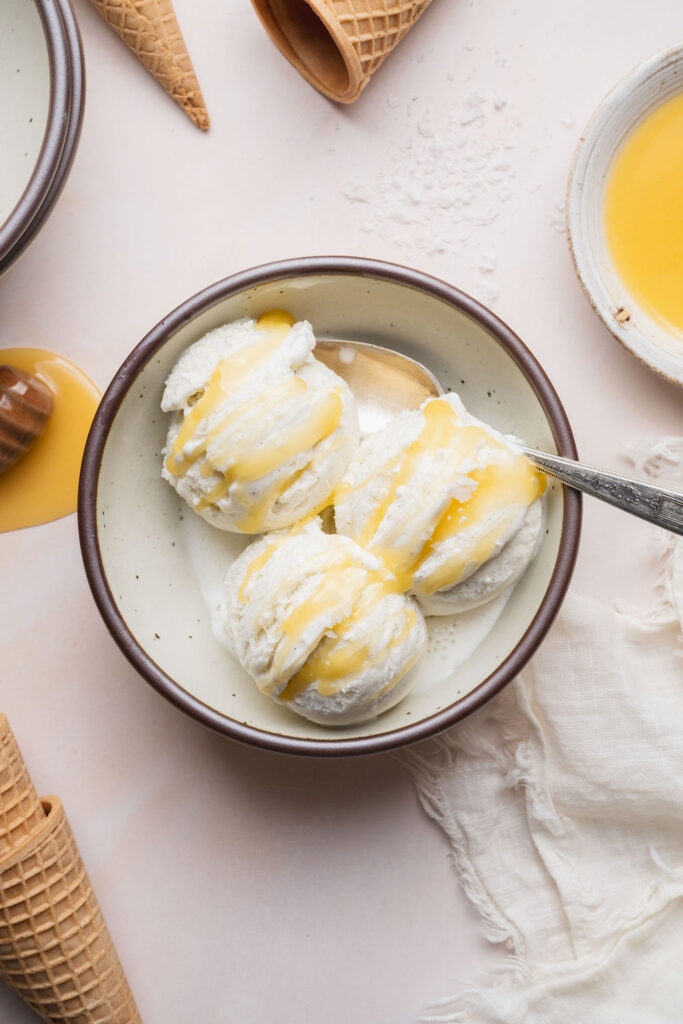
Enjoy a scoop on its own with an extra drizzle of salted honey, or serve it alongside your favorite desserts throughout the year. It’s especially delicious with fruit crisps and cobblers, warm brownies, cakes, pies, and freshly baked cookies—making it just as fitting for summer gatherings as it is for cozy fall and holiday desserts.
Why You’ll Love This Recipe
No ice cream maker required
This easy no-churn ice cream comes together with a stand mixer and a loaf pan—no special ice cream equipment needed.
Rich and creamy texture
Whipped cream and sweetened condensed milk create a smooth, scoopable ice cream with a rich and velvety texture.
Warm vanilla bean flavor
Vanilla bean paste gives the ice cream a deeper, more fragrant vanilla flavor, along with the pretty flecks of vanilla bean throughout.
The perfect balance of sweet and salty
Buttery salted honey is swirled through the vanilla ice cream, adding caramel-like richness and just enough salt to balance the sweetness.
Delicious on its own or with other desserts
Serve it in a bowl or cone with an extra drizzle of salted honey, or add a scoop to warm brownies, cakes, pies, fruit crisps, and cobblers throughout the year.
Naturally gluten-free
The ice cream itself is made without any gluten-containing ingredients. Just choose gluten-free cones or toppings when needed.
Ingredient Notes
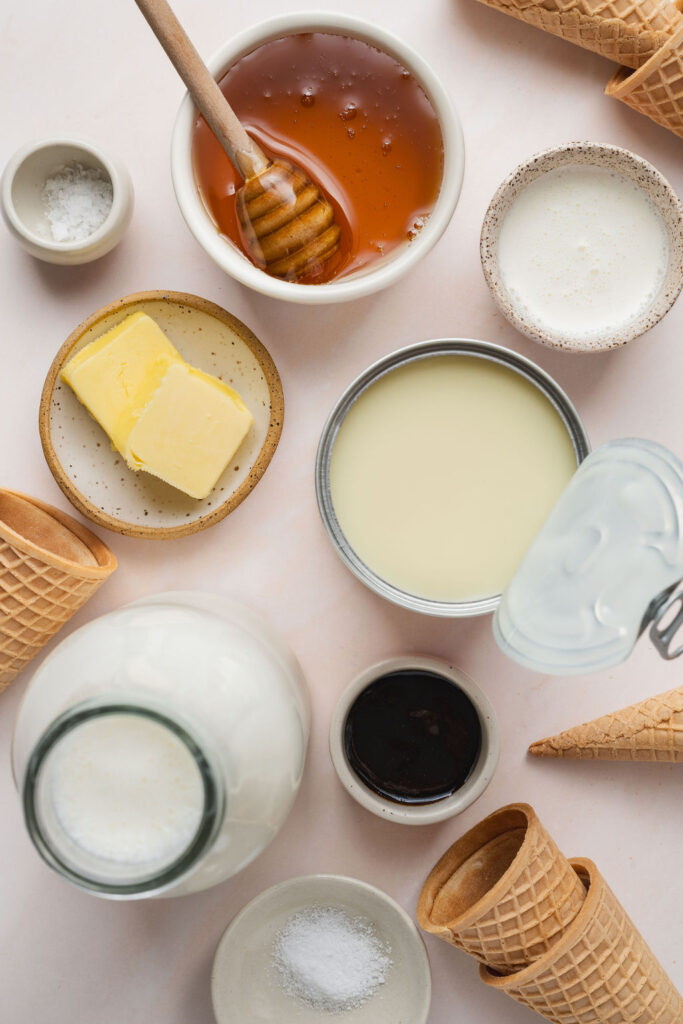
Sweetened condensed milk
This forms the sweet, creamy base of the no-churn ice cream. Be sure to use sweetened condensed milk rather than evaporated milk, as the two are not interchangeable.
Vanilla bean paste
Vanilla bean paste gives the ice cream a rich vanilla flavor and adds visible vanilla bean flecks. A good-quality vanilla extract can be substituted, although the ice cream will not have quite the same vanilla bean appearance.
Fine sea salt
A small amount of salt balances the sweetness of the condensed milk and enhances the vanilla flavor.
Heavy cream
Whipped heavy cream gives the ice cream its light, creamy texture. Keep the cream cold before whipping so it reaches stiff peaks more easily.
Salted honey sauce
The homemade swirl is made with honey, unsalted butter, heavy cream, and flaky sea salt. Briefly cooking the ingredients creates a smooth, buttery honey sauce with a rich sweet-and-salty flavor. Let it cool before layering it into the ice cream so it does not melt the whipped base.
How to Make No-Churn Vanilla Bean Ice Cream with Salted Honey
See the recipe card below for the full ingredient list, measurements, and instructions.
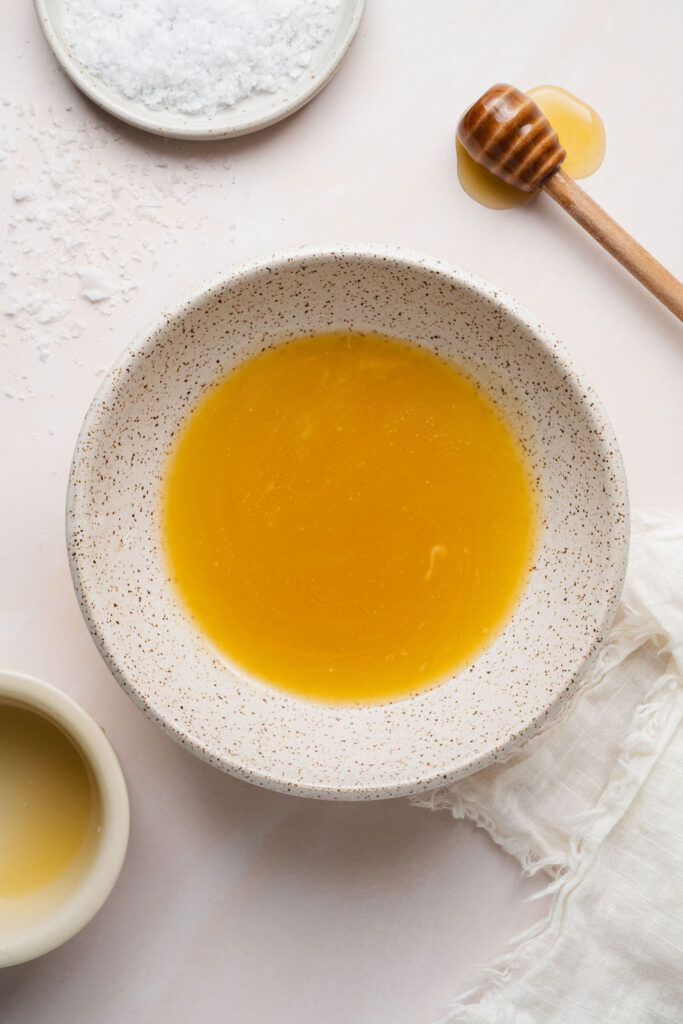
Step 1: Make the salted honey
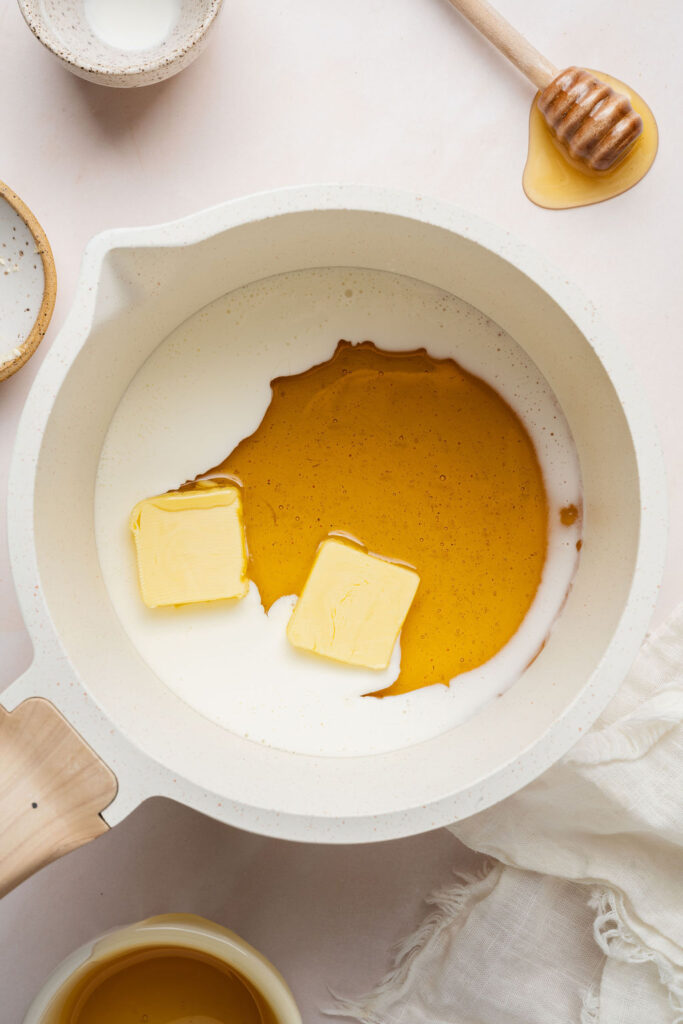
Add the honey, butter, and heavy cream to a small, heavy-bottomed saucepan. Cook over medium-low heat, stirring constantly, until the butter melts and the mixture reaches a gentle boil. Continue cooking for 1–2 minutes. The mixture will bubble and become frothy as it cooks. Remove it from the heat, stir in the flaky sea salt, and transfer the salted honey to a heat-safe bowl. Press plastic wrap directly against the surface and let it cool to room temperature.
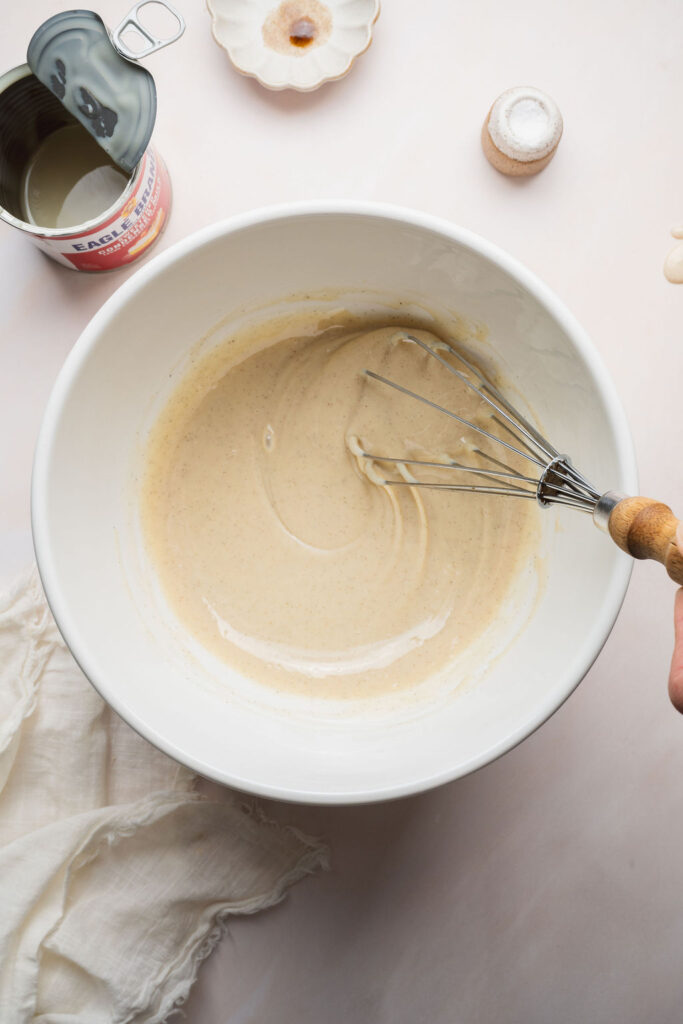
Step 2: Whisk the ice cream base
In a large mixing bowl, whisk together the sweetened condensed milk, vanilla bean paste, and fine kosher salt until completely smooth and well combined. The mixture should be thick, glossy, and evenly speckled with vanilla bean.
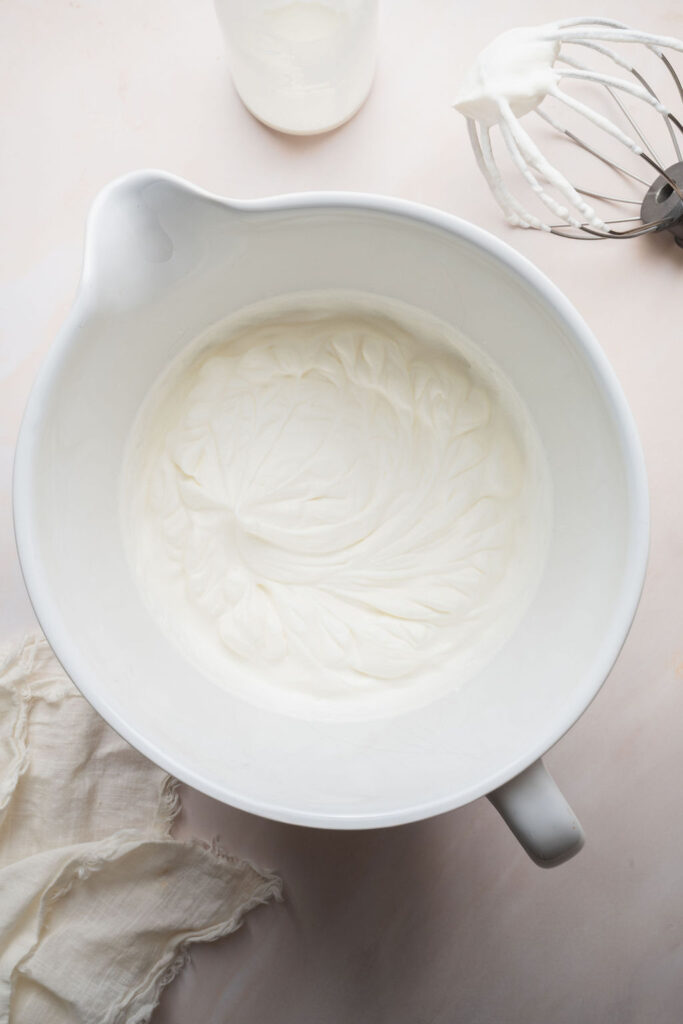
Step 3: Whip the heavy cream
In the bowl of a stand mixer fitted with the whisk attachment or in a large mixing bowl with a hand mixer, whip the cold heavy cream on medium speed until stiff peaks form. The whipped cream should hold its shape when the whisk is lifted while still looking smooth and creamy.
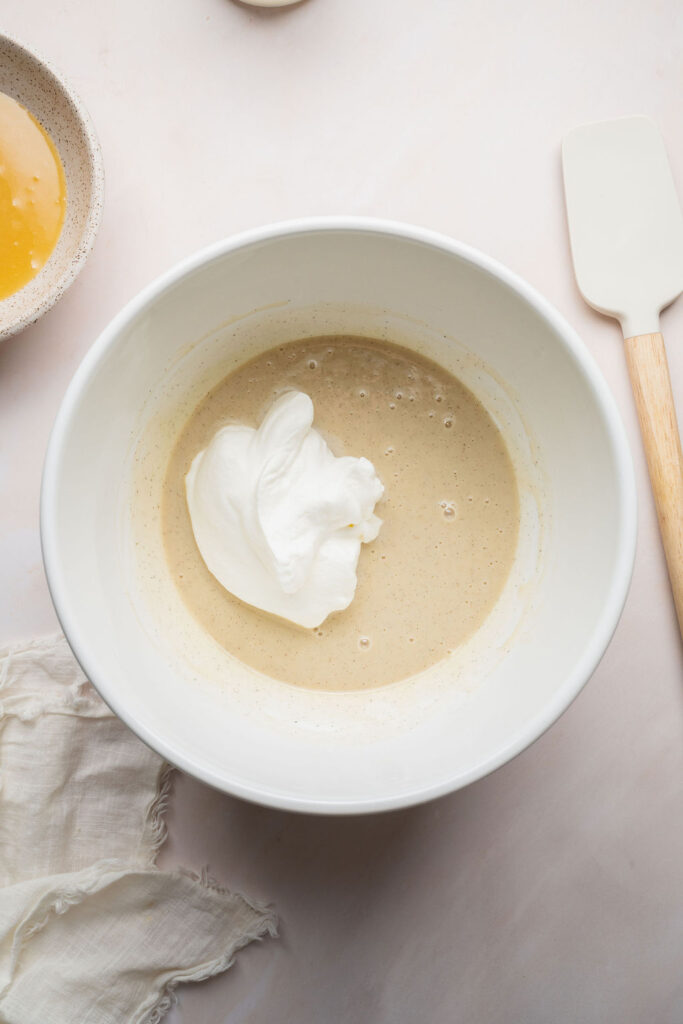
Step 4: Fold everything together
Add about one-third of the whipped cream to the sweetened condensed milk mixture and gently fold until mostly incorporated. This lightens the base and makes it easier to fold in the remaining whipped cream. Add the remaining whipped cream and continue folding just until no white streaks remain. Use a rubber spatula and work gently to keep as much air in the mixture as possible.
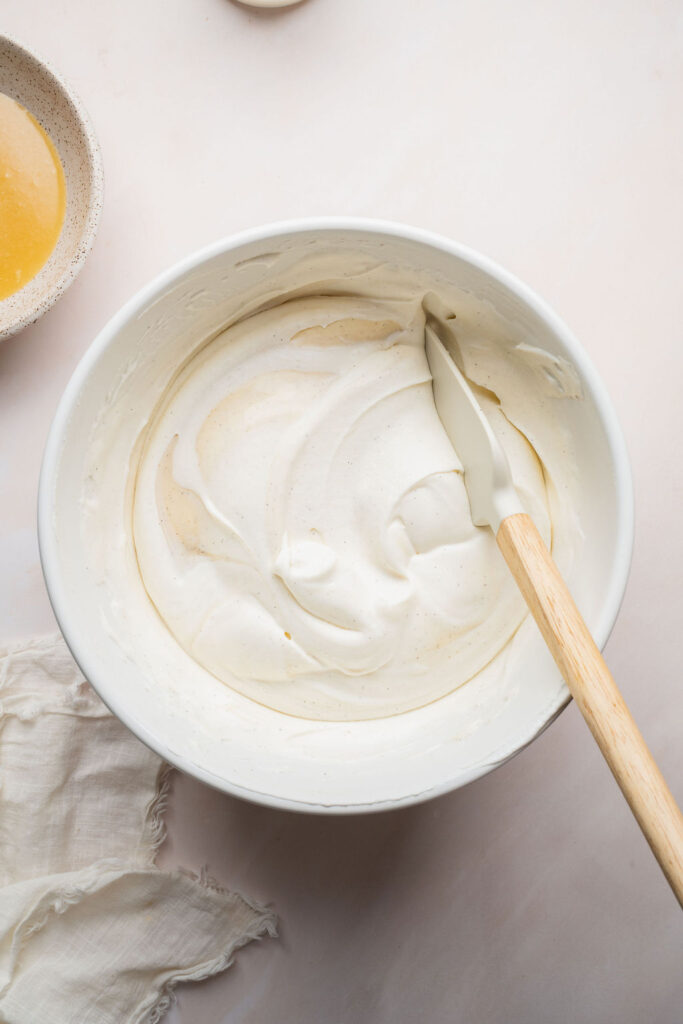
Step 5: Layer the ice cream and salted honey
Spoon one-third of the ice cream mixture into a 9 × 5-inch or 8 × 4½-inch loaf pan and gently spread it into an even layer. Drizzle one-third of the cooled salted honey over the surface.
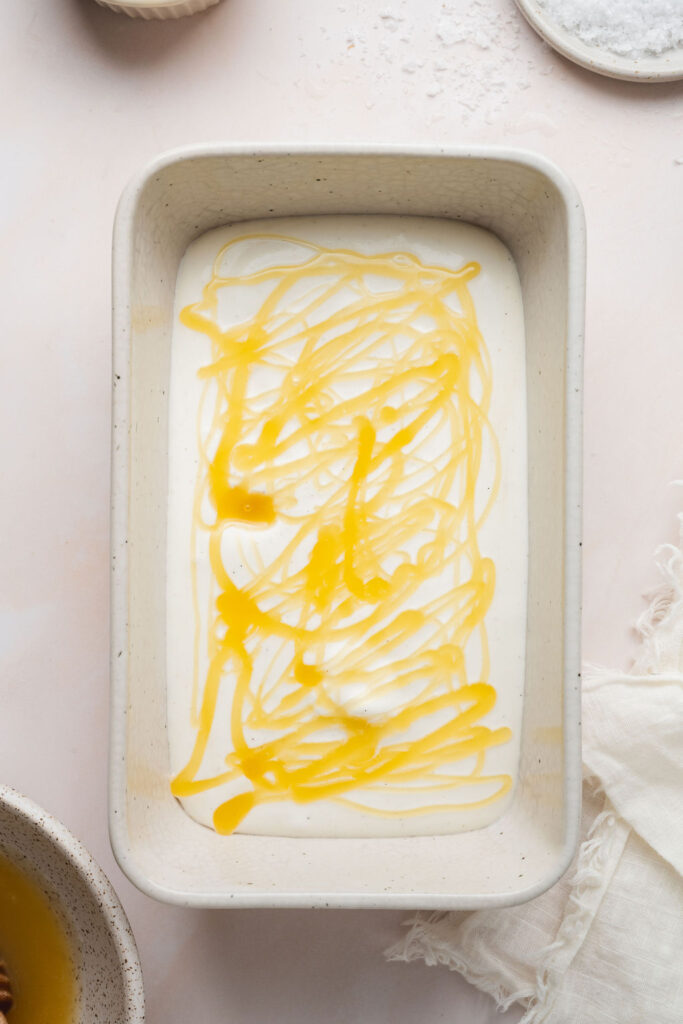
Step 6: Swirl the salted honey
Use a butter knife or skewer to make just a few gentle swirls. Repeat the layers two more times, finishing with the remaining salted honey on top.
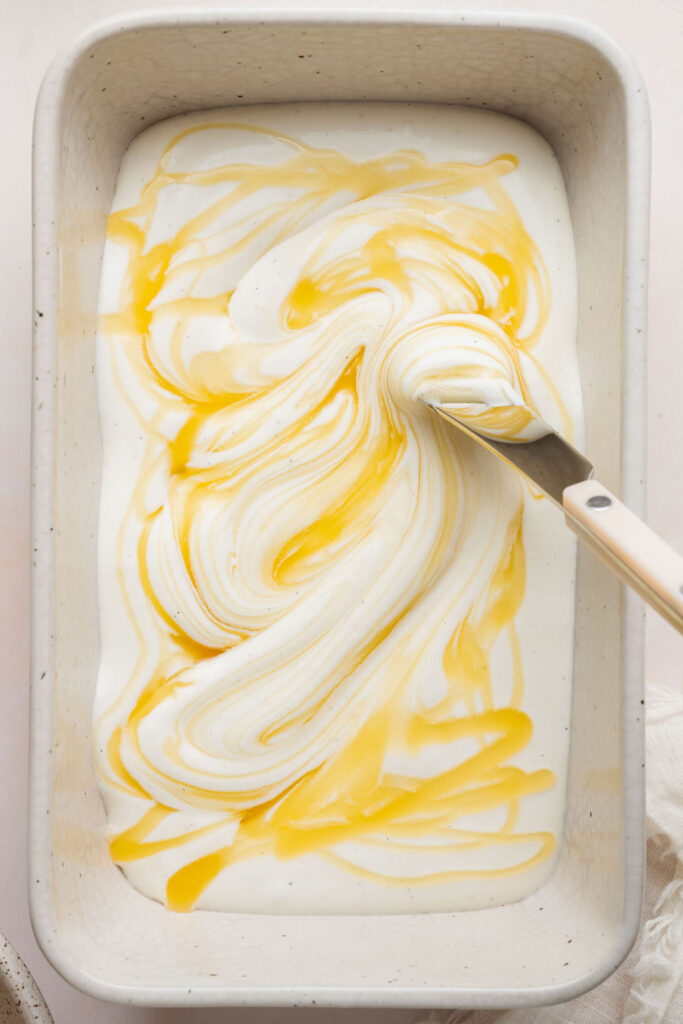
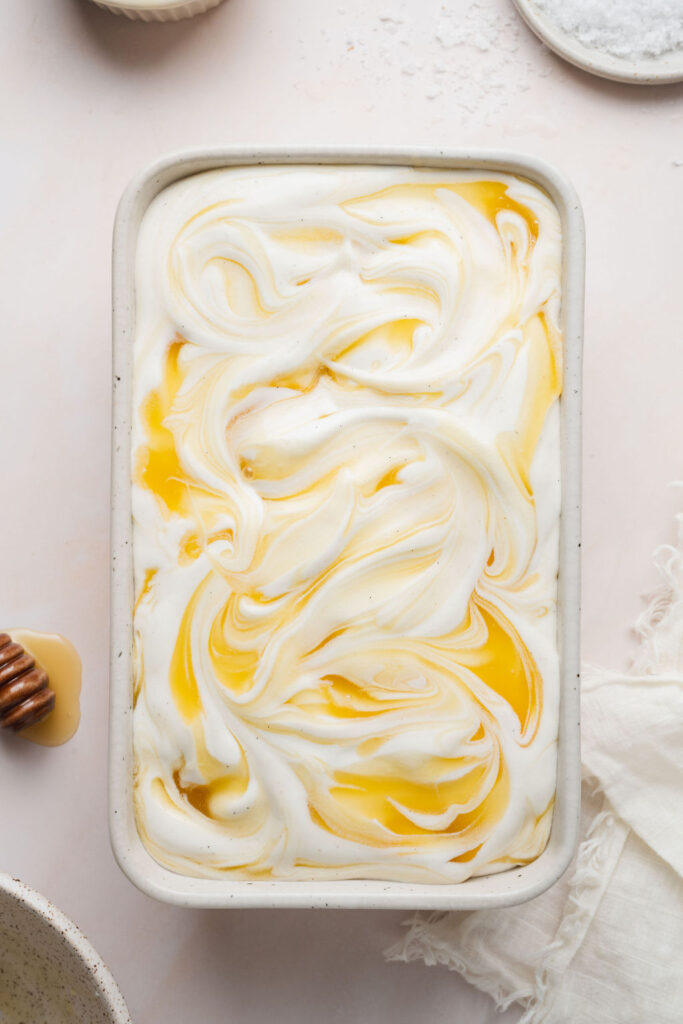
Step 6: Freeze and serve
Freeze the ice cream uncovered for at least 6 hours or overnight, until firm. Once frozen, cover the pan tightly with plastic wrap or an airtight lid to prevent freezer burn. Let the ice cream sit at room temperature for 5–10 minutes before scooping, if needed. Serve in bowls or waffle cones with an extra drizzle of salted honey and a sprinkle of flaky sea salt.
Recipe Tips
Use cold heavy cream
For the best volume, make sure the heavy cream is very cold before whipping. Cold cream whips faster and creates a lighter, airier ice cream.
Don’t overwhip the cream
Whip the heavy cream just until stiff peaks form. Overwhipped cream can become grainy, making the finished ice cream less smooth and creamy.
Fold gently
When combining the whipped cream with the sweetened condensed milk mixture, use a rubber spatula and fold gently. Preserving as much air as possible gives the ice cream its light, scoopable texture.
Cool the salted honey before layering
Let the salted honey cool to room temperature before swirling it into the ice cream. If it’s too warm, it will melt the ice cream base and make the layers difficult to swirl.
Swirl sparingly
For distinct ribbons of salted honey, make only a few gentle passes with a butter knife or skewer. Overmixing will blend the honey into the base instead of creating beautiful swirls.
Freeze overnight for the best texture
Although the ice cream will usually be firm enough to scoop after about 6 hours, freezing it overnight gives it the creamiest texture and allows the honey ribbons to fully set.
Let it soften before scooping
If the ice cream has been frozen for more than a day or two, let it rest at room temperature for 5–10 minutes before scooping. This makes it much easier to serve and creates smoother, prettier scoops.
Reserve extra salted honey for serving
Set aside a few tablespoons of the salted honey before layering the ice cream. A drizzle over each scoop just before serving adds extra flavor and makes for a beautiful presentation.
Storage & Freezing
Ice cream
Store the ice cream tightly covered in the freezer for up to 2 weeks. Once frozen solid, cover the loaf pan tightly with plastic wrap or transfer the ice cream to an airtight freezer-safe container to help prevent freezer burn and ice crystals.
For the creamiest texture, let the ice cream sit at room temperature for 5–10 minutes before scooping if it has been frozen for more than a day or two.
Salted honey
Store leftover salted honey in an airtight container in the refrigerator for up to 2 weeks. It will thicken as it chills, so let it sit at room temperature for 15–20 minutes or microwave it in 5-second intervals, stirring between each, until smooth and pourable.

No-Churn Vanilla Bean Ice Cream with Salted Honey
- Total Time: 6 hours 25 minutes
- Yield: about 1 1/2 quarts (10-12) servings
- Diet: Gluten-Free
Description
This no-churn vanilla bean ice cream is rich, creamy, and layered with ribbons of homemade salted honey for the perfect sweet-and-salty bite. Made with just a handful of ingredients and no ice cream maker, it’s an easy frozen dessert that’s perfect for summer gatherings or anytime you’re craving a scoop of homemade ice cream.
Ingredients
SALTED HONEY
1/2 cup (170g) honey
2 tablespoons (28g) unsalted butter
2 tablespoons (30g) heavy cream
1/4 teaspoon flaky sea salt
VANILLA BEAN ICE CREAM
1 can (14oz/396g) sweetened condensed milk
1 tablespoon vanilla bean paste
1/4 teaspoon fine sea salt
2 cups (480g) heavy cream, cold
Instructions
MAKE THE SALTED HONEY
- In a small heavy-bottomed saucepan, combine the honey, butter, and heavy cream. Cook over medium-low heat, stirring constantly with a heat-safe rubber spatula, until the butter has melted and the mixture comes to a gentle boil.
- Continue cooking, stirring constantly, for 1-2 minutes. The mixture will bubble and become frothy as it cooks.
- Remove the pan from the heat and stir in the flaky sea salt.
- Transfer the mixture to a heat-safe bowl and press a piece of plastic wrap directly onto the surface to prevent a skin from forming. Let cool to room temperature. The salted honey can be placed in the refrigerator for about 15-20 minutes before assembling the ice cream if needed to thicken it slightly.
PREPARE THE VANILLA BEAN ICE CREAM
- In a large mixing bowl, whisk together the sweetened condensed milk, vanilla bean paste, and salt.
- In the bowl of a stand mixer fitted with the whisk attachment (or in a large mixing bowl using a hand mixer), whip the cold heavy cream on medium-high speed until stiff peaks form.
- Fold one-third of the whipped cream into the sweetened condensed milk mixture to lighten it.
- Gently fold in the remaining whipped cream until fully incorporated and no streaks remain.
ASSEMBLE & FREEZE THE ICE CREAM
- Spread one-third of the ice cream mixture into a 9 x 5-inch or 8 x 41⁄2-inch loaf pan. If desired, reserve 2–3 tablespoons of the salted honey for serving, then drizzle about one-third of the remaining salted honey over the surface. Use a butter knife or skewer to make a few gentle swirls.
- Repeat the layers two more times, ending with the remaining salted honey on top.
- Freeze uncovered until firm, at least six hours or overnight, then cover the pan tightly with plastic wrap or an airtight lid for long term storage.
STORAGE
- Store the ice cream tightly covered in the freezer for up to 2 weeks. For the creamiest texture, let it sit at room temperature for 5-10 minutes before scooping.
- Store any leftover salted honey in an airtight container in the refrigerator for up to 2 weeks. It will thicken considerably when chilled. Let it sit at room temperature for 15-20 minutes or microwave in 5-second intervals until smooth and pourable before serving.
Notes
- If the salted honey becomes too thick or crystallizes while cooling, microwave it in 5-10 second intervals, stirring between each, until smooth and pourable.
- For the prettiest swirls, drizzle the salted honey in thin ribbons and use a butter knife or skewer to make just a few gentle passes through the ice cream. Over-swirling will muddy the layers.
- Prep Time: 20 minutes
- Chill: 6 hours
- Cook Time: 5 minutes
- Category: Dessert
Photography by Creating Kaitlin


Leave a Reply